Lab 5: Invoke Published Document Action using Salesforce Flow
Overview
In this lab you’ll learn how to invoke from Salesforce Flow an IDP Document Action previously published to Anypoint Exchange.
As part of the exercise you’ll start from a couple of pre-drafted flows and you’ll be asked to complete it. At the end of the lab you will be able to attach an invoice to an account and have an invoice record created in salesforce (along with line items) using data extracted by IDP.
Prerequisites
If you didn’t complete Lab 1: Process an Invoice with MuleSoft IDP , in order to be able to consume the NTO Invoice Document Action in Anypoint Studio, you have two options:
-
Use the document action published by one of the other workshop attendee.
-
Quickly create a new <your-initials>
- NTO Invoicedocument action (leave everything set to the default) and publish it to exchange.
Step 1: Clone the Pre-drafted Autolaunched Flow to Post Document to IDP
-
Login into the Salesforce Developer ORG and access the Setup menù.

-
Search for
Flowsin the Quick Find text field and clickFlowsunder Process Automation.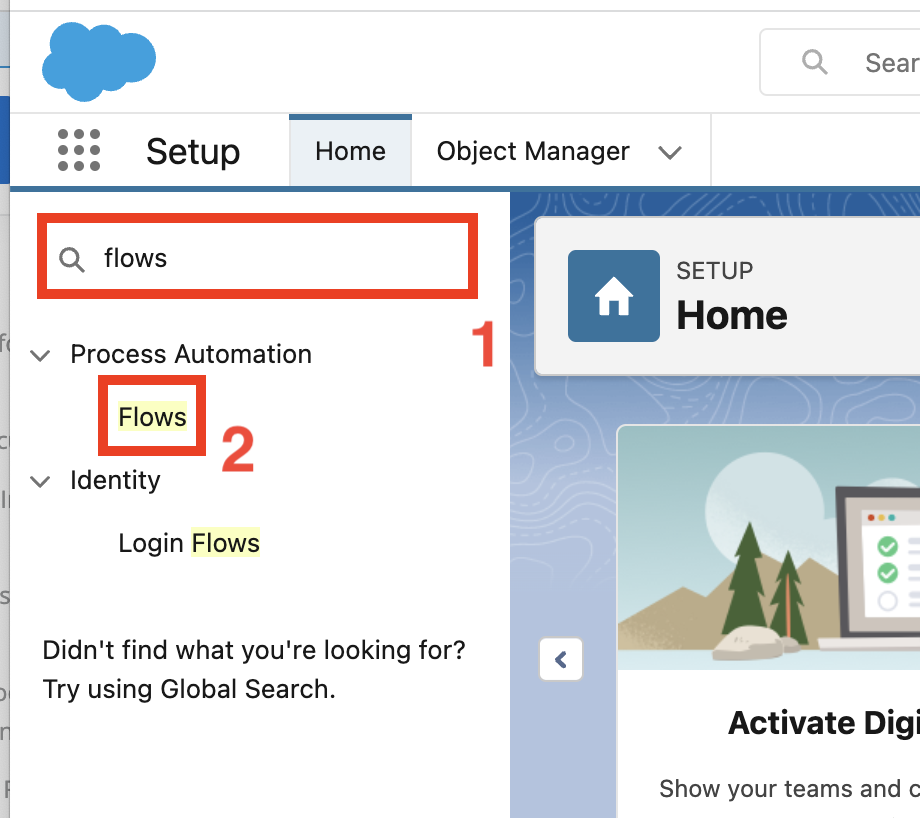
-
Select the
IDP Lab’s Flowslist view from the drop down menu in the top left section.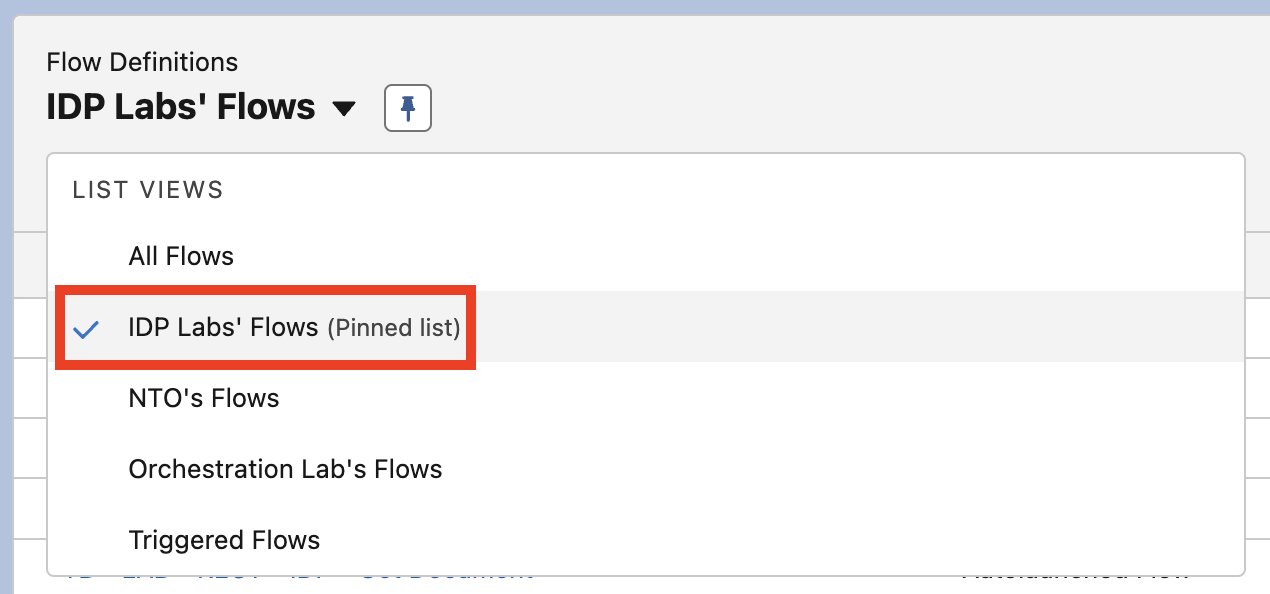
-
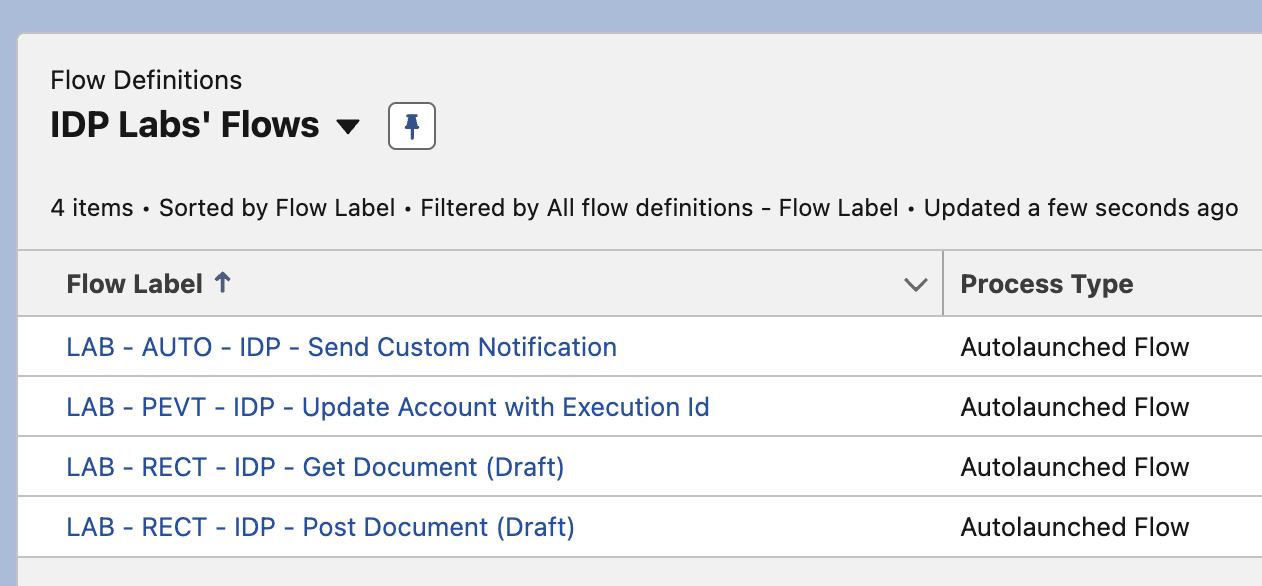
Click the
LAB - RECT - IDP - Post Document (Draft)flow label link from the list.
-
Once the flow is opened click the
Save Asbutton on the top right.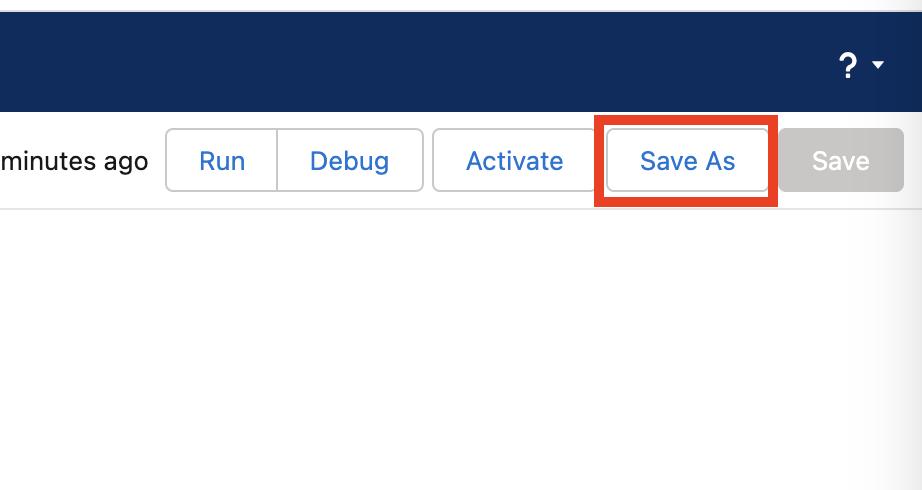
-
Select Save as
A New Flowand provide<your-initials> - LAB - RECT - IDP - Post Documentas Flow Label. Click outside the label field and the Flow API Name should appear automatically.Click the
Savebutton.
Step 2: Complete the Flow to Post Document to IDP
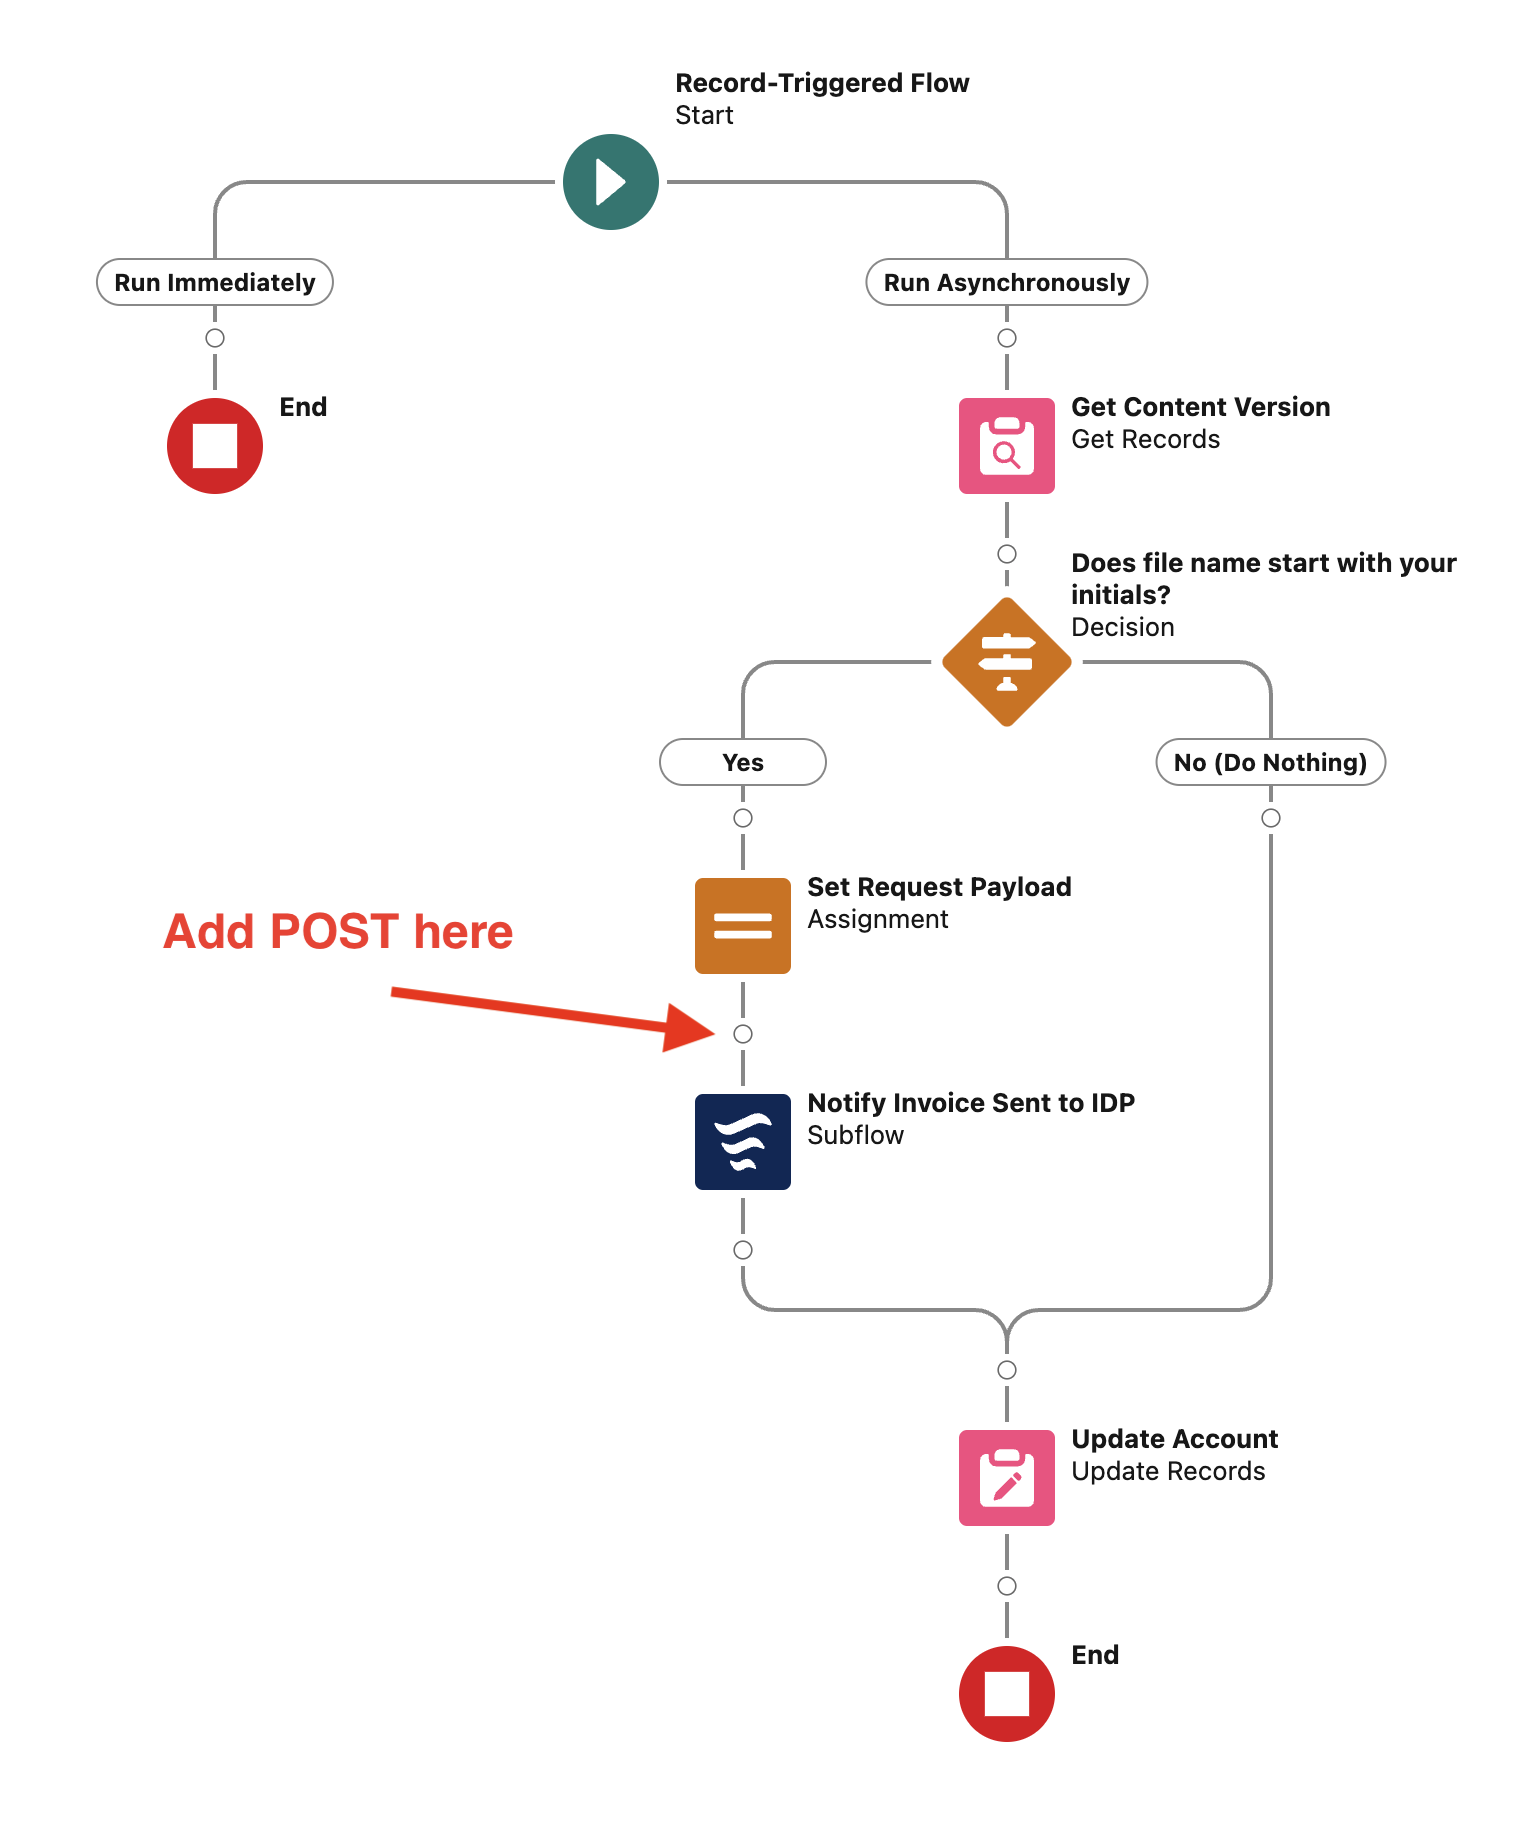
You’ll now complete the pre drafted flow in charge of posting the uploaded file (invoice) to IDP. The flow is triggered when the account is updated to reflect that the file has been attached to the account.
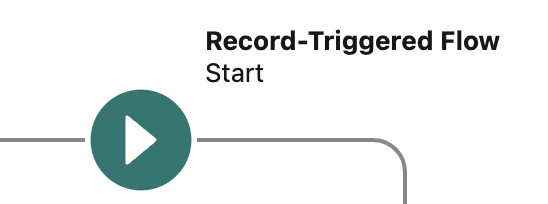
Following you see the pre-drafted flow.
-
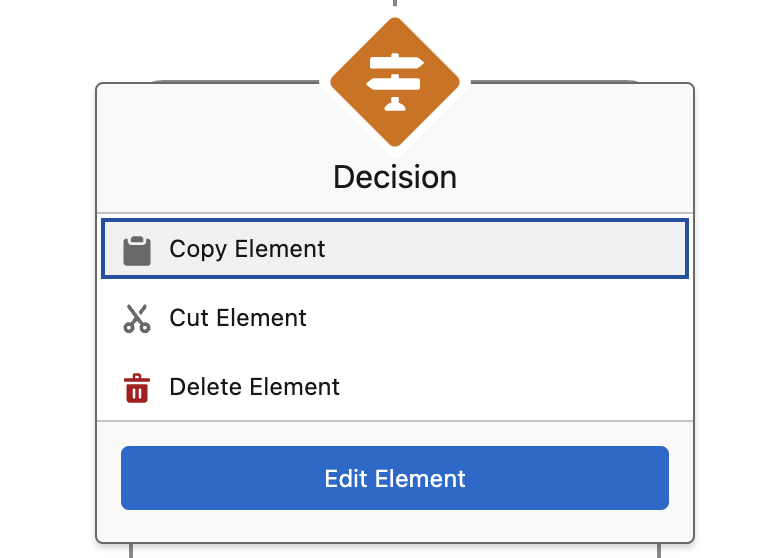
Left-click on the decision element.

-
Left-click on the Edit Element Button.
-
On the right-side of the screen you see the decision element configuration. You need to update the condition to execute the Yes outcome. Replace the condition Value with
<your-initials> -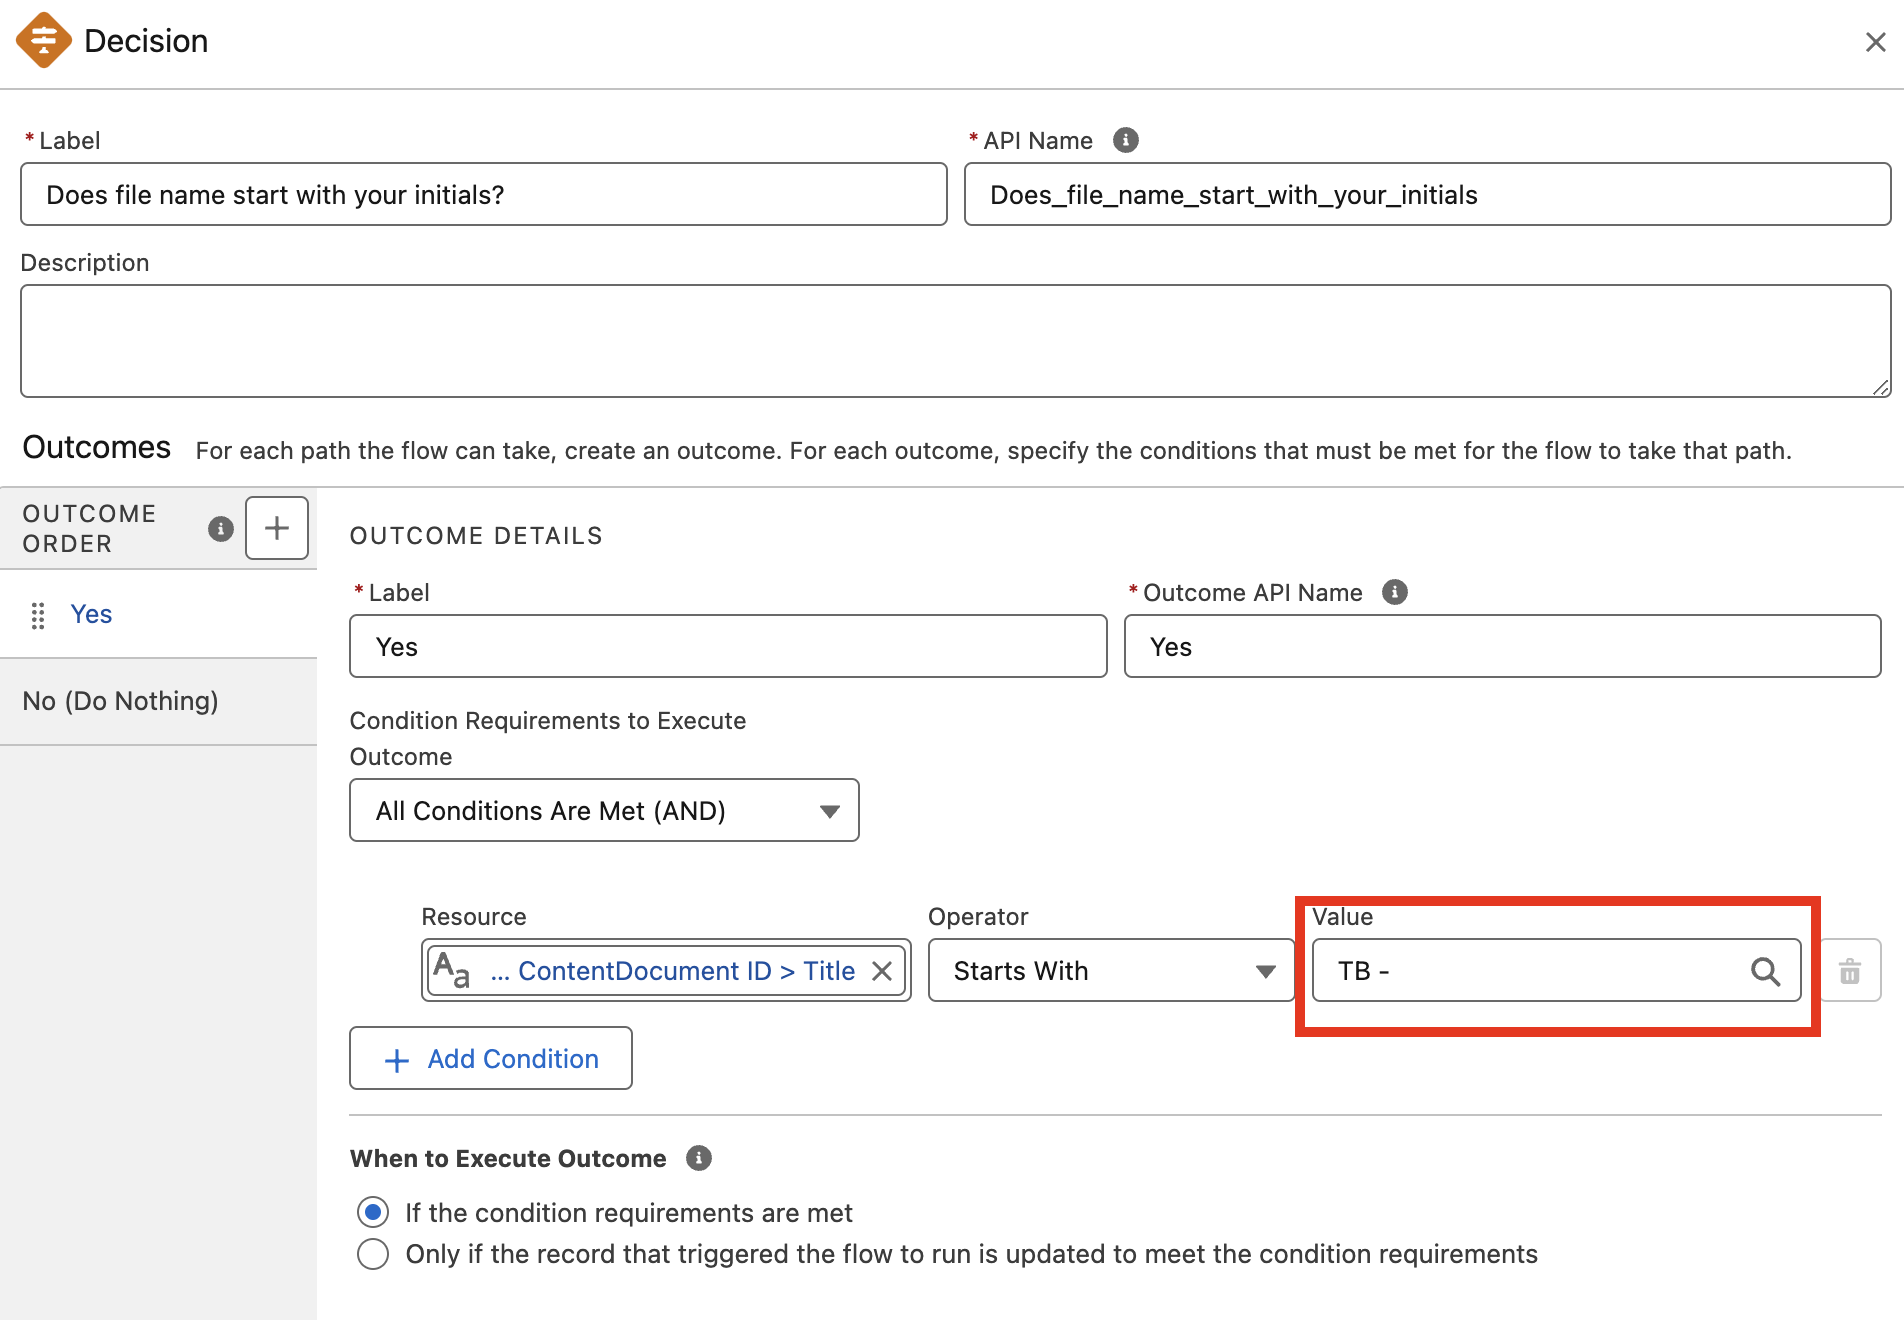
-
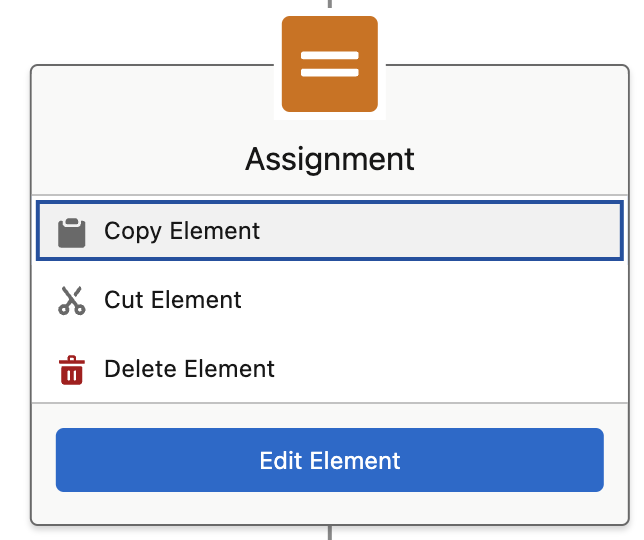
Left-click on the assignment element.
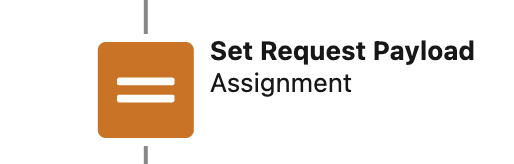
-
Left-click on the Edit Element Button.
-
On the right-side of the screen you see the assignment element configuration. Configure the variables as follow:
Variable Operator Value {!requestPayload.origin}Equals
Salesforce{!requestPayload.originId}Equals
{!$Record.Id}{!requestPayload.originFileContentId}Equals
{!Get_Content_Version.Id}{!requestPayload.originCallbackDestination}Equals
IDPCallback__e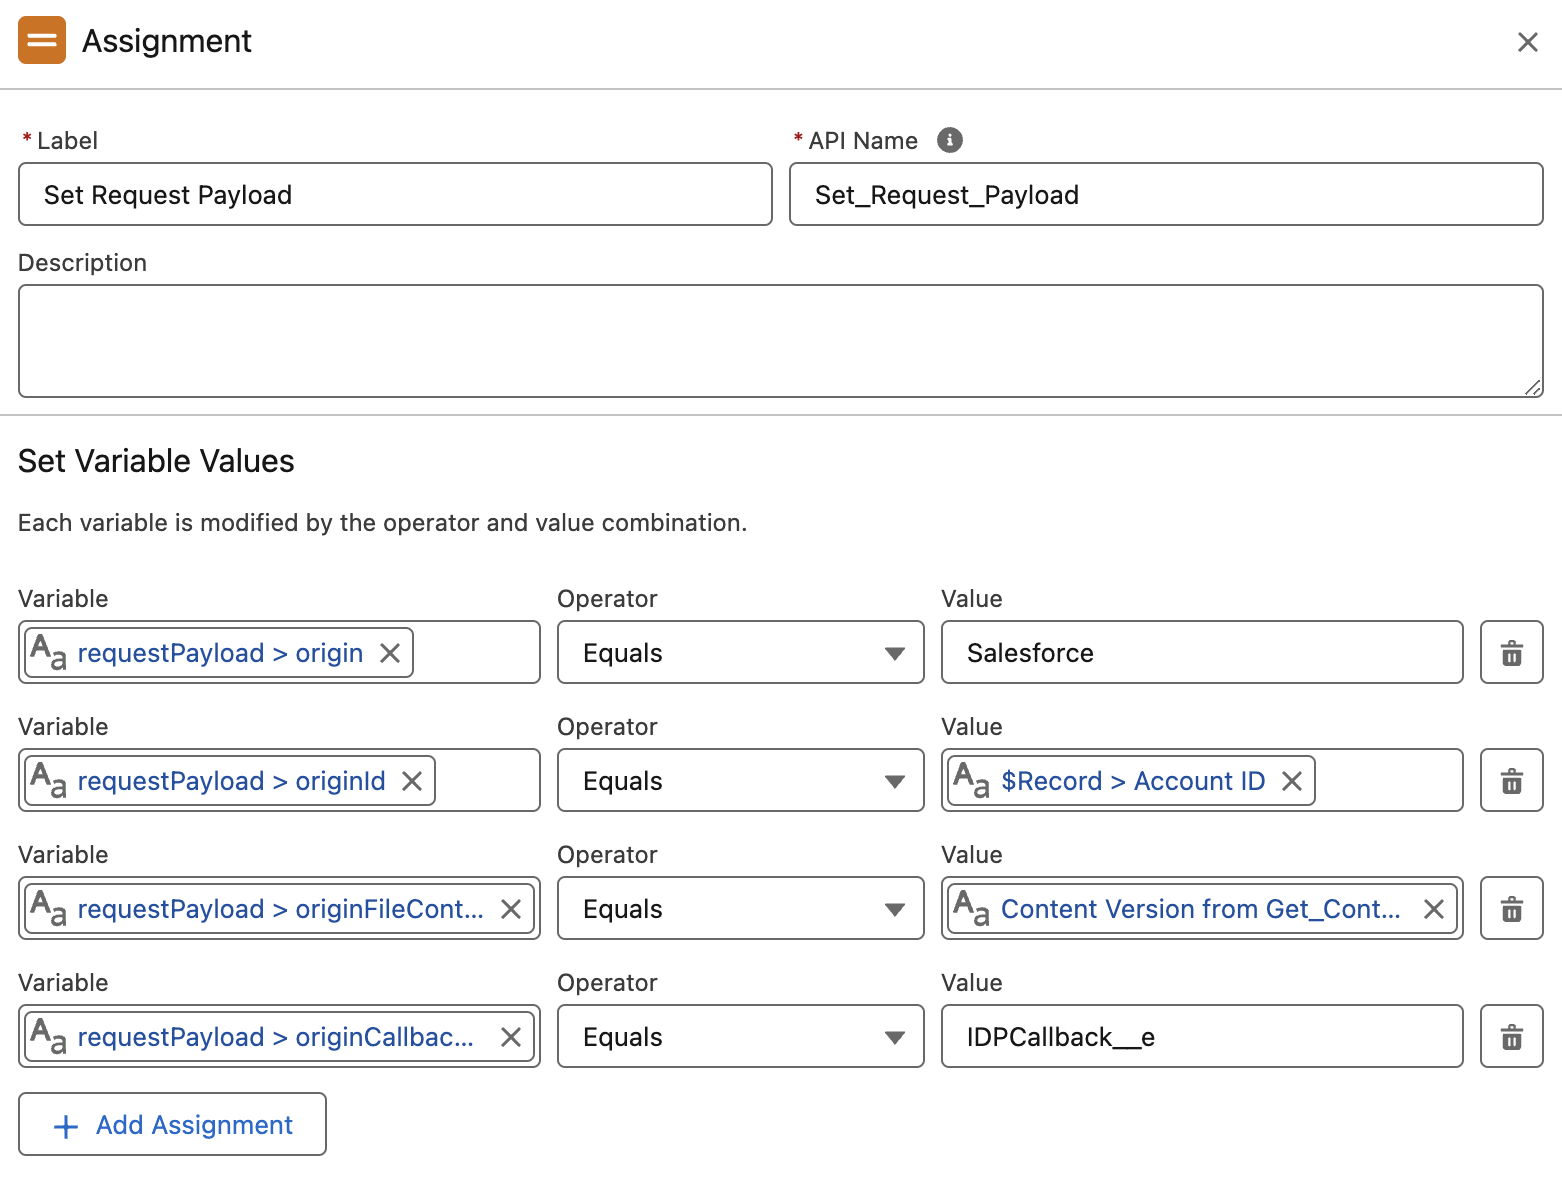
-
Click the Add Element button right after the Set Request Payload assignment element
-
In search filed enter
postDocumentand select the first result.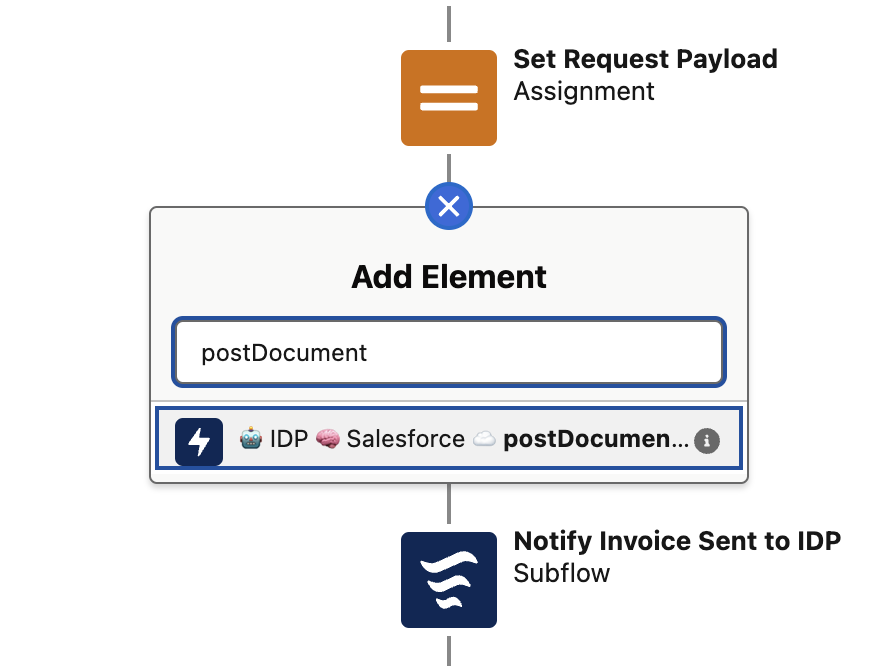
-
Before we configure the postDocument action we need to collect some information for the Document Action published within Anypoint Exchange.

-
Open the POST method for your Document Action published to Exchange. From the endpoint you need to take note of the following information:
-
API Version (eg. v1)
-
ORG Id (eg. c1f72f83-cfad-43cd-8a31-b48347945466)
-
Action ID (eg. 7ab01641-a76d-4348-9307-2fbe8ab93434)
-
Action Version (eg. 1.0.0)
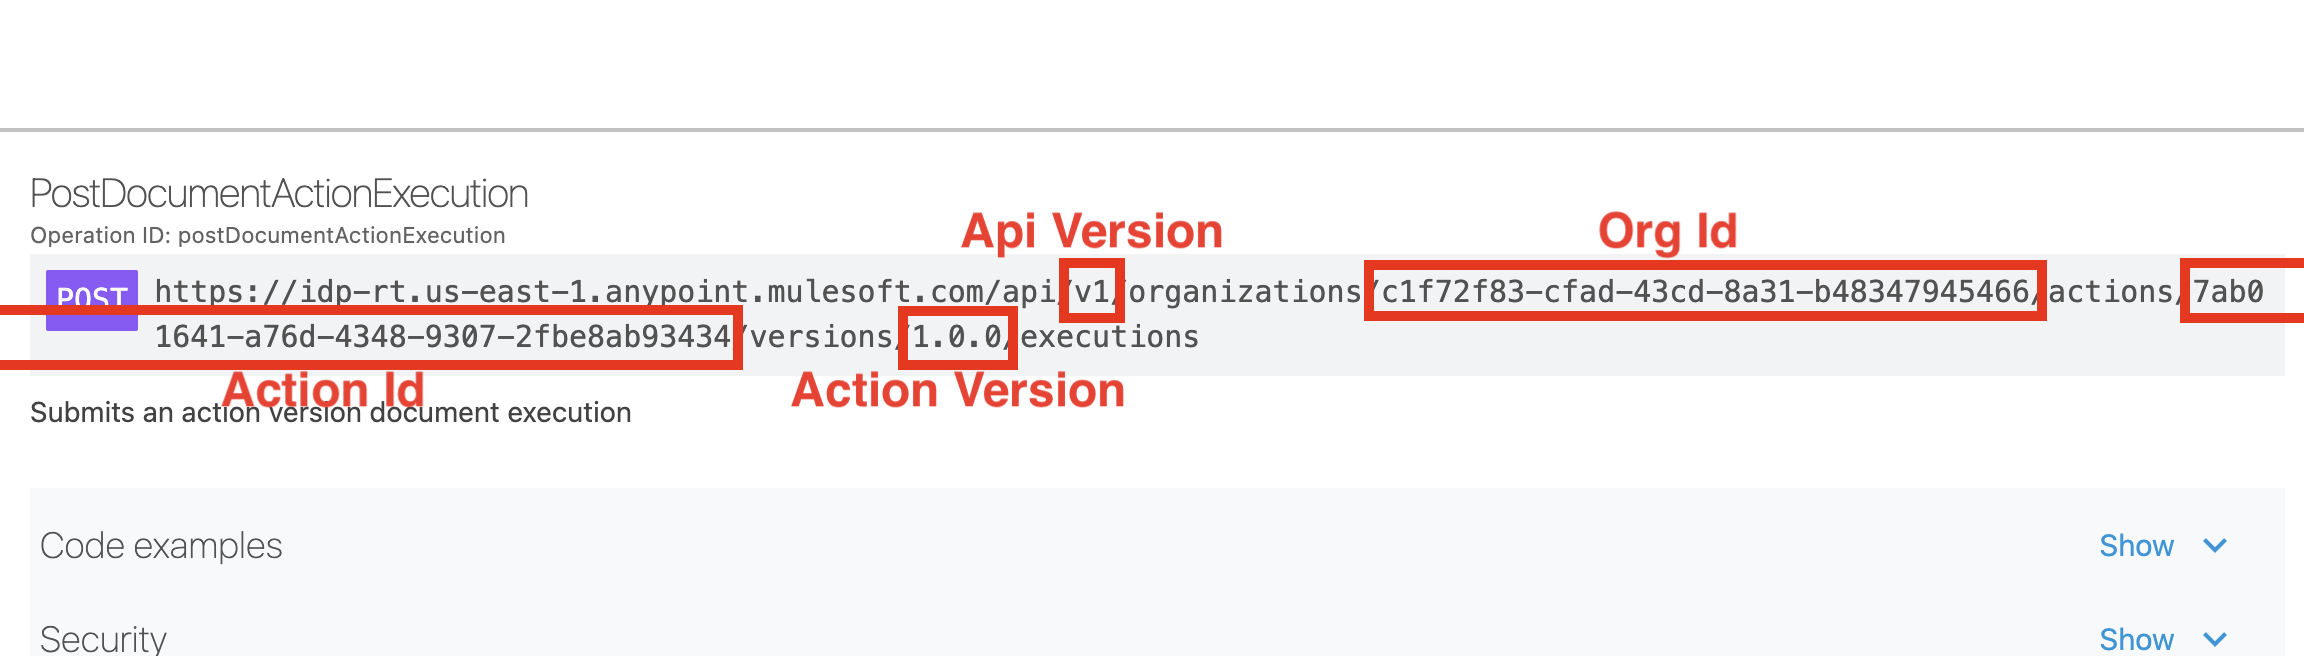
!!! Important Note !!! The values above are just an example and might differ from the one you should use.
-
-
Go back to flow builder in Salesforce. You need now to properly configure the postDocument action. Enter
Post Document to IDPas label.Configure input values for the action as follows:
Attribute Value Action Id
<Replace with value from Anypoint Exchange>
Action Version
<Replace with value from Anypoint Exchange>
API Version
<Replace with value from Anypoint Exchange>
Mode
fireAndForgetORG Id
<Replace with value from Anypoint Exchange>
Generated (Enable the Included switch)
{!requestPayload}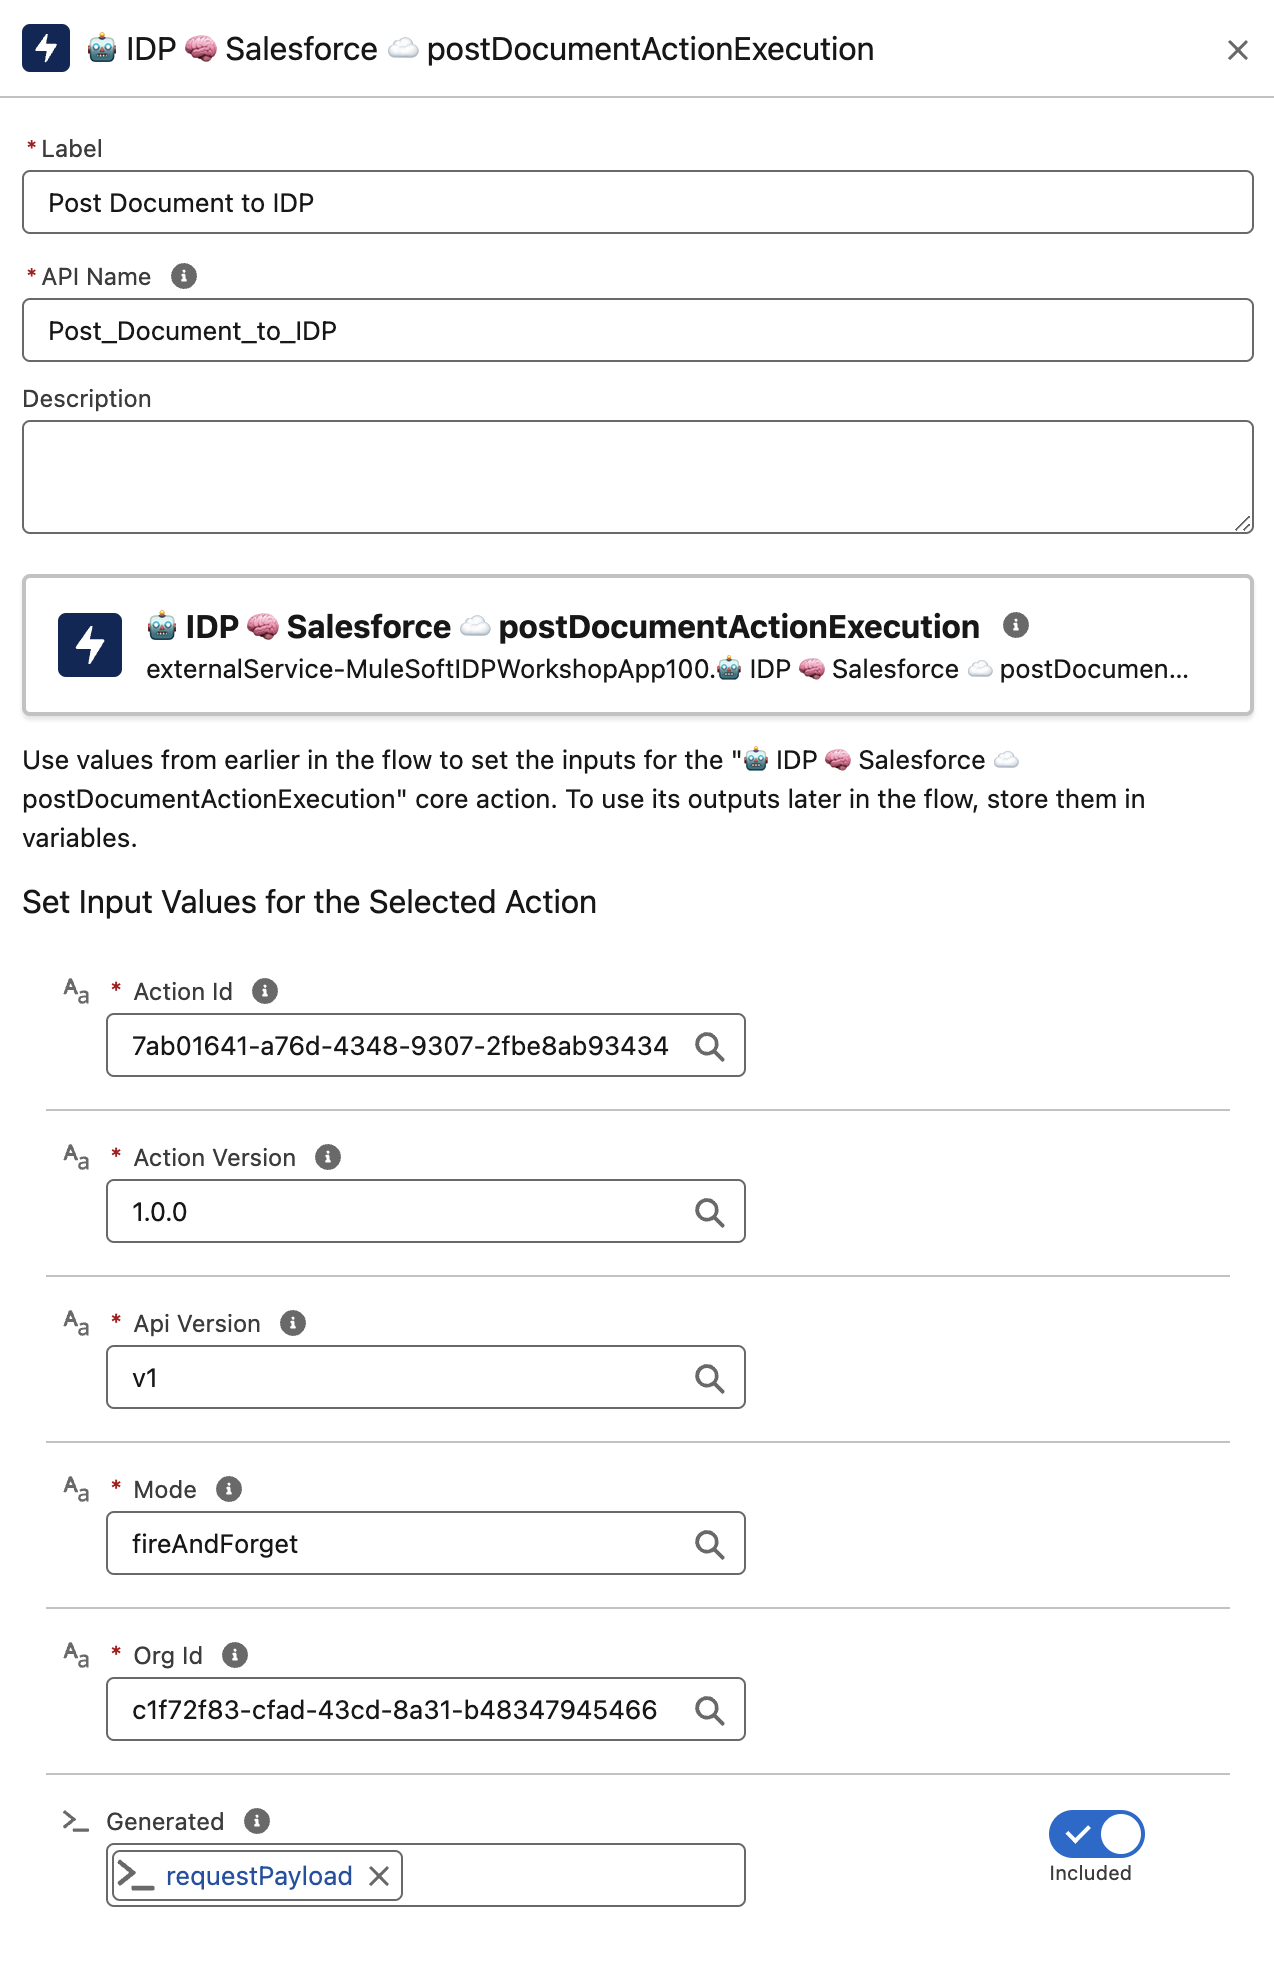
-
Click Save button.

-
Click Activate button.

Step 3: Connect Salesforce to Anypoint Exchange
-
Access the Setup menù.
-
Search for
MuleSoftin the Quick Find text field and clickServicesunder MuleSoft.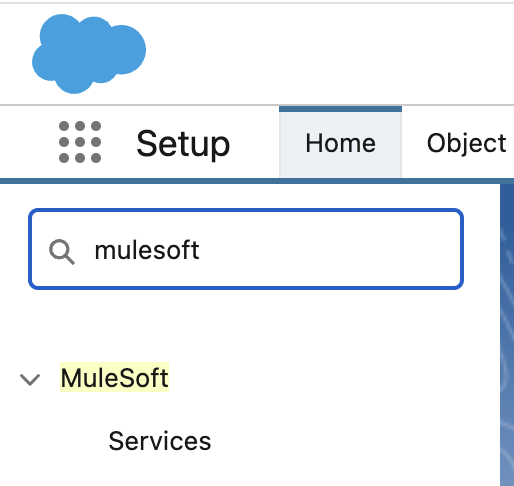
-
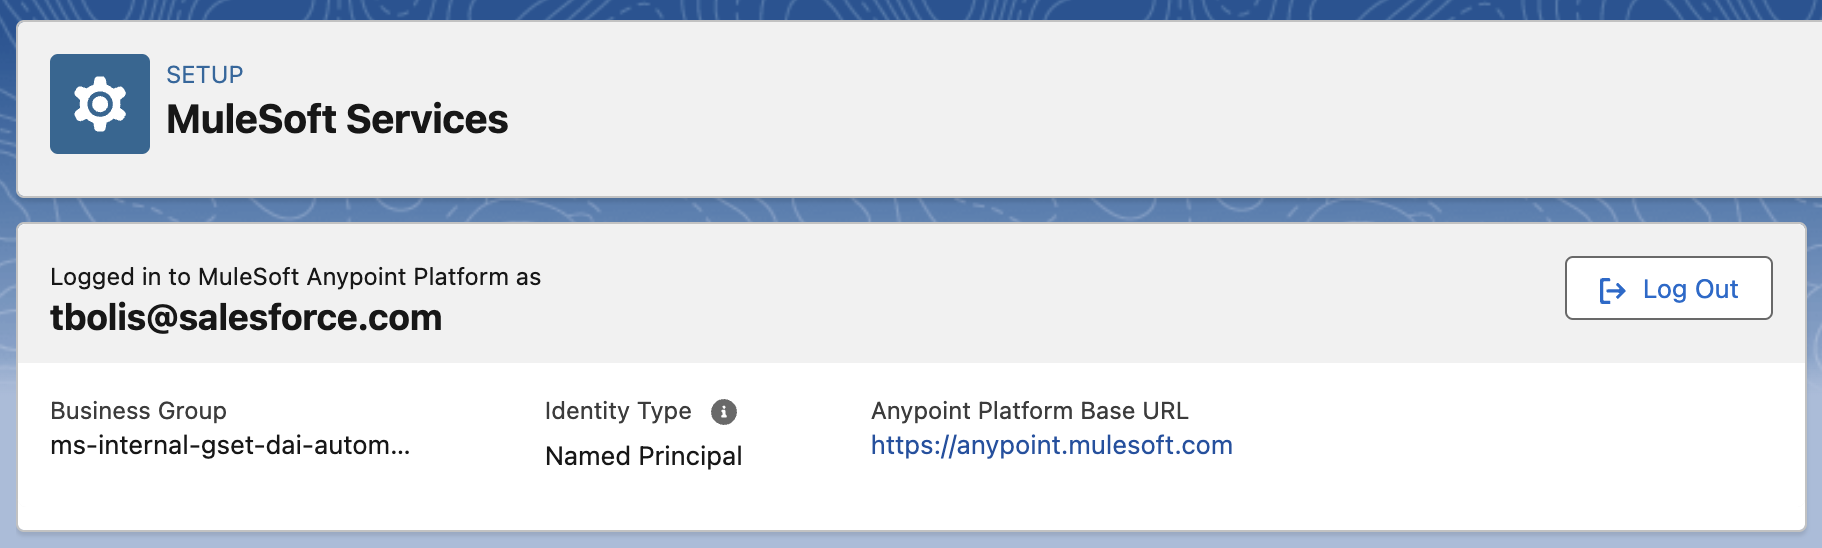
At this point you could have the connection with Anypoint Platform already in place or not. In case the connection is already active you will see something like follows with the message "Logged in to MuleSoft Anypoint Platform as <username>". If this is the case you can skip the following instructions by clicking here.
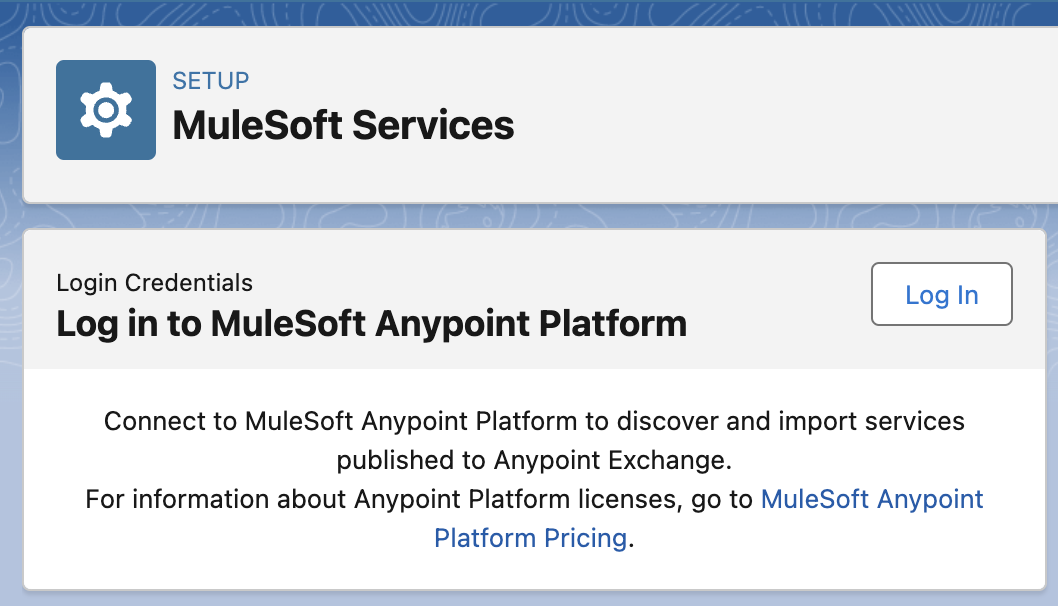
In case the connection is not in place this will be done by the first attendee or by the instructor once for everyone. Click on the Log In button.
-
Leave
US Cloudas selected option for the control plane and click Login In.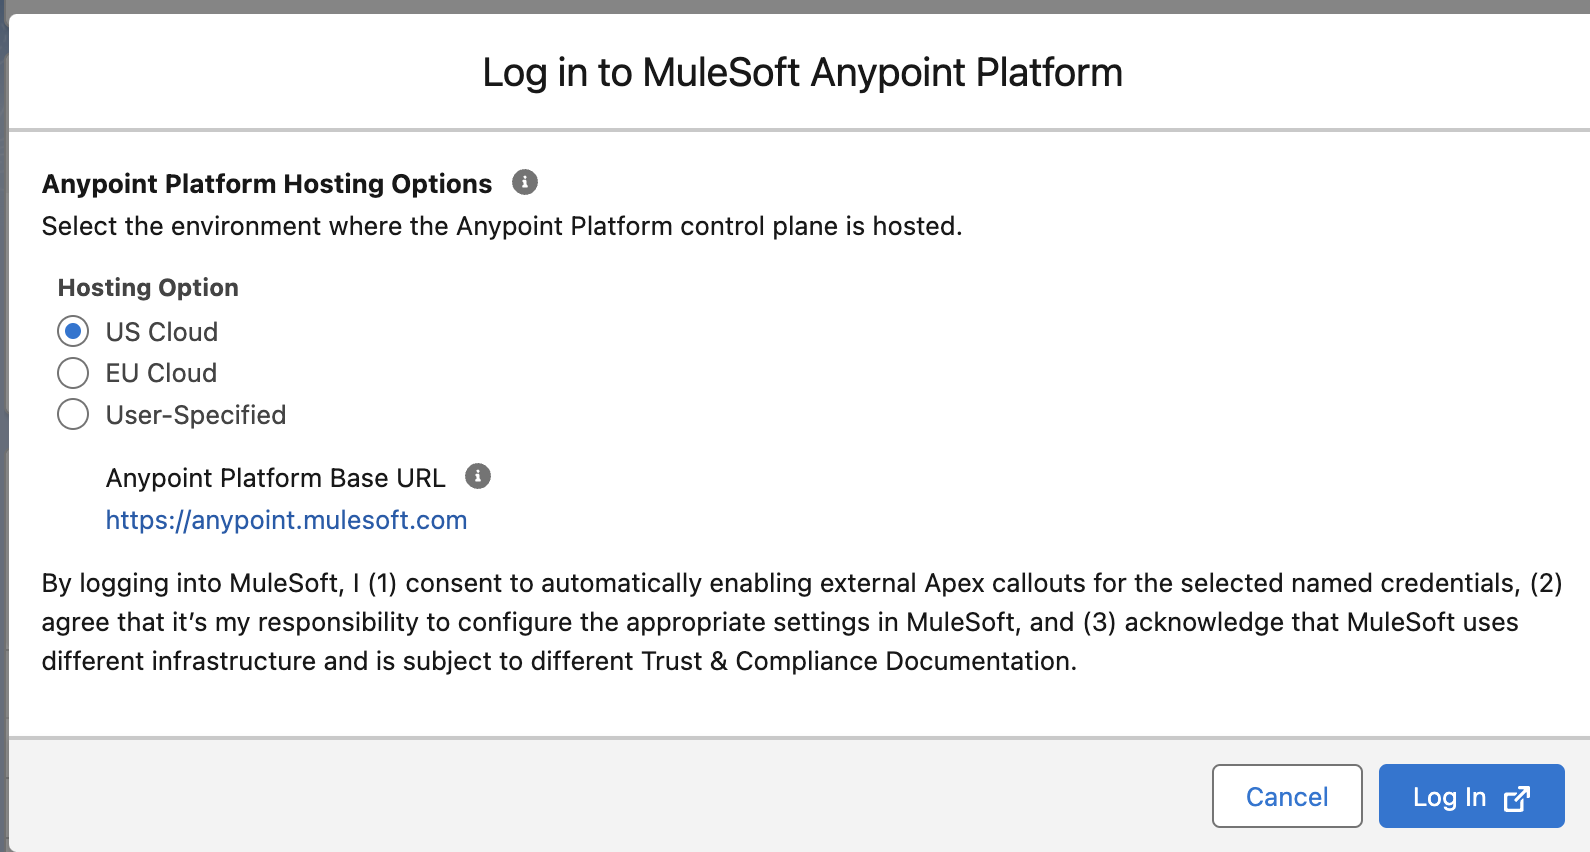
-
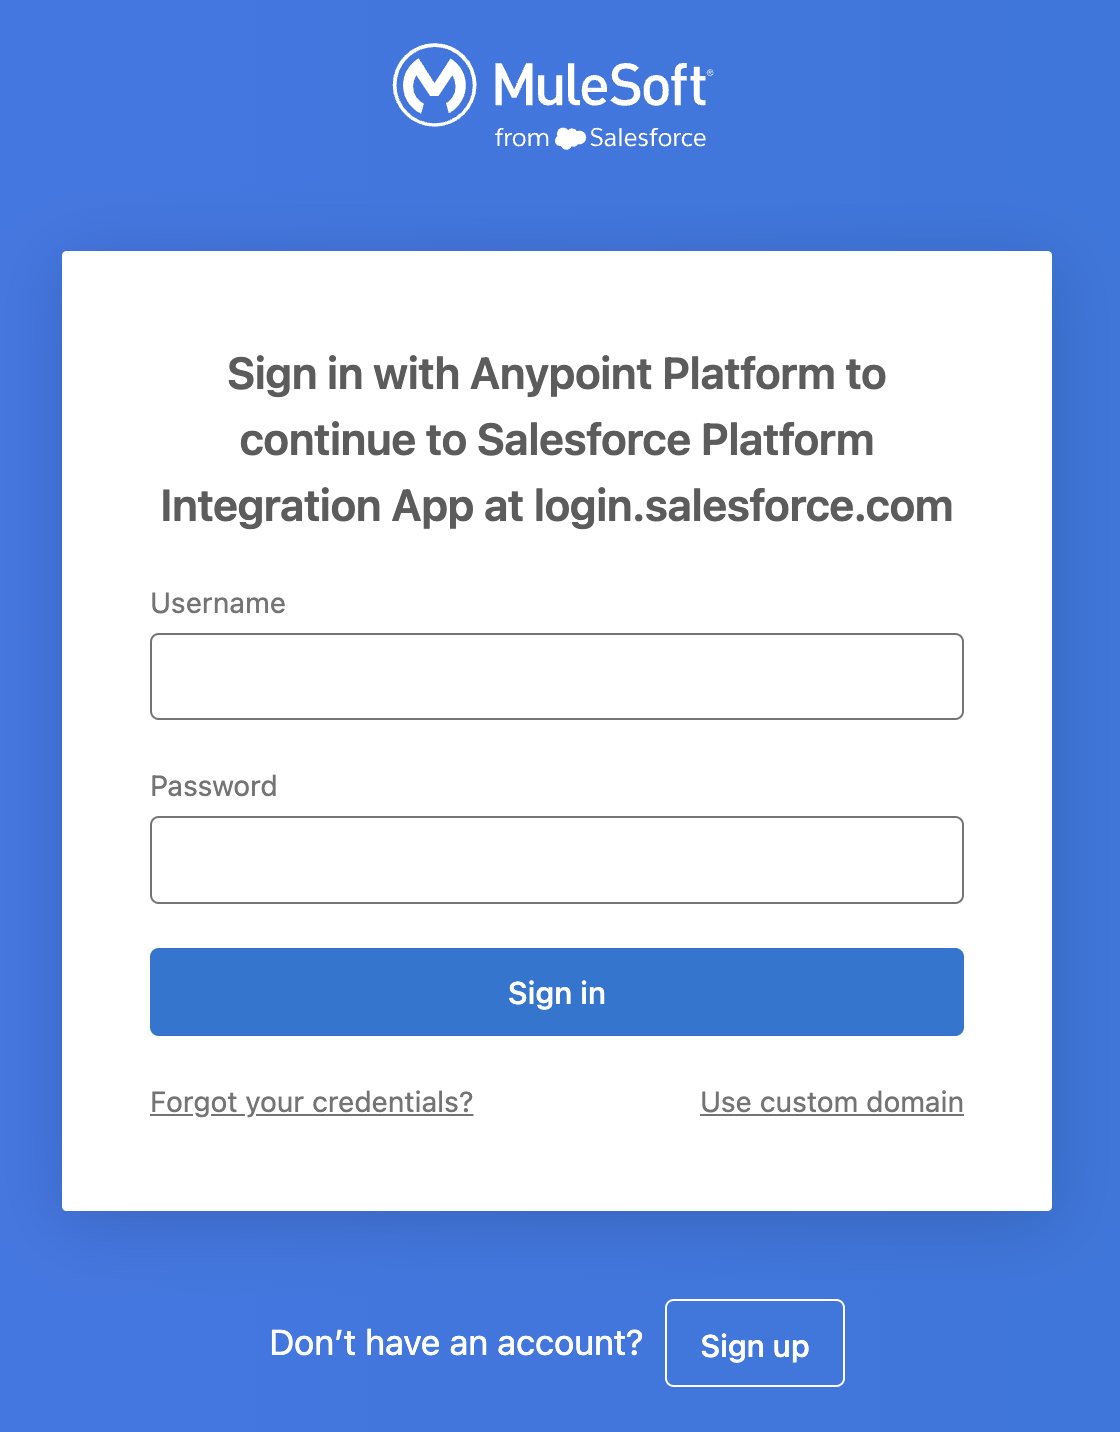
Enter user credentials you previously used to log into Anypoint Platform.
-
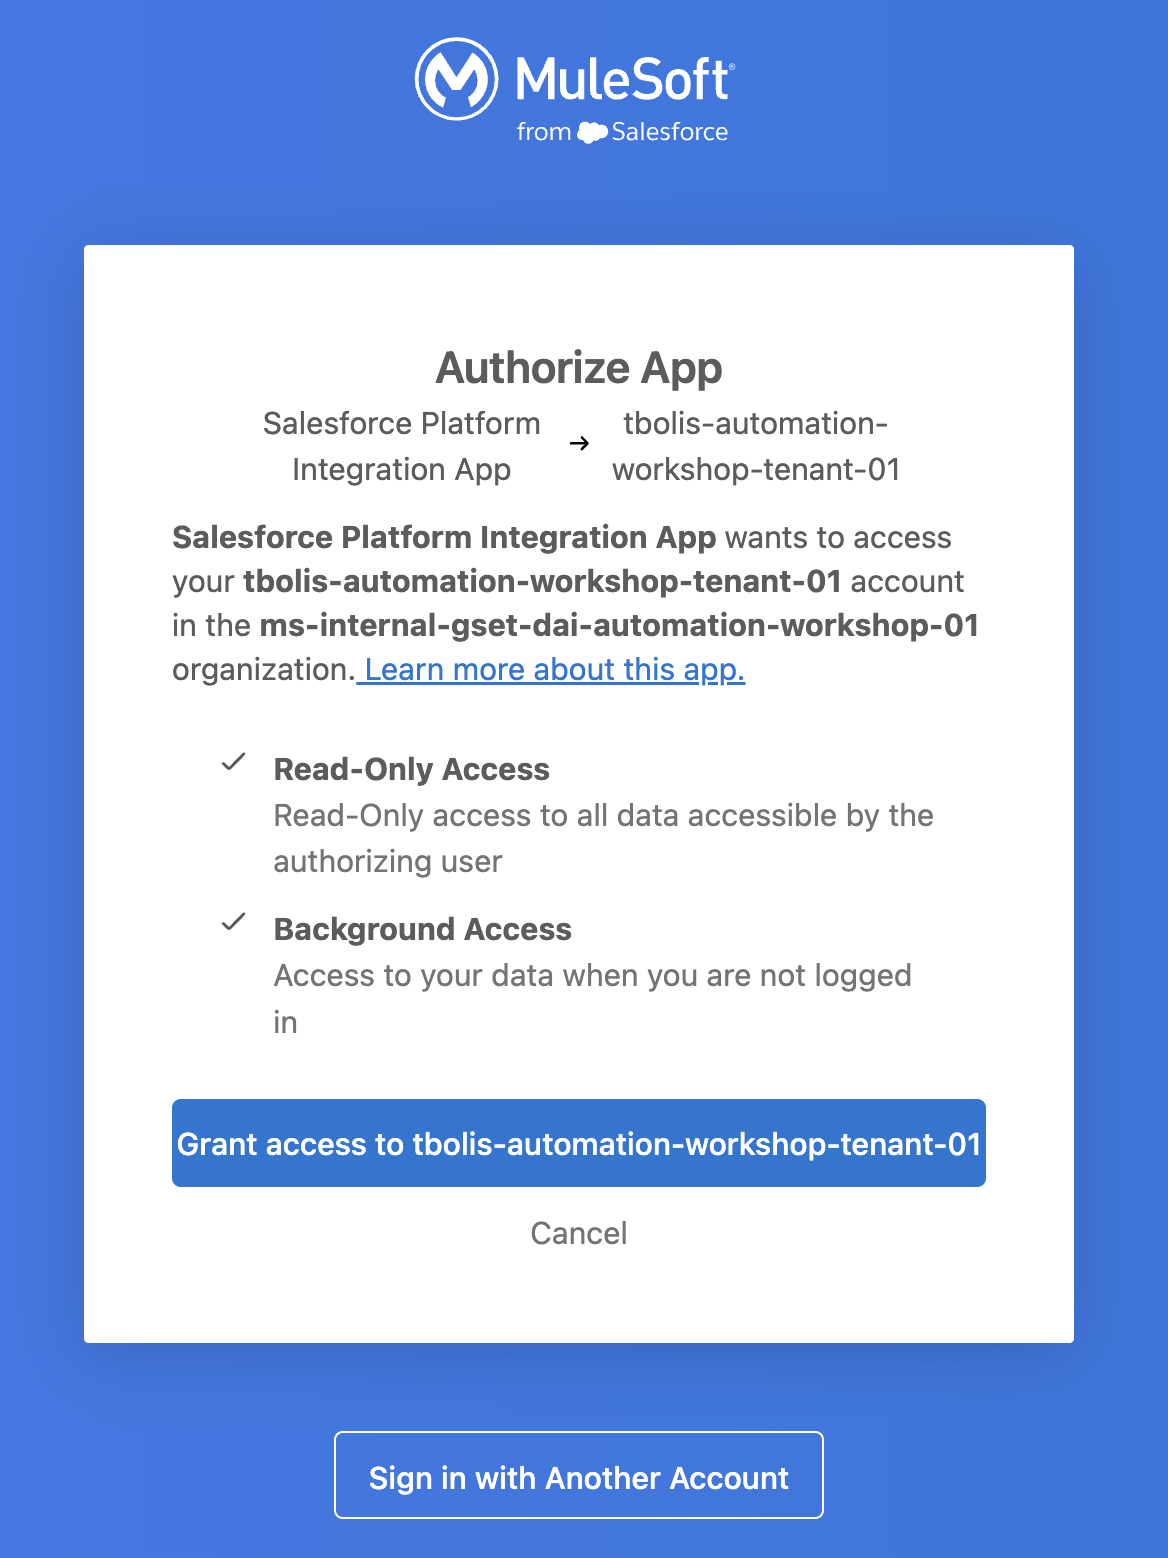
Grant Salesforce the access to Anypoint Platform with the provided credentials.
Step 4: Import the Document Action into Salesforce from Anypoint Exchange
-
Now that the connection is correctly setup, click the Import button to import the document action you previously published to exchange.
-
Select from the list the service with your initials (<your-intials>
NTO Invoice) and click Next.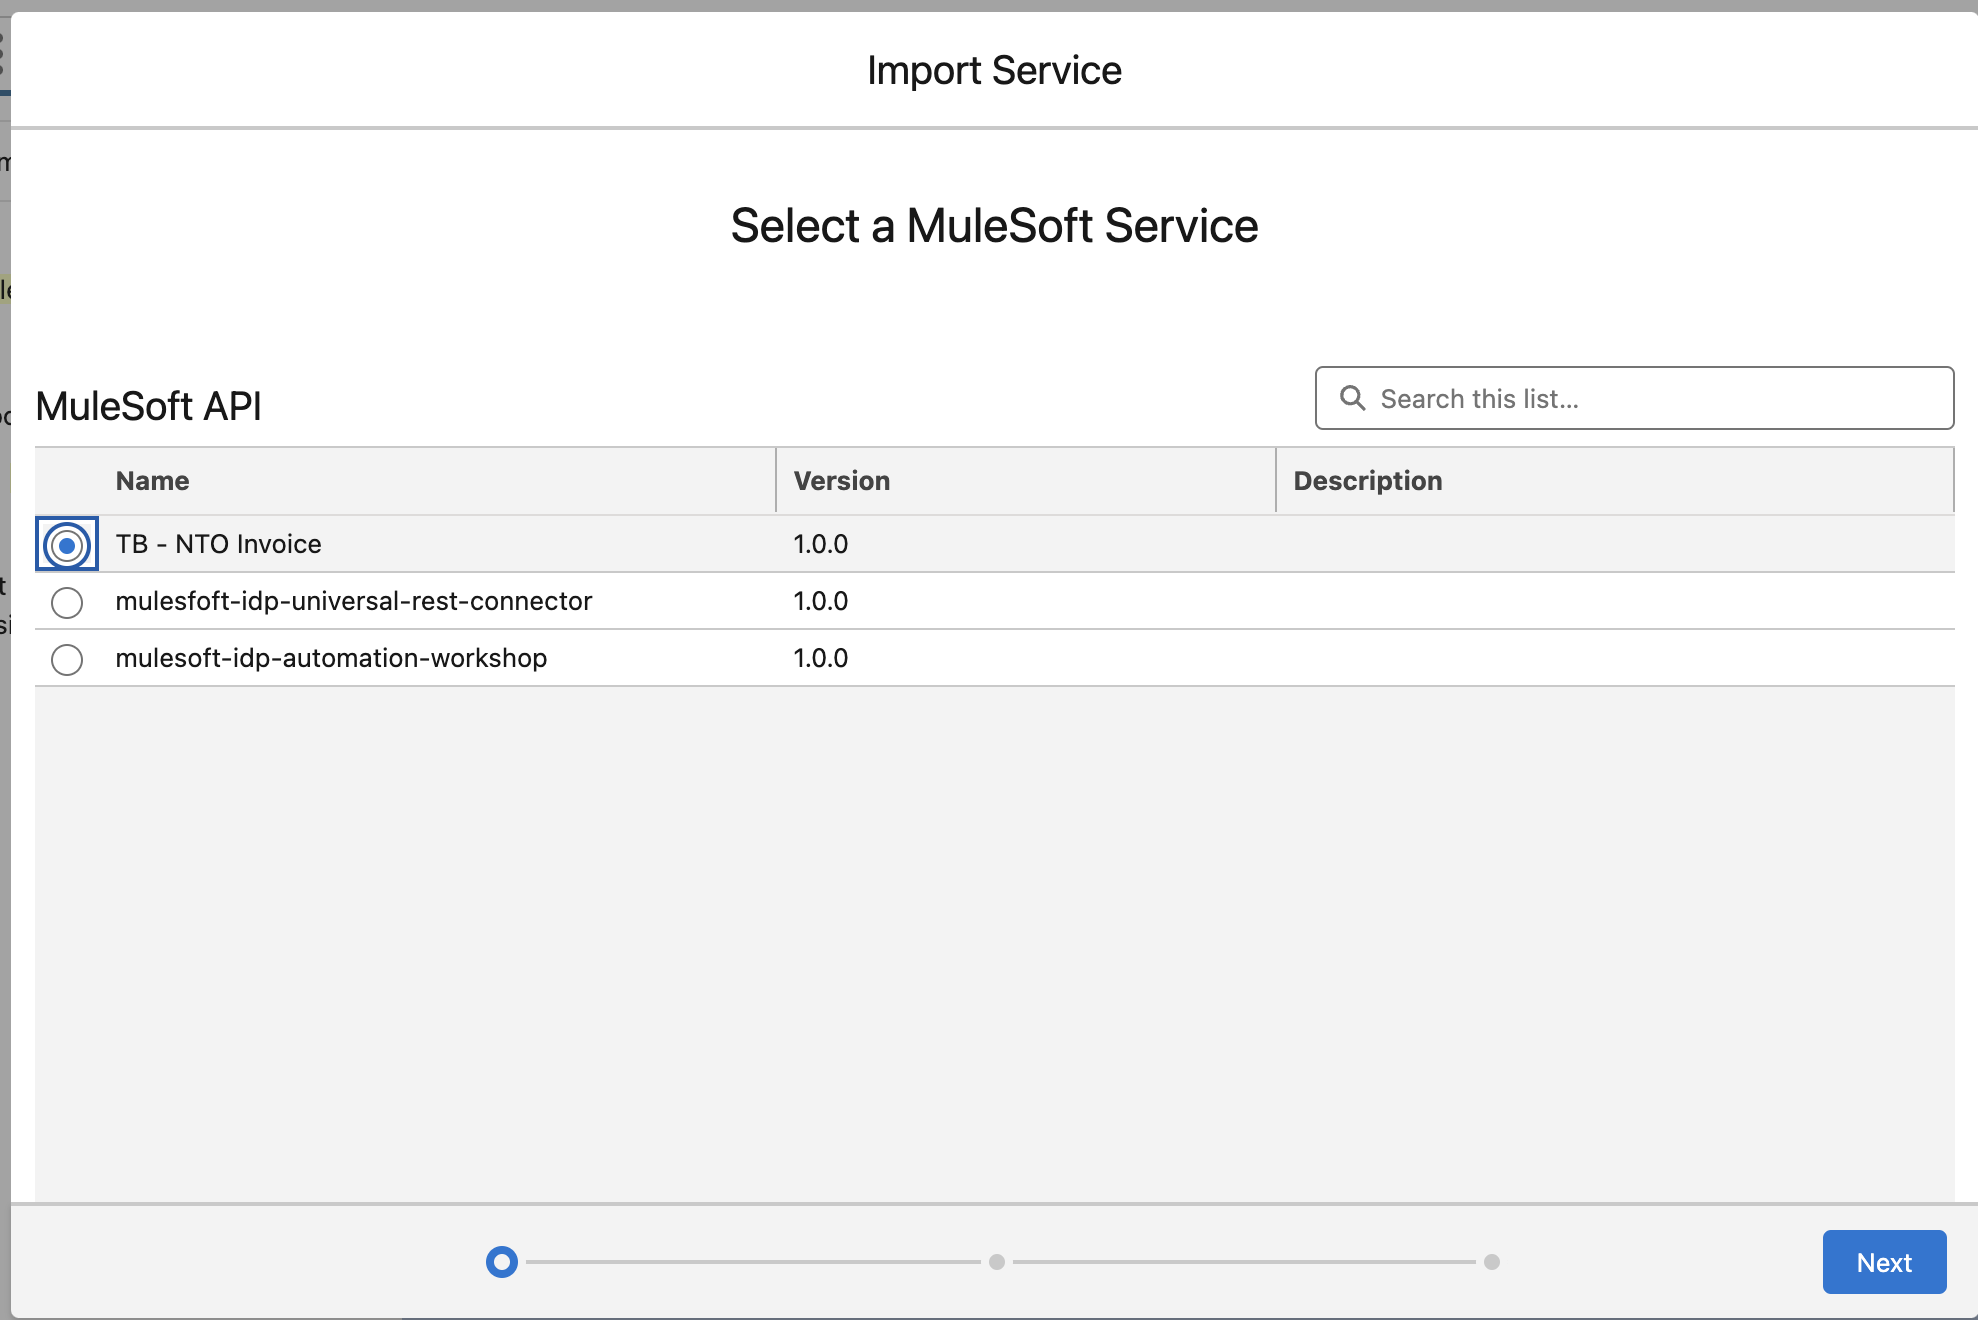
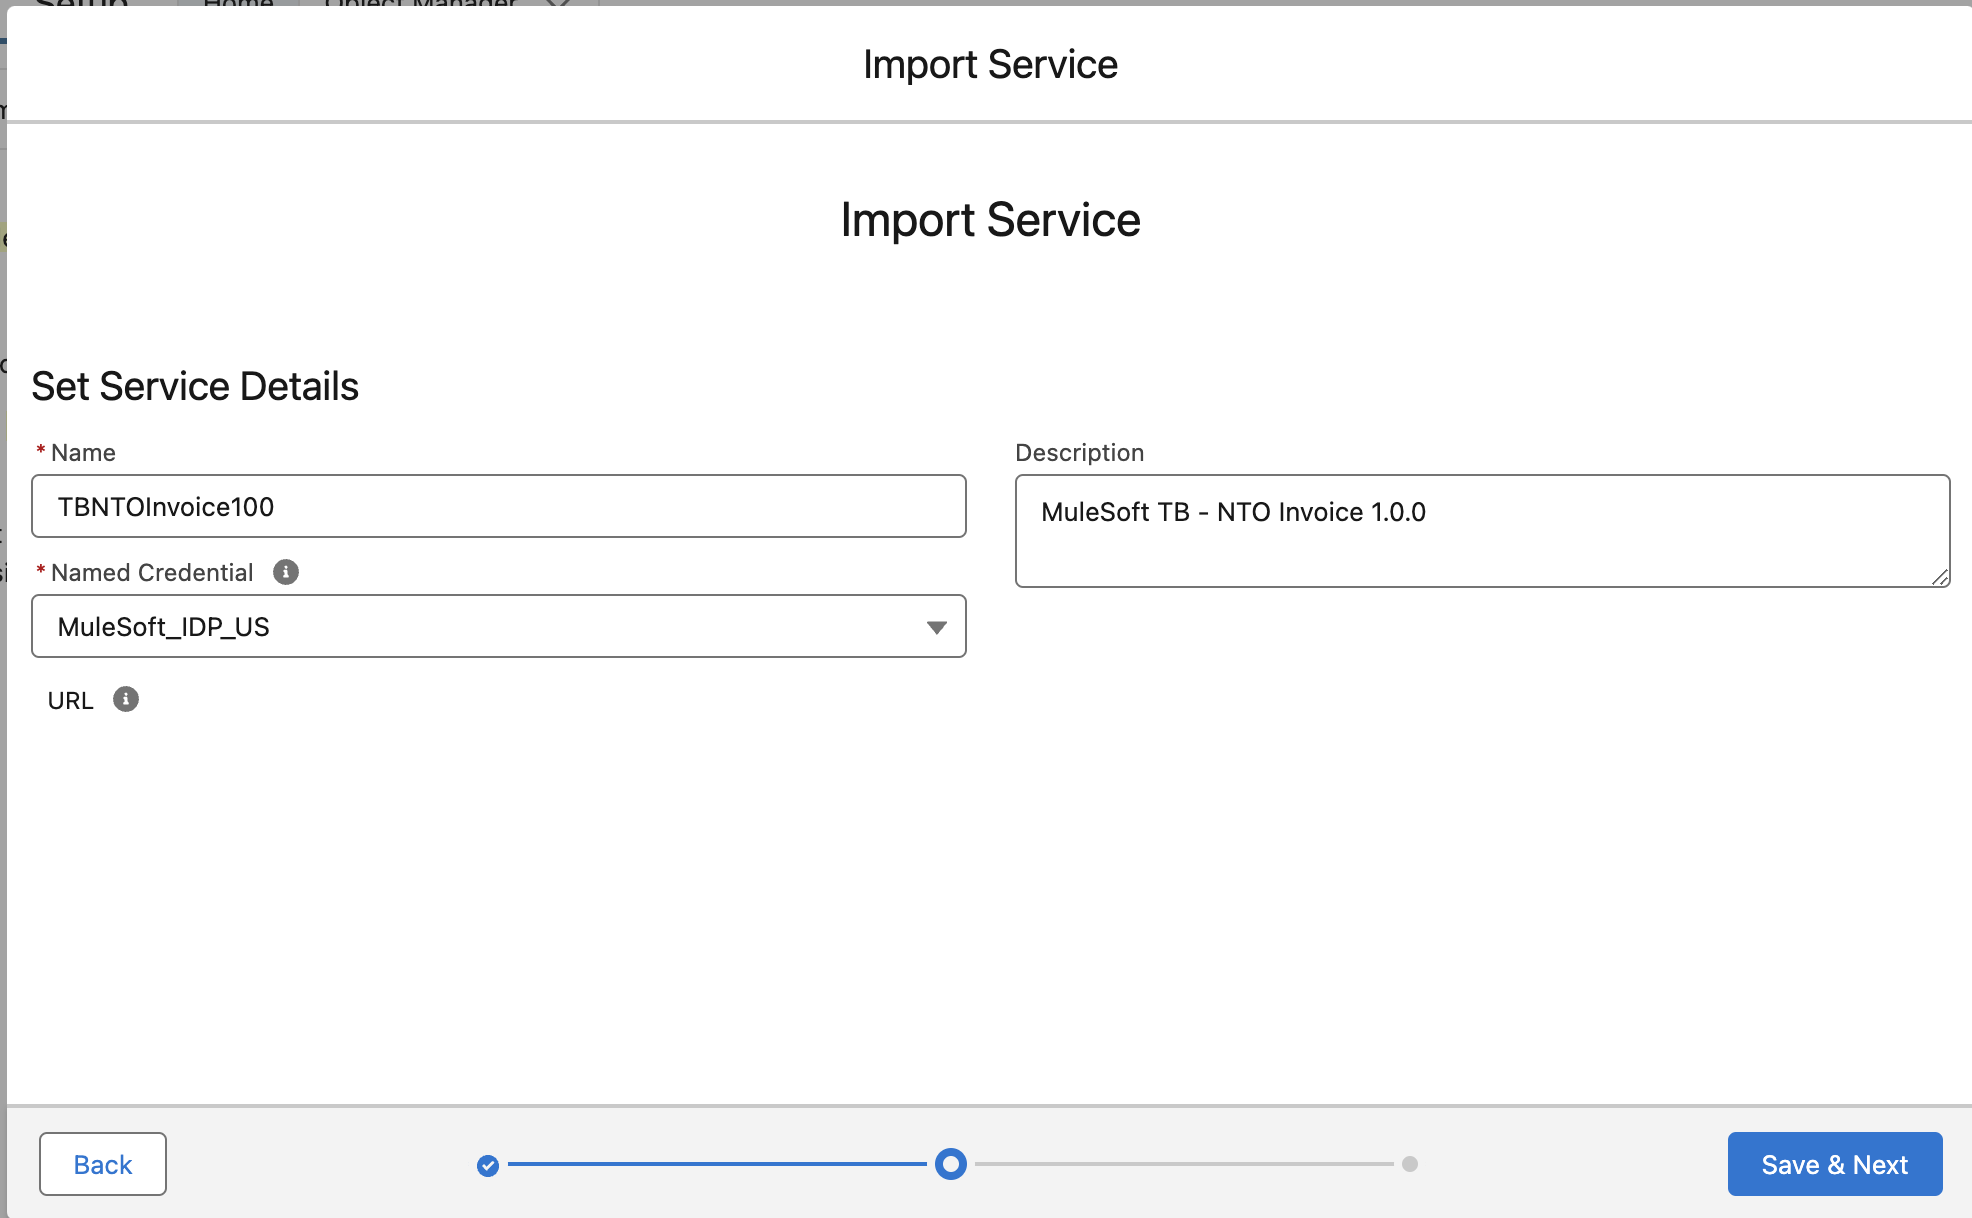
Configure the service as follows.
Field Value Name
<your-intials>NTOInvoice100(eg. TBNTOInvoice100)Description
MuleSoft <your-intials> - NTO Invoice 1.0.0Named Credential
<Select MuleSoft_IDP_US>
Click Save & Next.
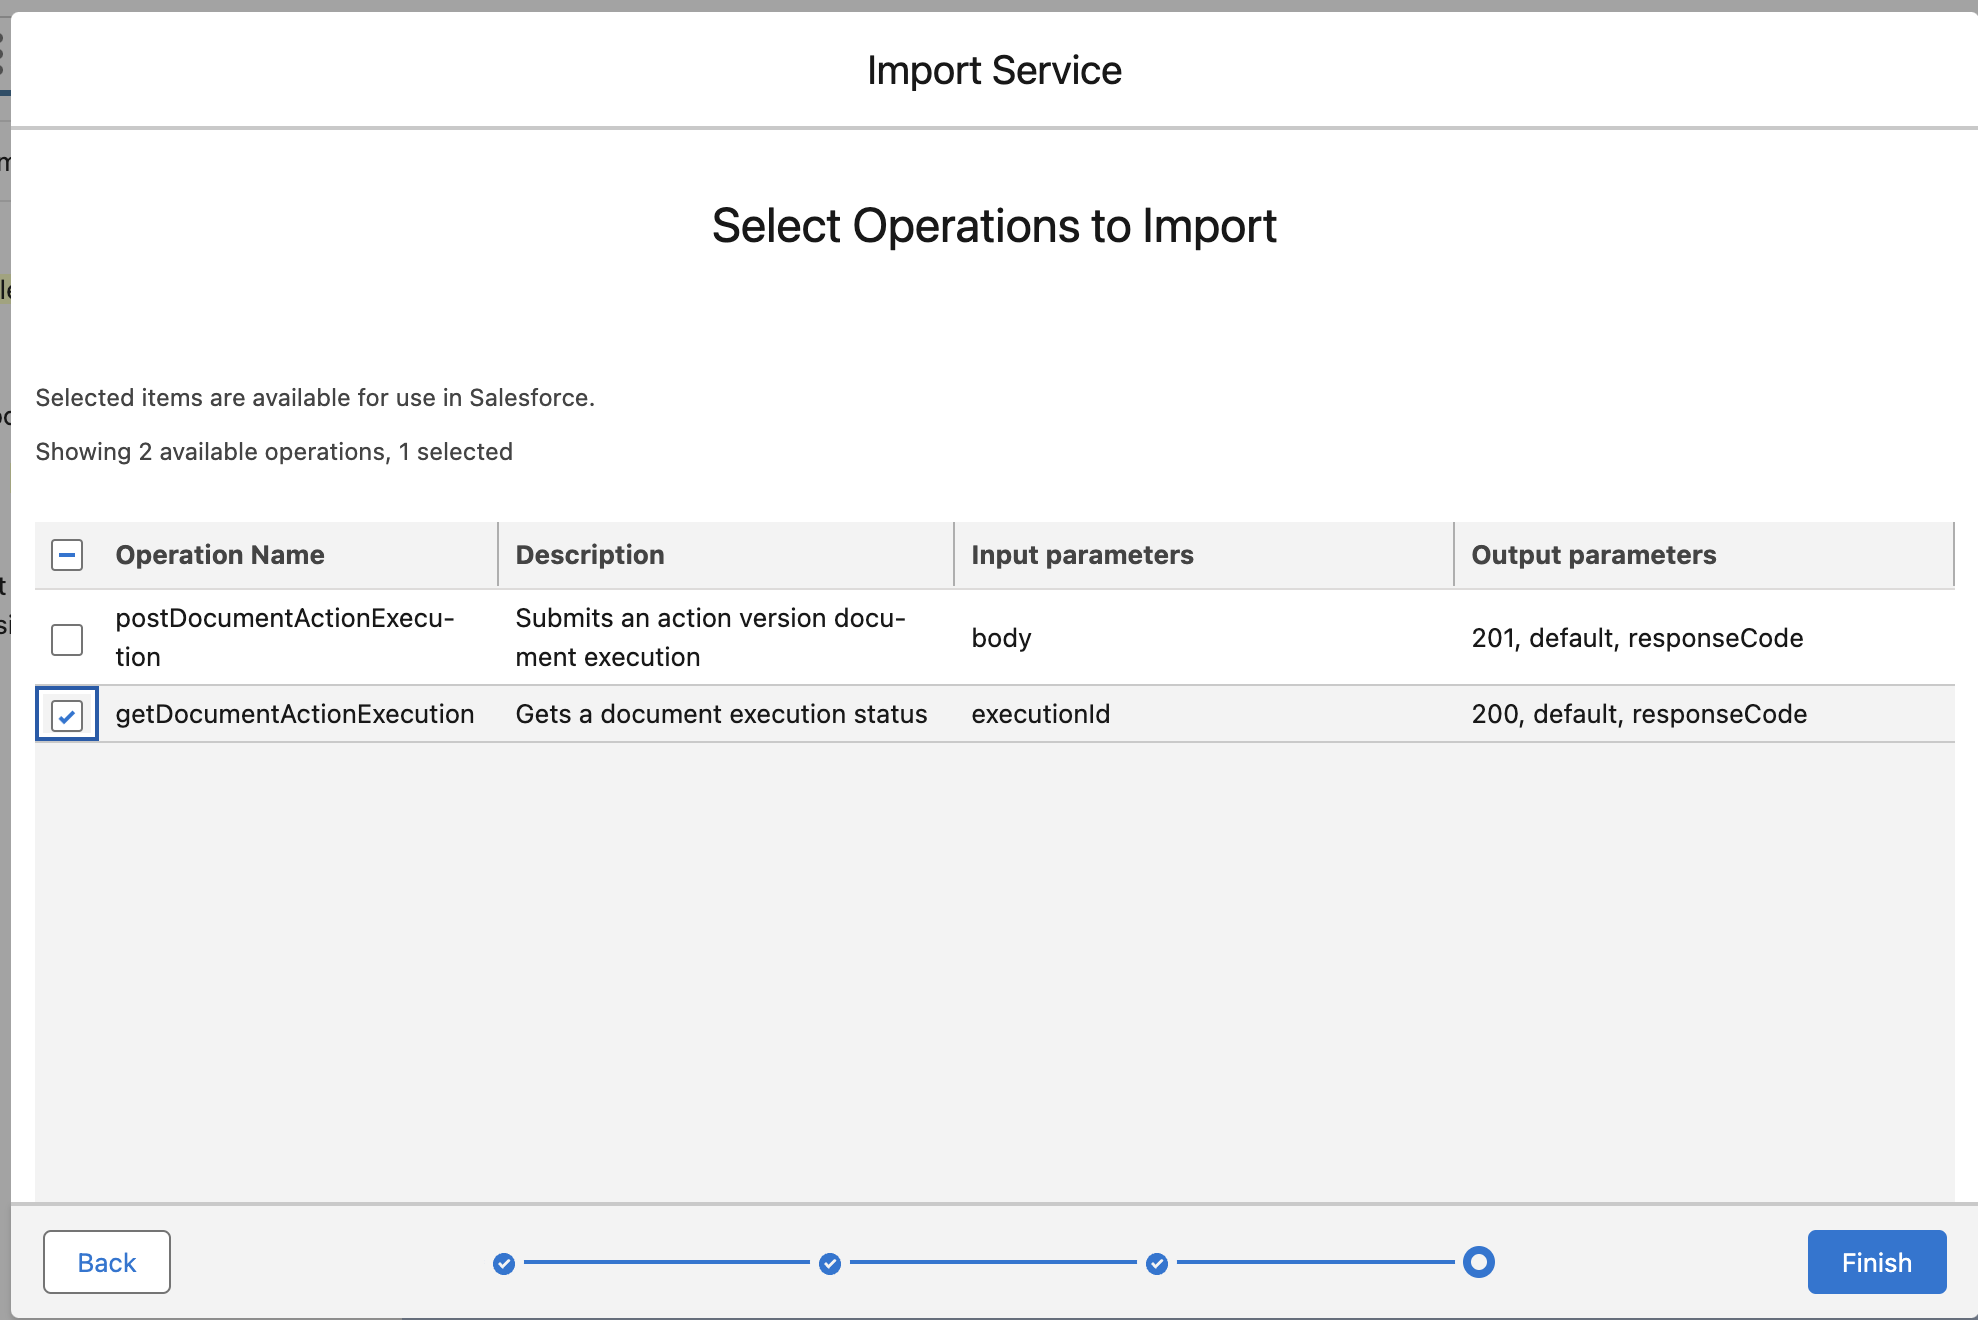
-
Select application/json as Supported Media Type and click Next
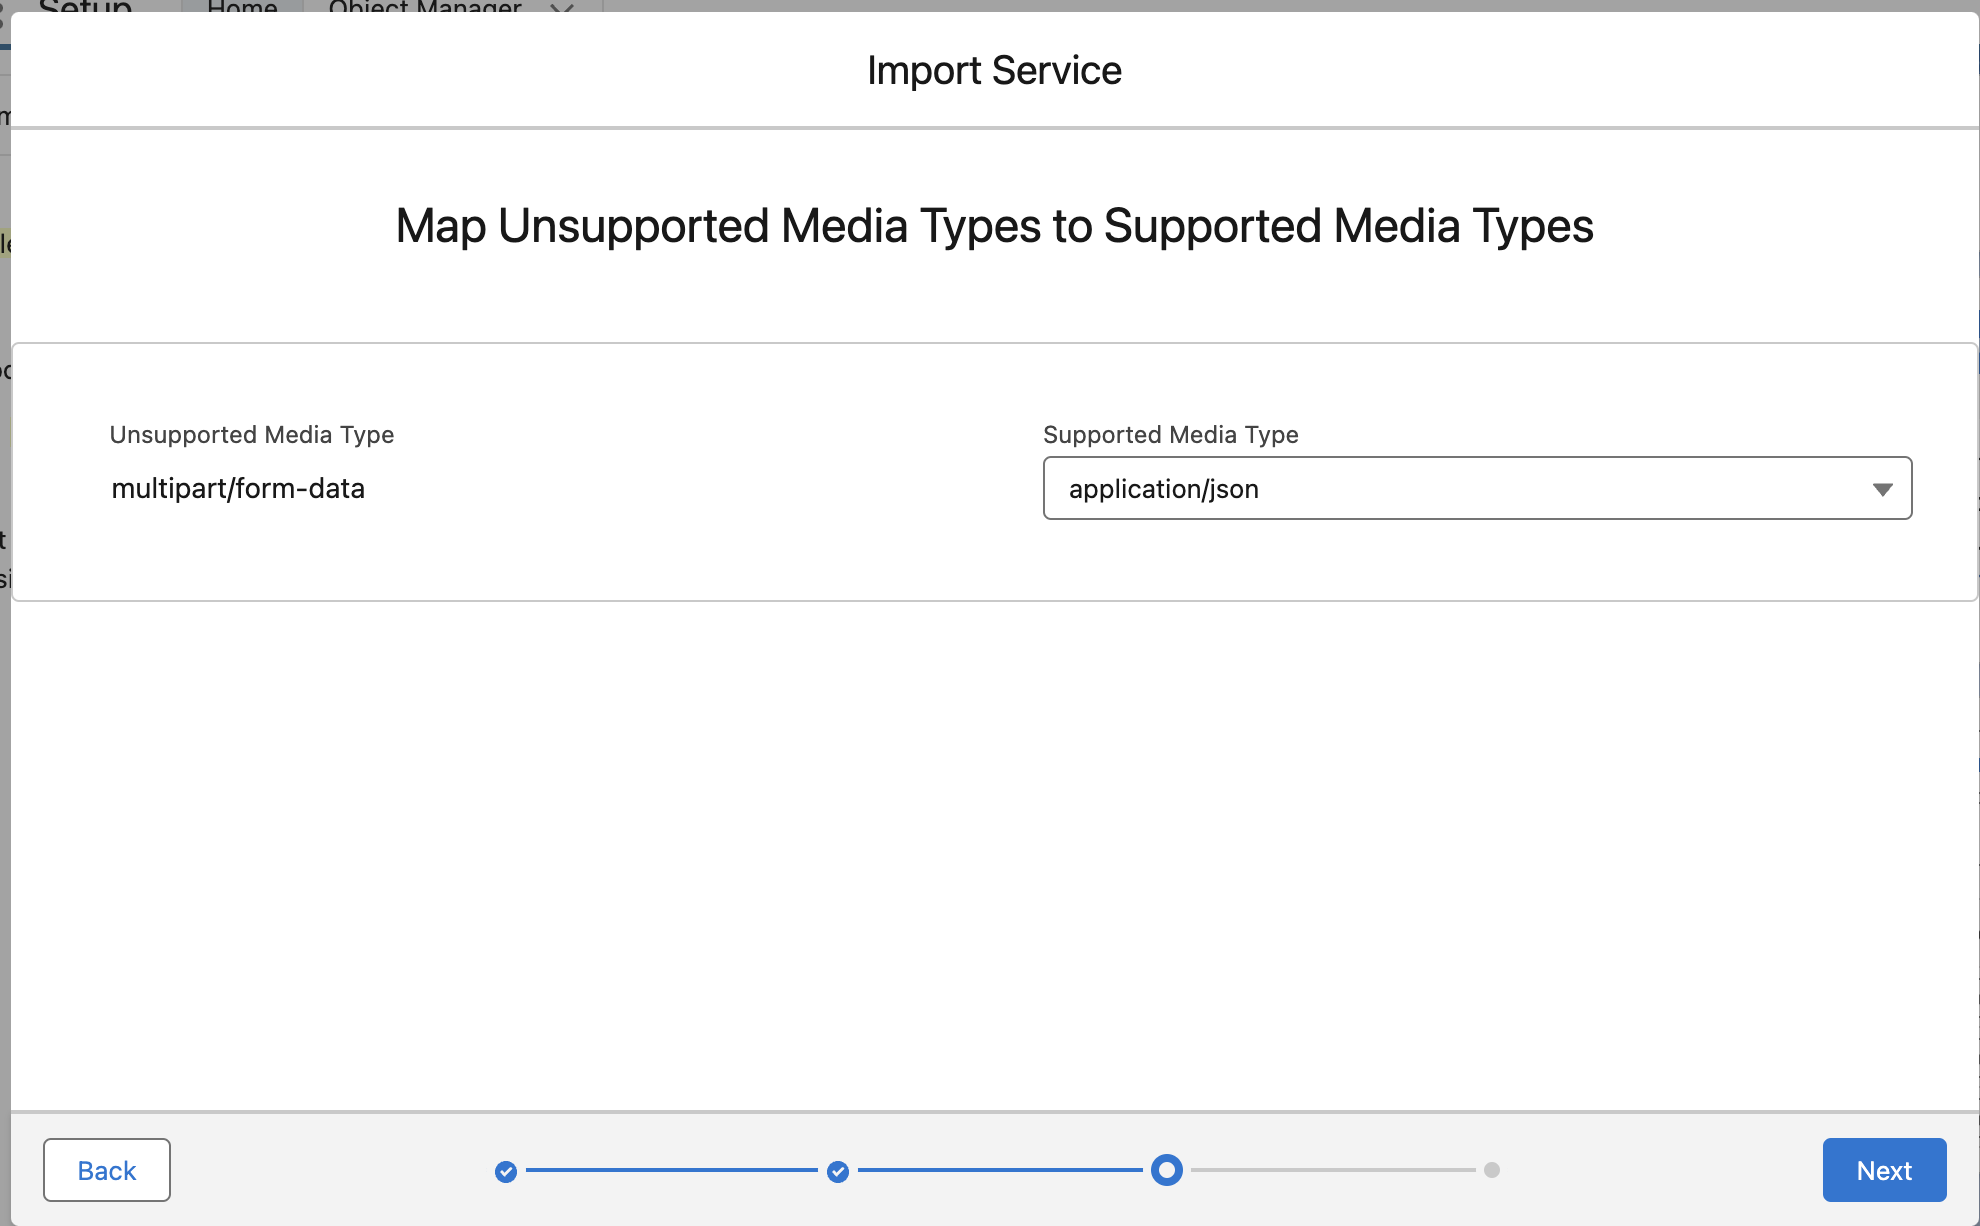
-
Select the getDocumentActionExecution Operation and click Finish.
-
You should now see your service among the available ones.

Step 5: Clone the Pre-drafted Platform Triggered Flow to Get IDP Document Results
-
Login into the Salesforce Developer ORG and access the Setup menù.
-
Search for
Flowsin the Quick Find text field and clickFlowsunder Process Automation.
-
Select the
IDP Lab’s Flowslist view from the drop down menu in the top left section.
-
Click the
LAB - RECT - IDP - Get Document (Draft)flow label link from the list.
-
Once the flow is opened click the
Save Asbutton on the top right.
-
Select Save as
A New Flowand provide<your-initials> - LAB - RECT - IDP - Get Documentas Flow Label. Click outside the label field and the Flow API Name should appear automatically.Click the
Savebutton.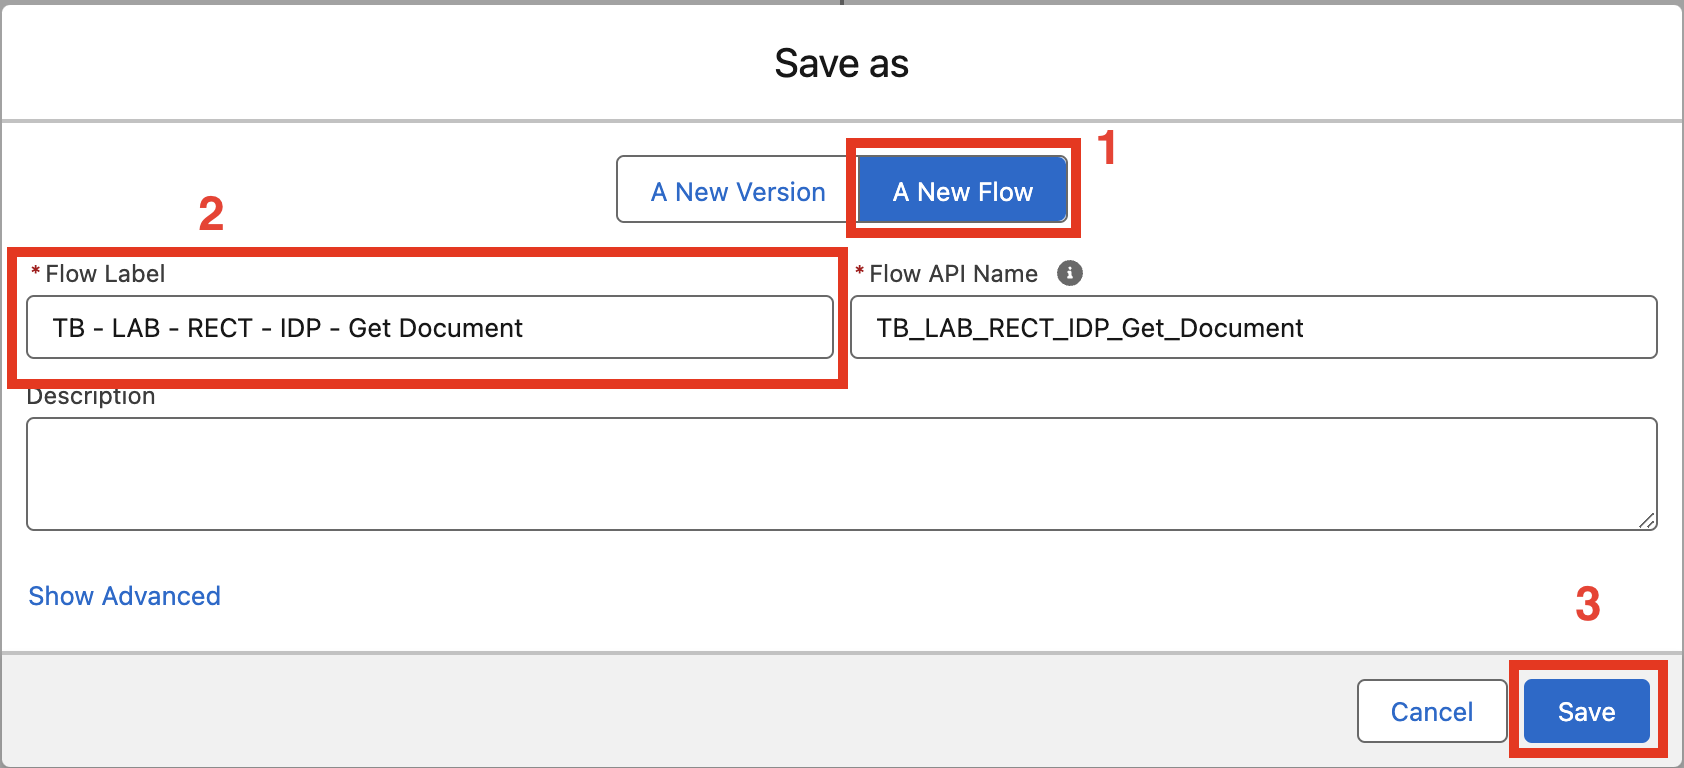
Step 6: Complete the Flow to Get IDP Document Results
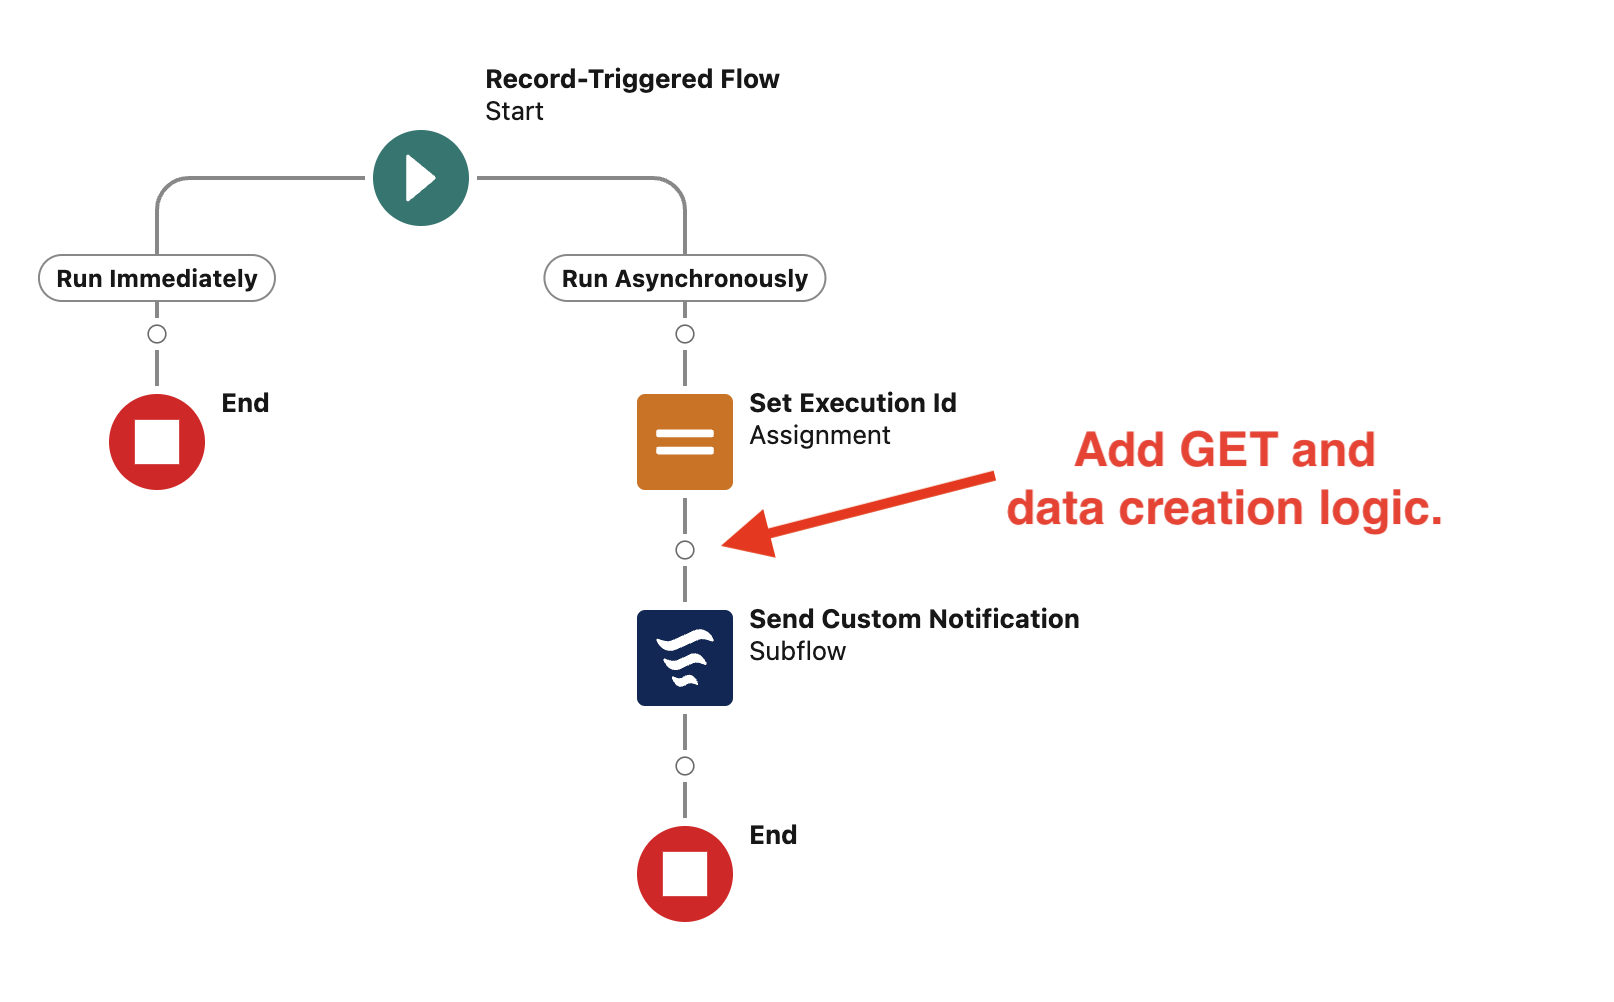
You’ll now complete the pre drafted flow in charge of getting the data extracted by IDP and map it to Salesforce Objects. The flow is triggered when the account is updated after receiving a Platform Event from Anypoint.
Following you see the pre-drafted flow.
-
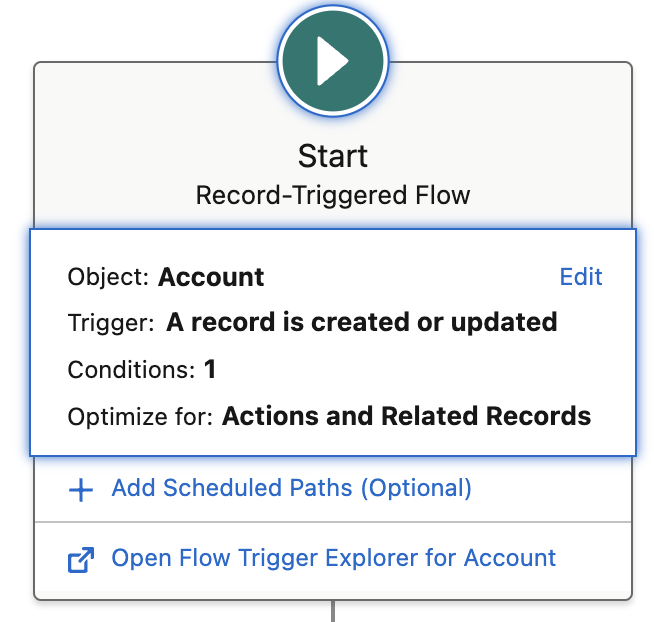
Left-click on the Start element to expand it.
-
Left-click on the Edit link to update the flow triggering conditions.
-
Update the second Entry Condition, the one checking the prefix for the Account Name and replace the value with
<your-initials> -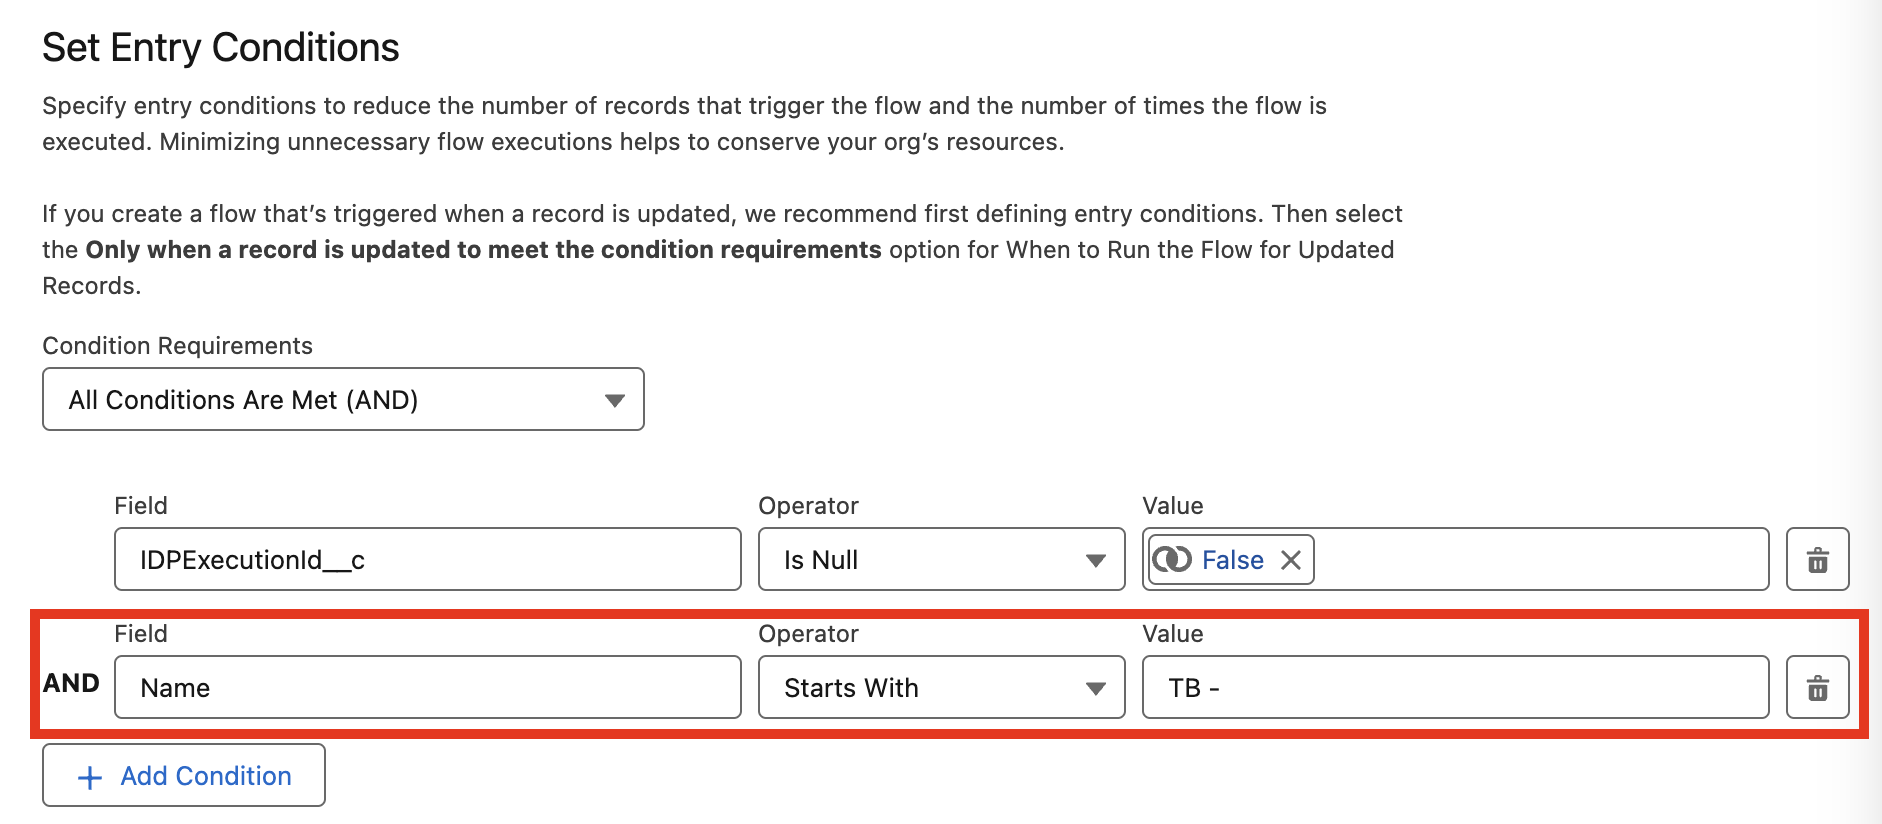
-
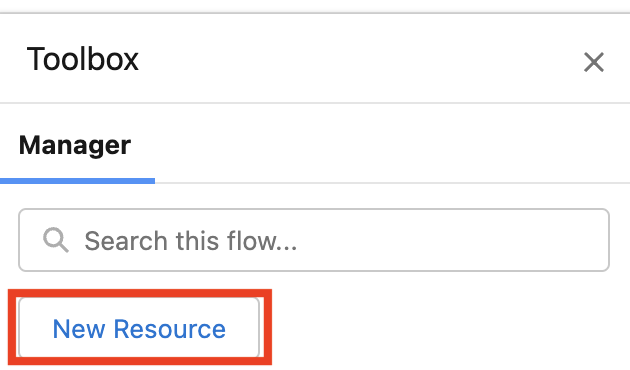
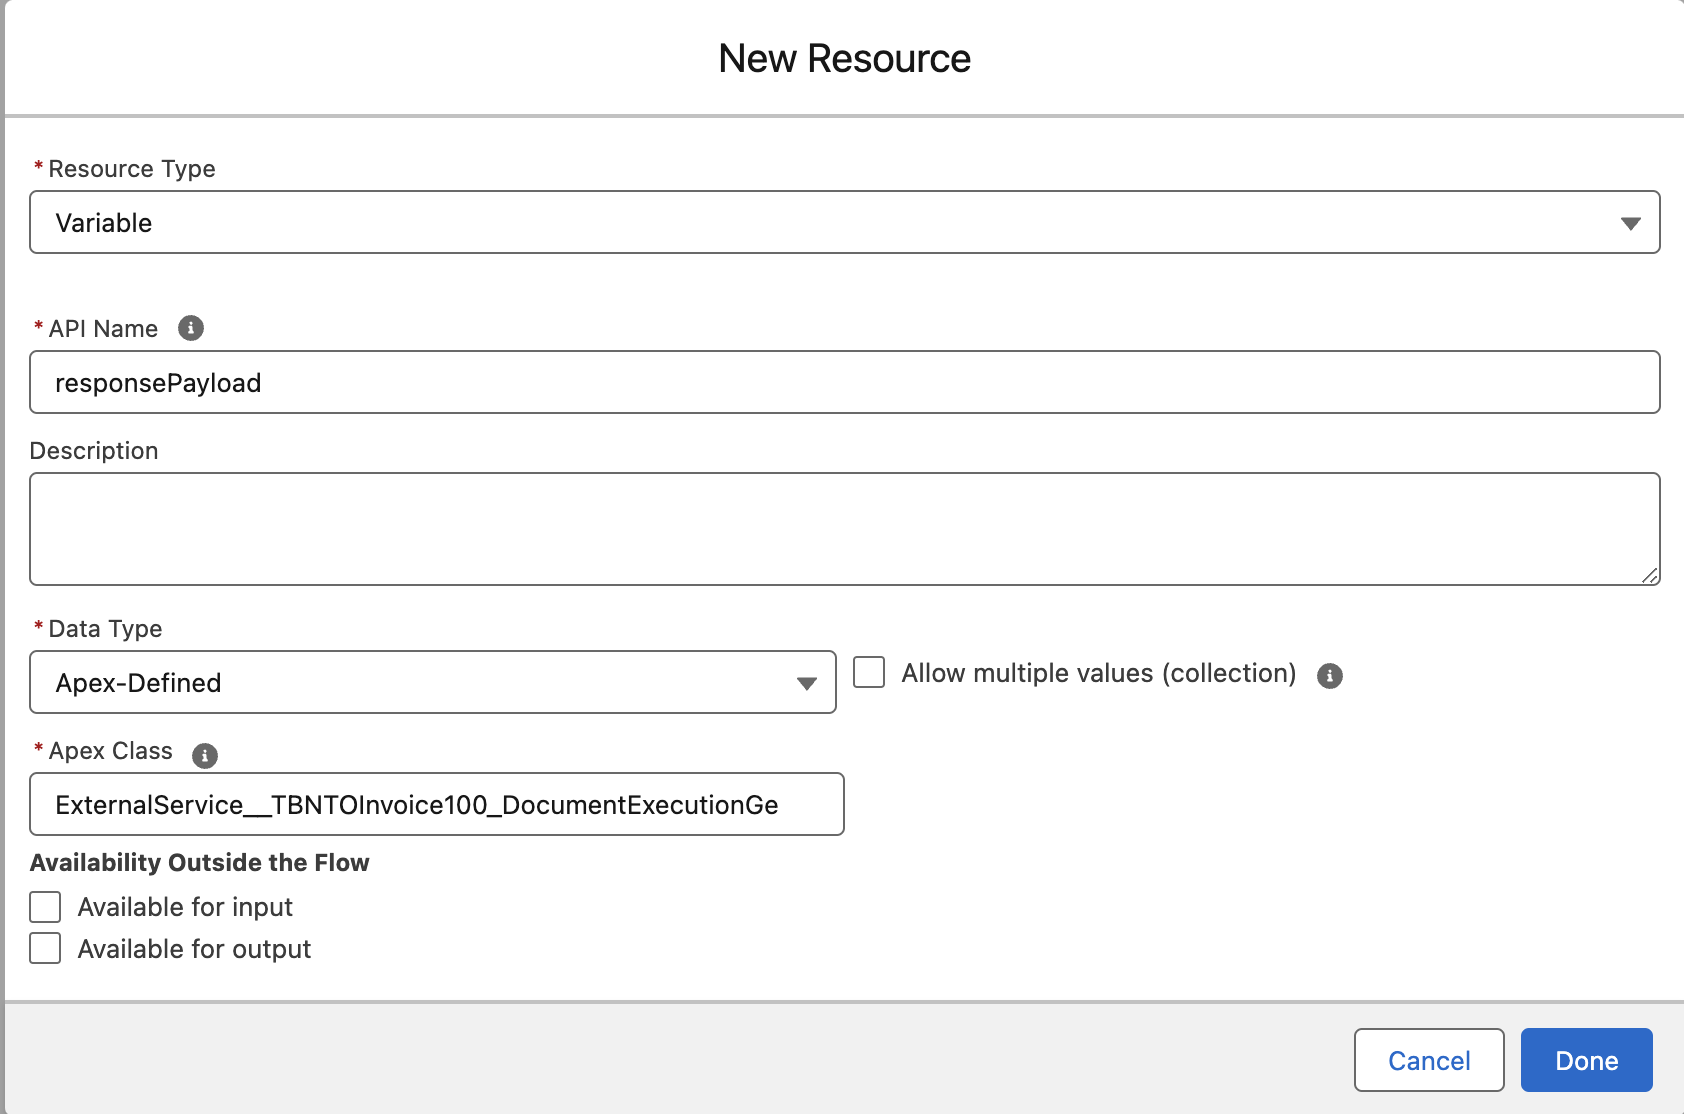
You will now create a new variable to store the response returned by IDP when posting the document. Click the New Resource button in the top-left corner in the toolbox panel.
-
Configure the New Resource as follows.
Field Value Resource Type
VariableAPI Name
responsePayloadData Type
Apex-DefinedApex Class
ExternalService__<your-initials>NTOInvoice100_DocumentExecutionGetResponseClick Done button.
-
Click the Add Element button right after the Set Execution Id assignment element
-
In the search text box look for
Get Document Action Execution, then select the first result.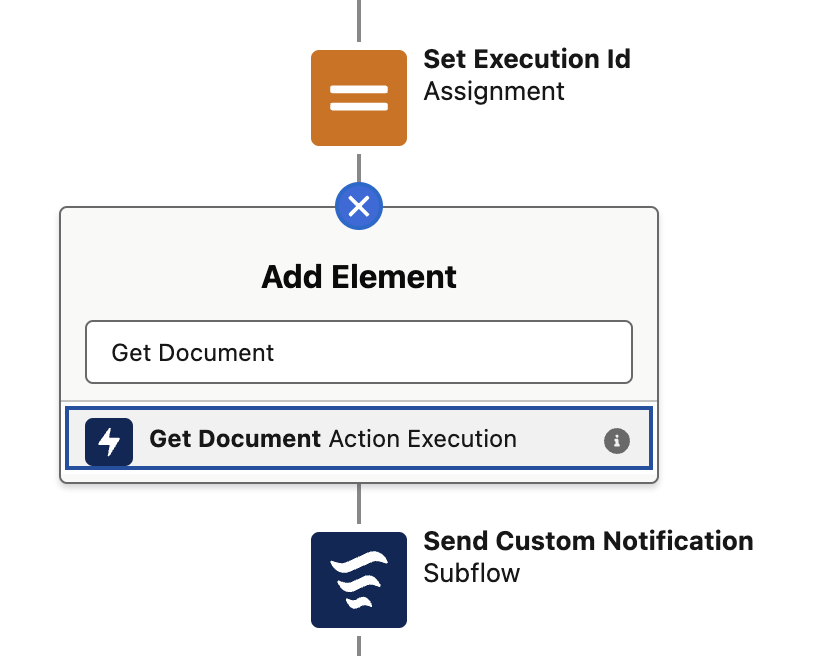
-
You can now configured the
Get Document Action Executionelement as follows.Field Value Label
Get Document Action ExecutionAPI Name
Get_Document_Action_ExecutionSet Input Values for the Selected Action → Execution Id
{!executionId}Show advanced options → Manually assign variables
trueShow advanced options → Store Output Values → 200
{!responsePayload}
-
Click the Add Element button right after the Get Document Action Execution action element
-
In the search text box look for
Loop, then select the first result.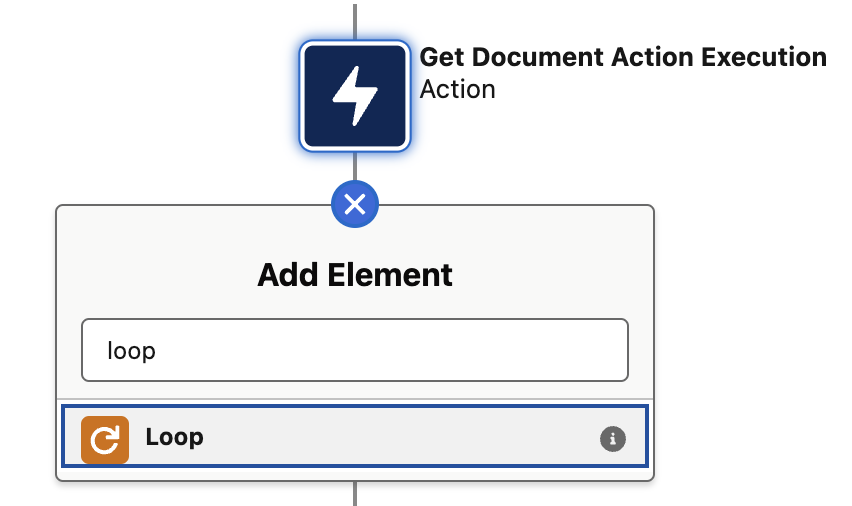
-
You can now configured the
Loopelement as follows.Field Value Label
Loop Over PagesAPI Name
Loop_Over_PagesCollection Variable
{!responsePayload.pages}Direction
First item to last item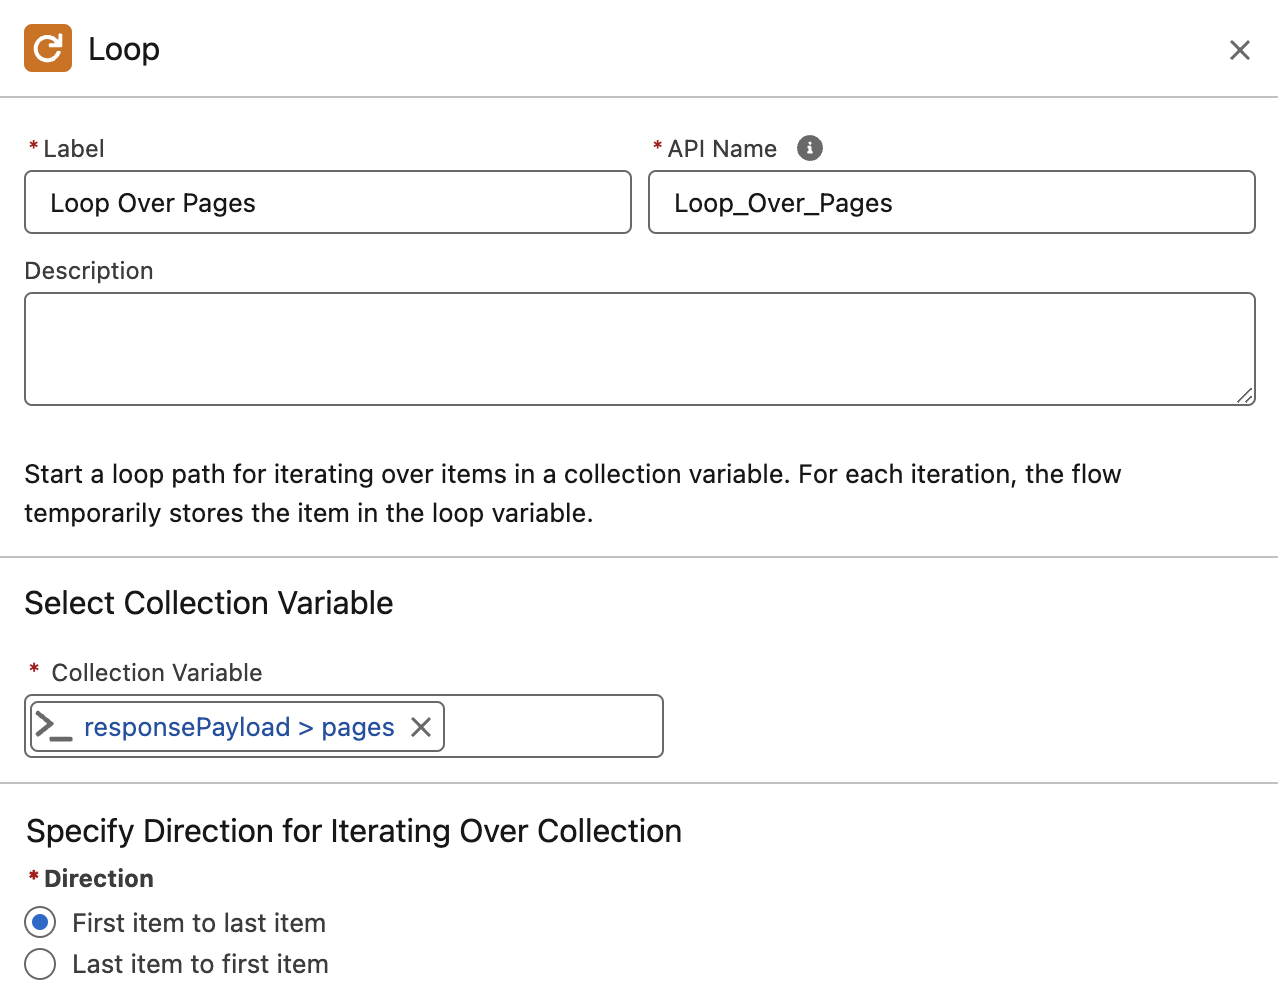
-
Click the Add Element button inside the loop right after the "For Each" label.
-
In the search text box look for
Transform, then select the first result.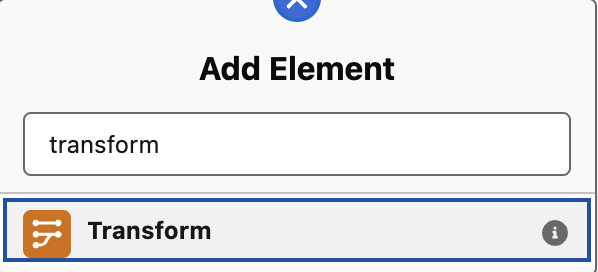
-
Set
Map to Invoice__cas label andMap_to_Invoice__cas API Name.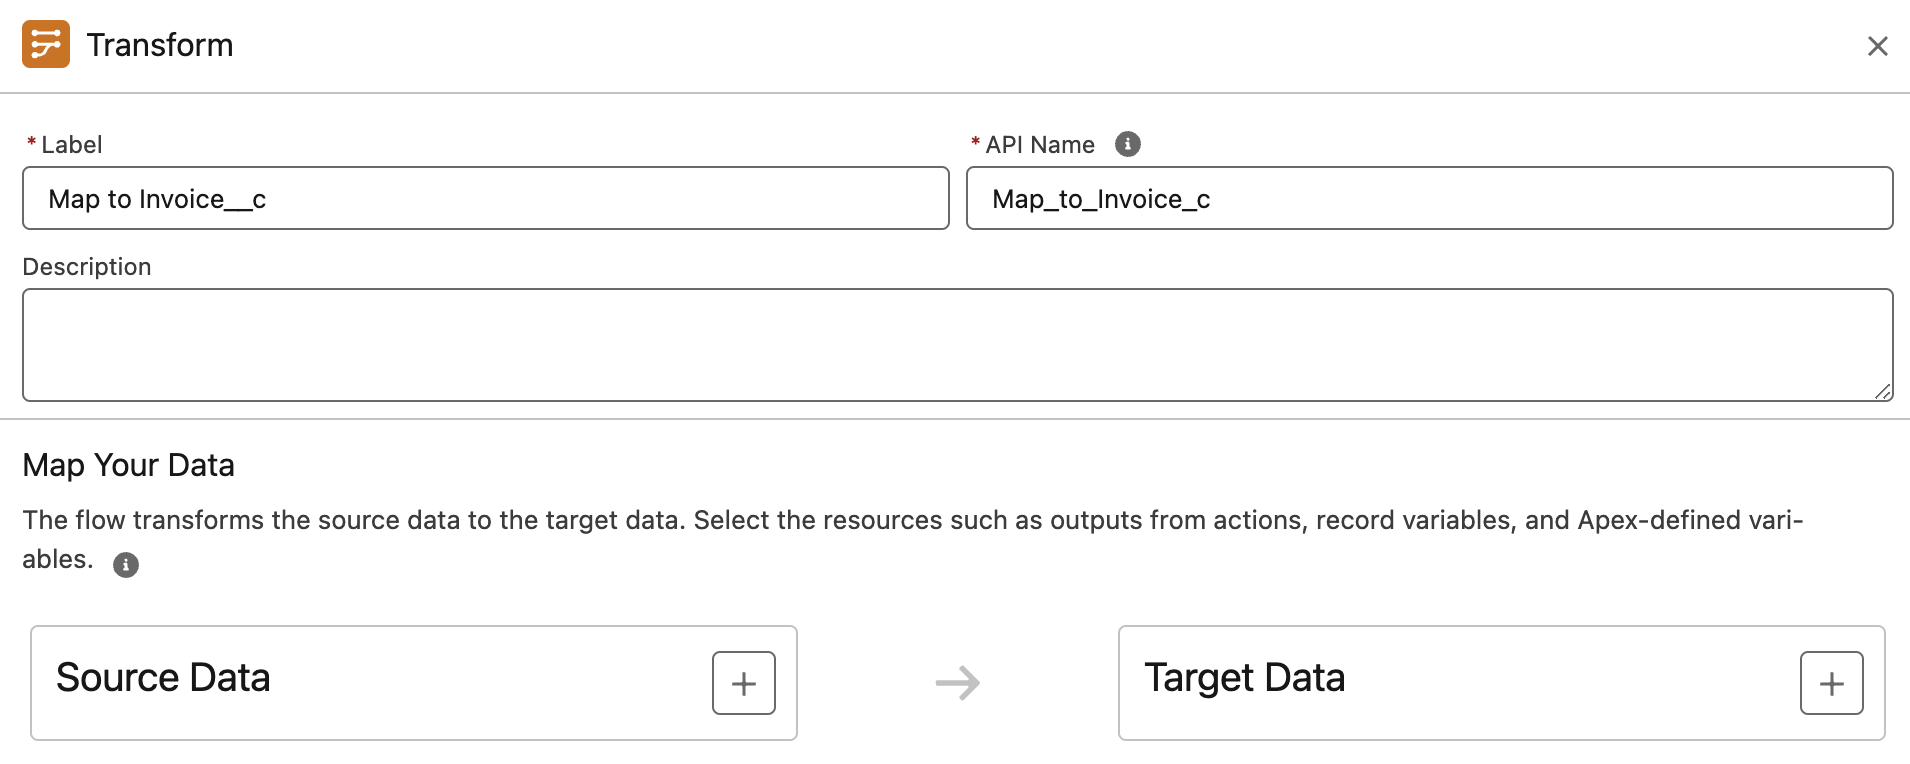
-
Let’s now define the source data for our invoice. Click the + button right to "Source Data".

-
In the search text box enter
Loopand click the first result. Doing so we are adding the page data extracted by IDP as first data source.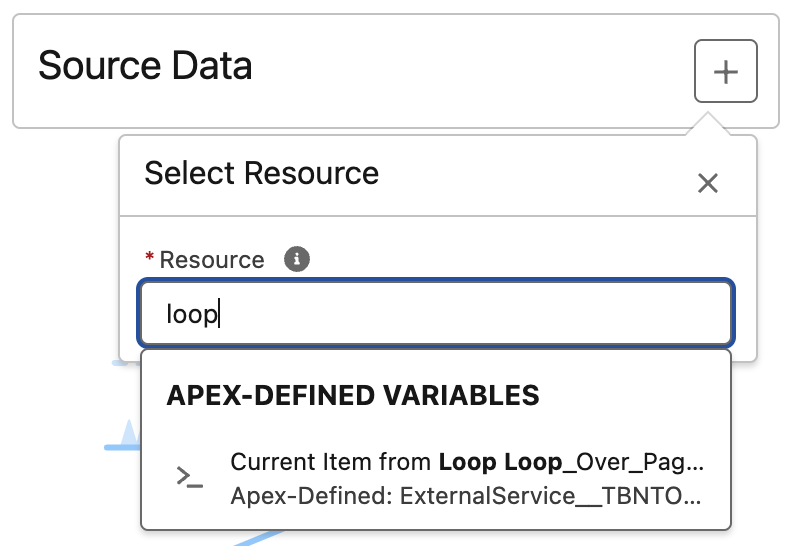
-
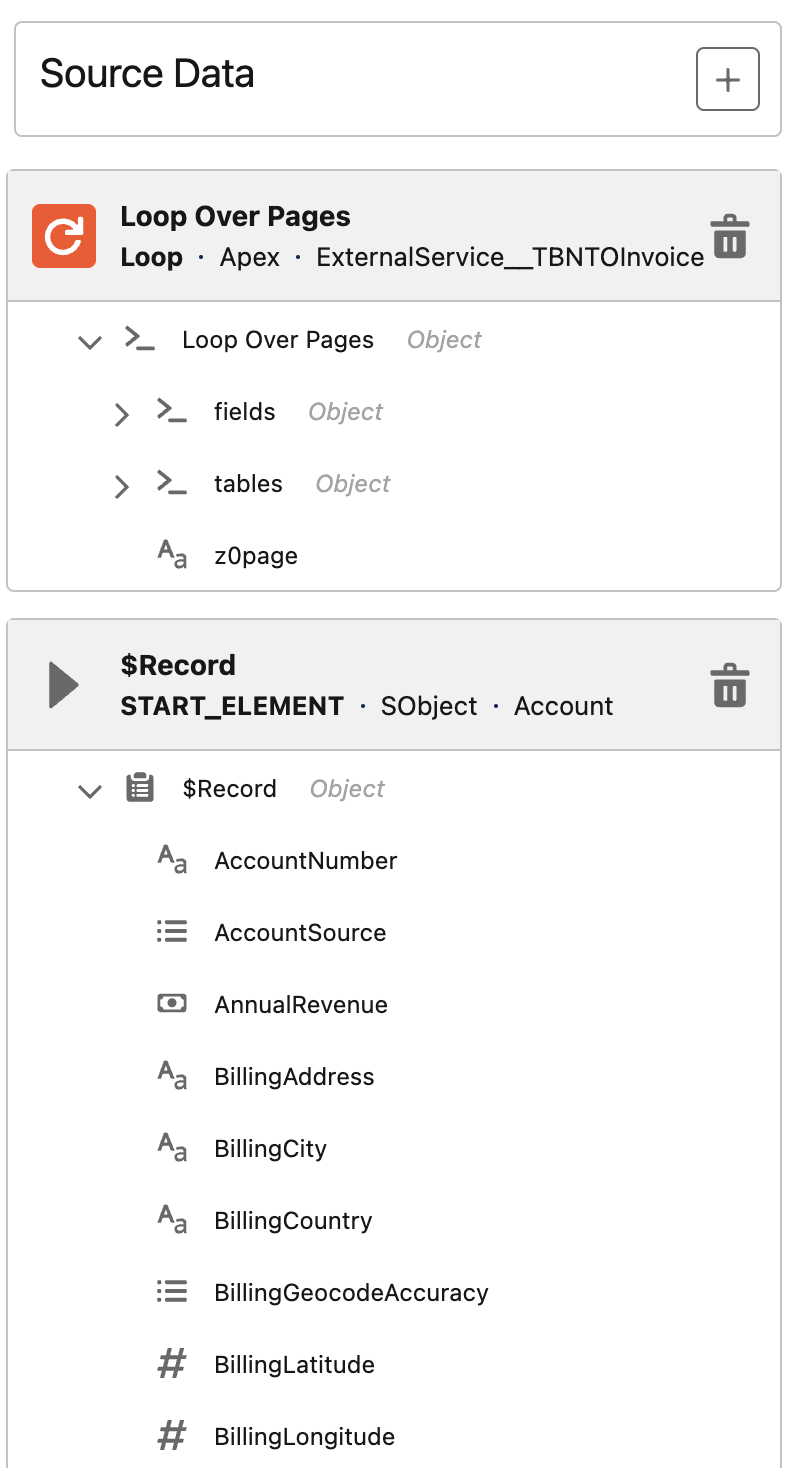
We need now to add as second data source the account record, this is required since we need to link our invoice to the related account.
In the search text box enter
Accountand click the first result under Global Variables.
-
Now you have added the required data sources and you should see on the left something like follows.
-
Let’s now define the target data for our invoice. Click the + button right to "Target Data".

-
Select Record as Data Type and in the Object text box look for
Invoice\\__c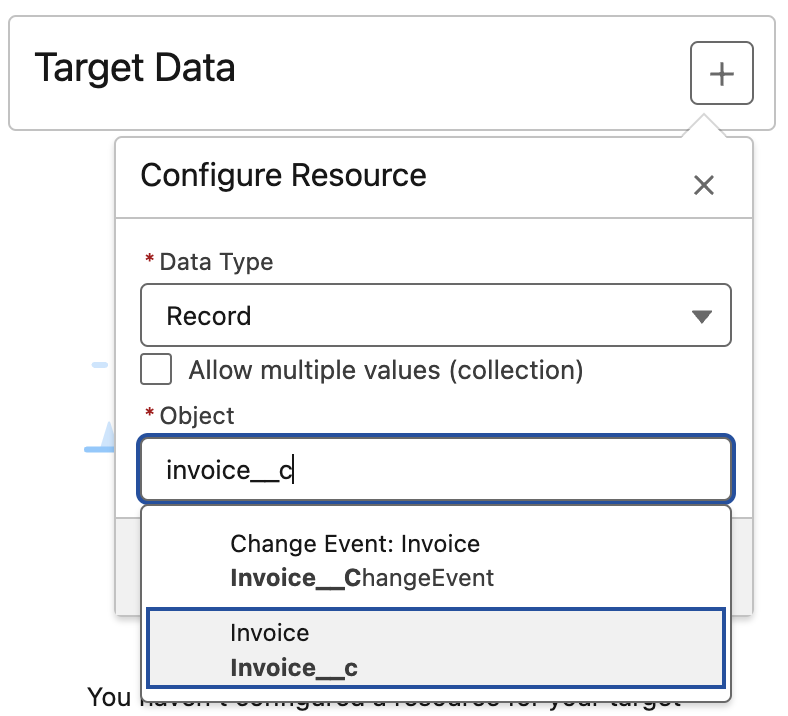
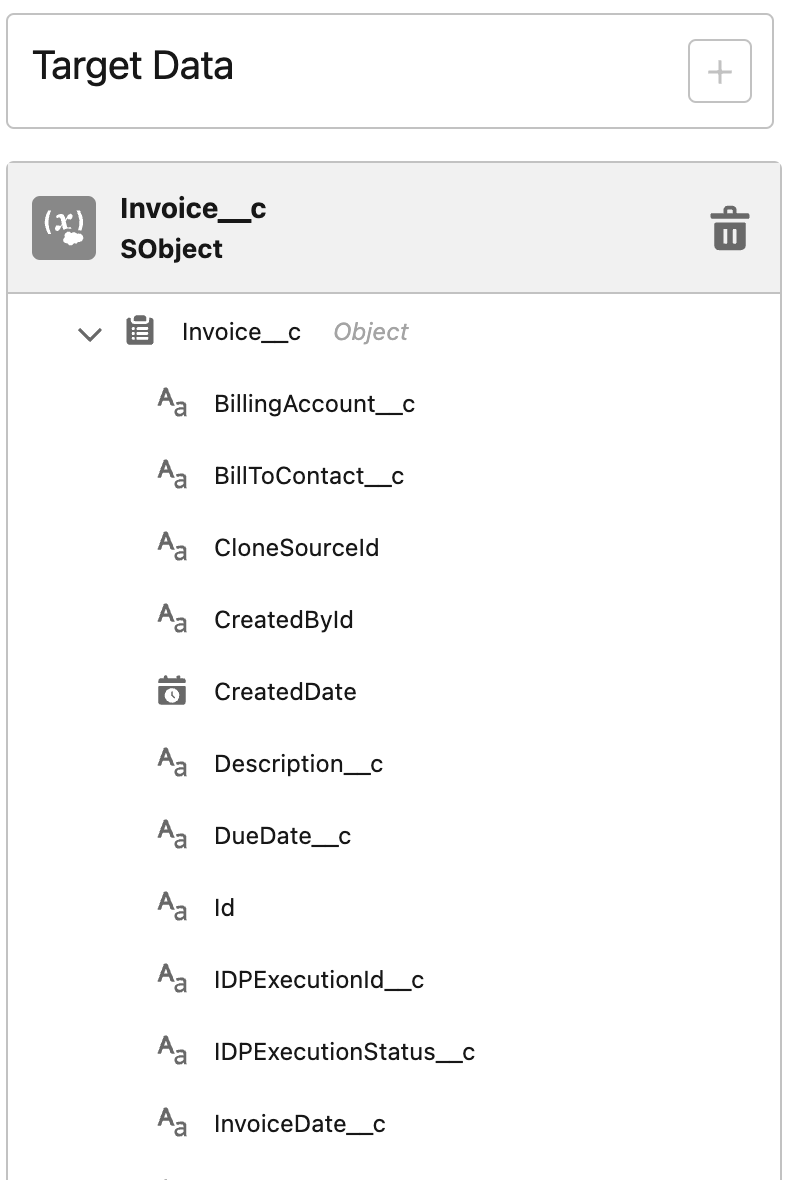
-
Now you have added the required data target and you should see on the right something like follows.
-
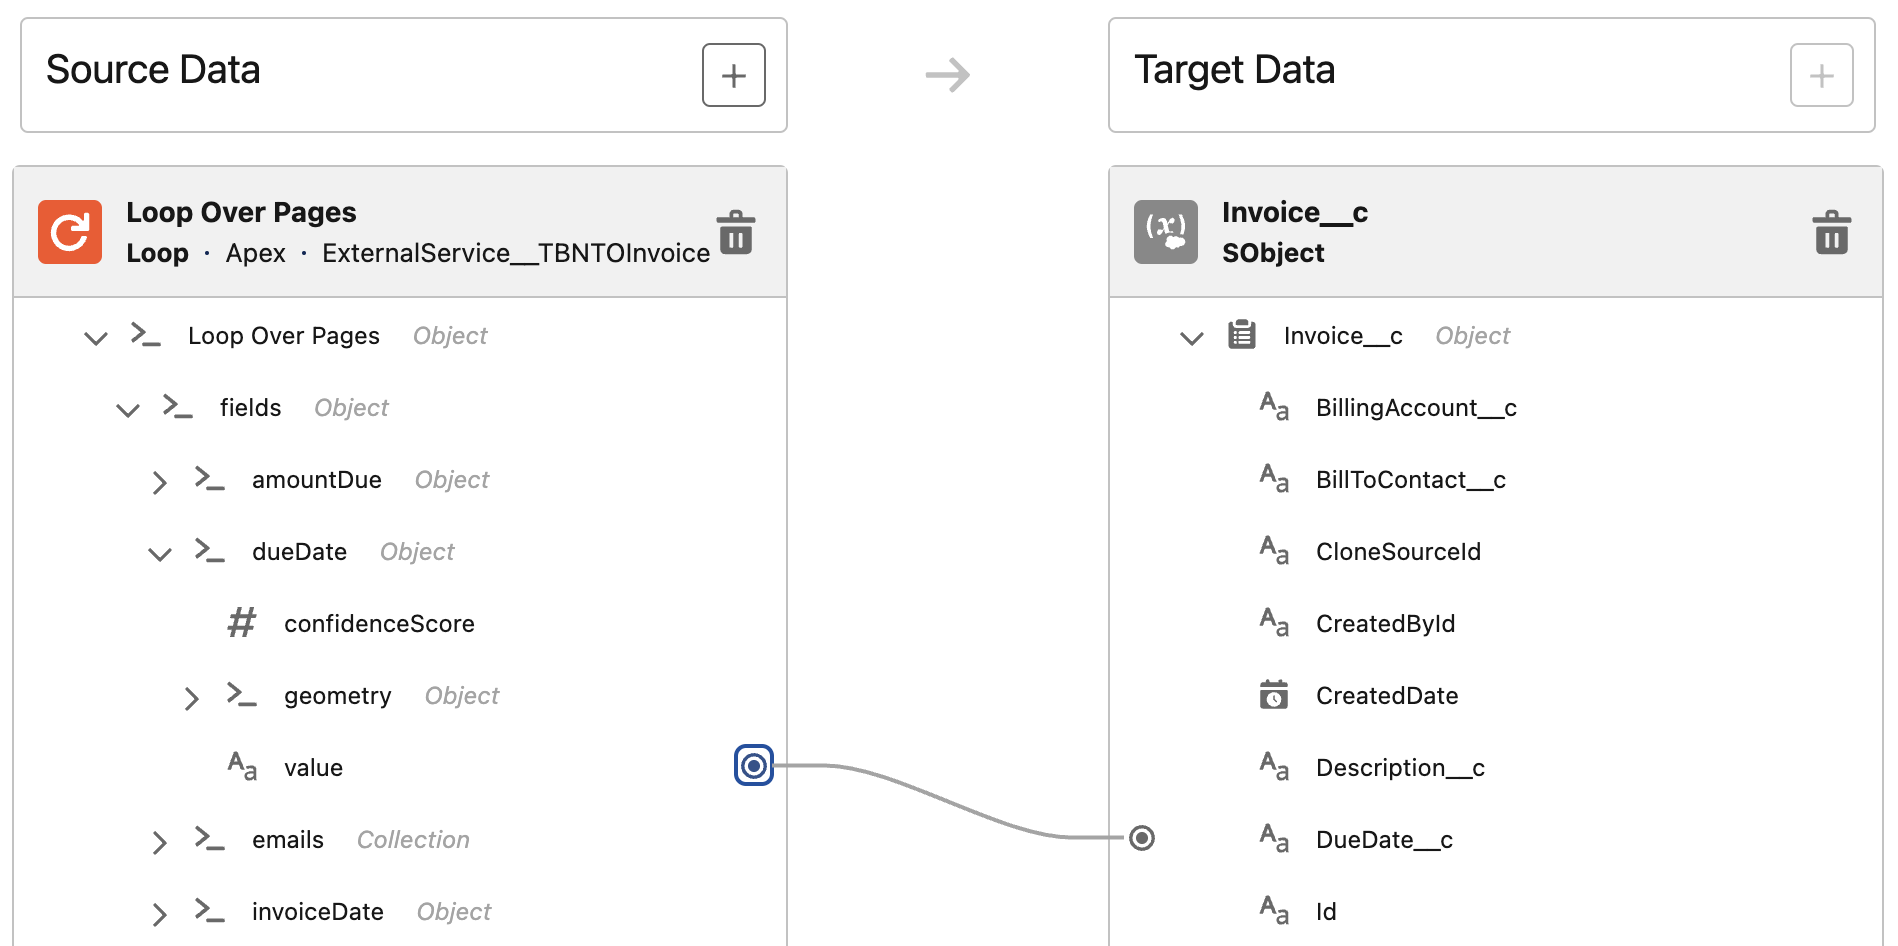
In order to map a source data field to a target data field you need at first to click the map icon right to the source data field.
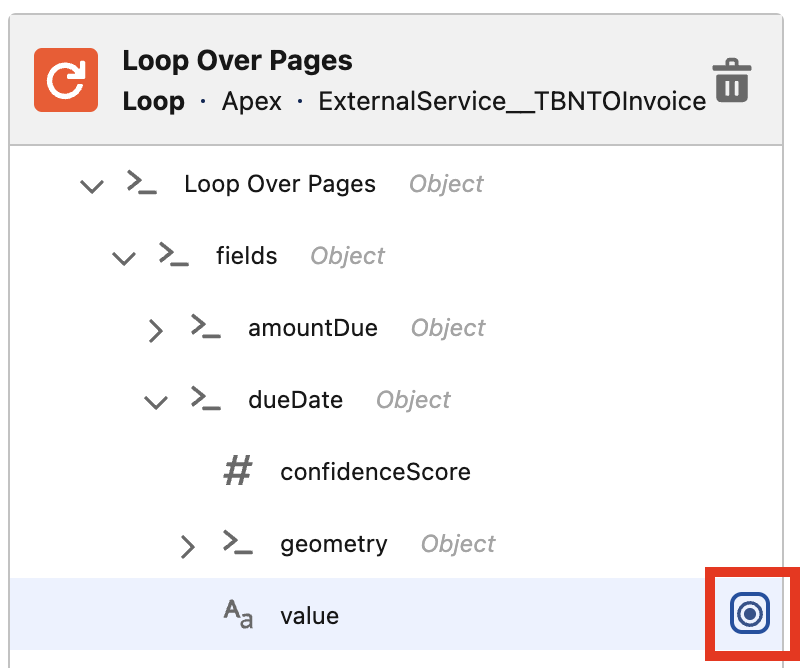
-
Then you need to select map icon left to the target data field you want to map to.
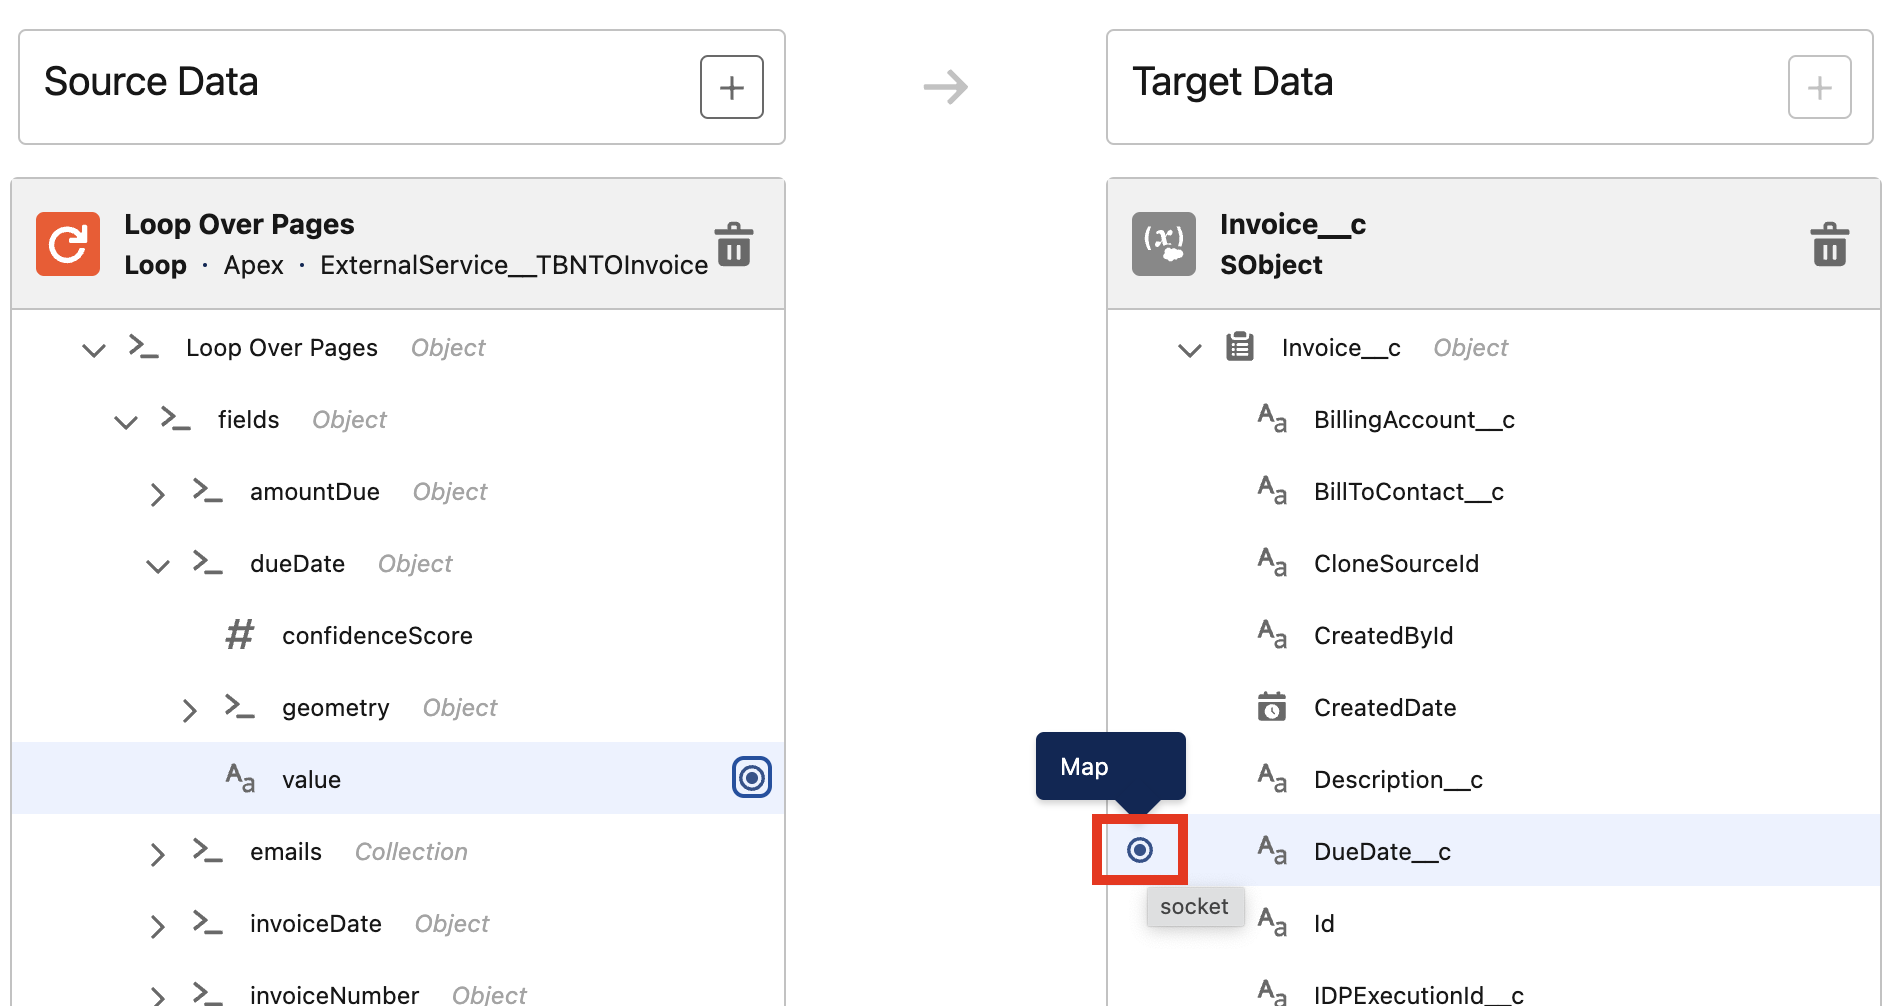
-
As a result you should see link connecting the two fields as follows.
-
Map the fields as follows.
Source Data Field Target Data Field Loop Over Pages → fields → dueDate → valueInvoice__c.DueDate__cLoop Over Pages → fields → invoiceDate → valueInvoice__c.InvoiceDate__cLoop Over Pages → fields → invoiceNumber → valueInvoice__c.InvoiceNumber__cLoop Over Pages → fields → subtotal → valueInvoice__c.TotalAmount__cLoop Over Pages → fields → total → valueInvoice__c.TotalAmountWithTax__cLoop Over Pages → fields → tax → valueInvoice__c.TotalTaxAmount__c$Record.IdInvoice__c.BillAccount__c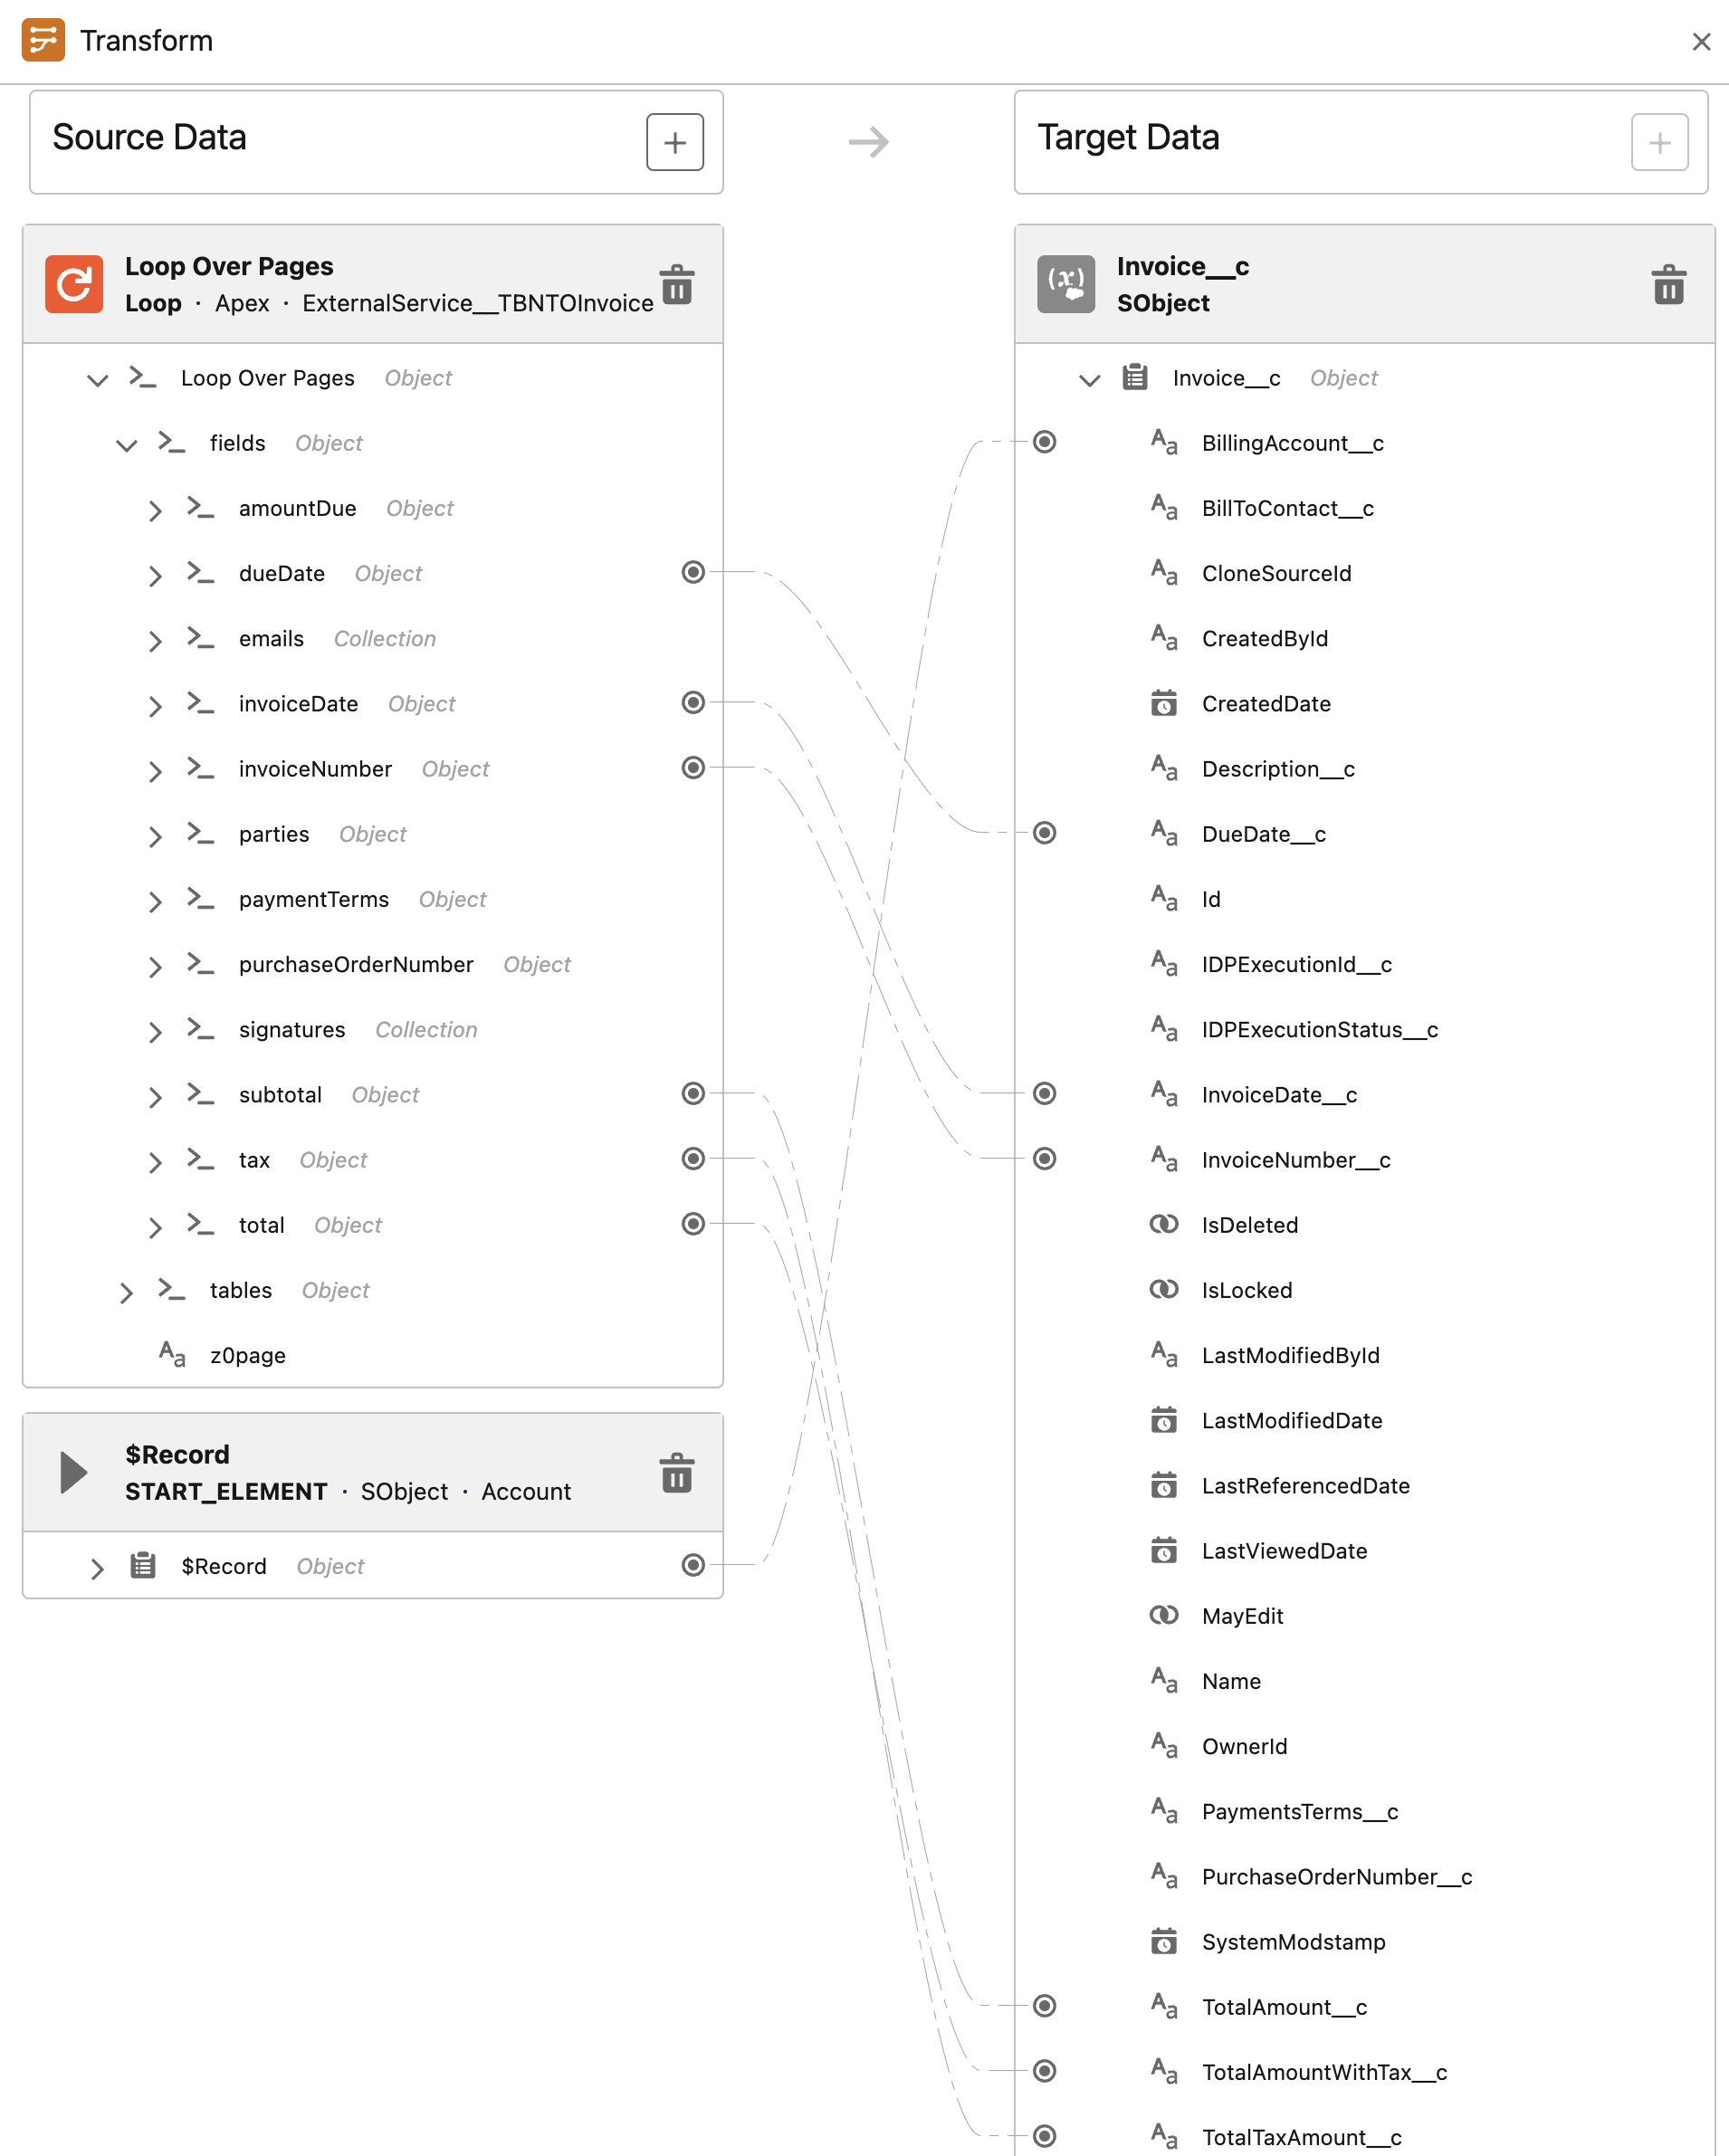
-
Click the Add Element button right after the "Map to Invoice__c" transform element.
-
In the search text box look for
Create Records, then select the first result.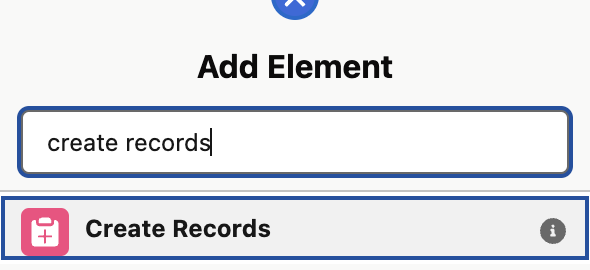
-
You can now configured the
Create Recordselement as follows.Field Value Label
Create Invoice__cAPI Name
Create_Invoice__cHow to set record field values
From a Record VariableHow Many Records to Create
OneRecord
{!Map_to_Invoice__c}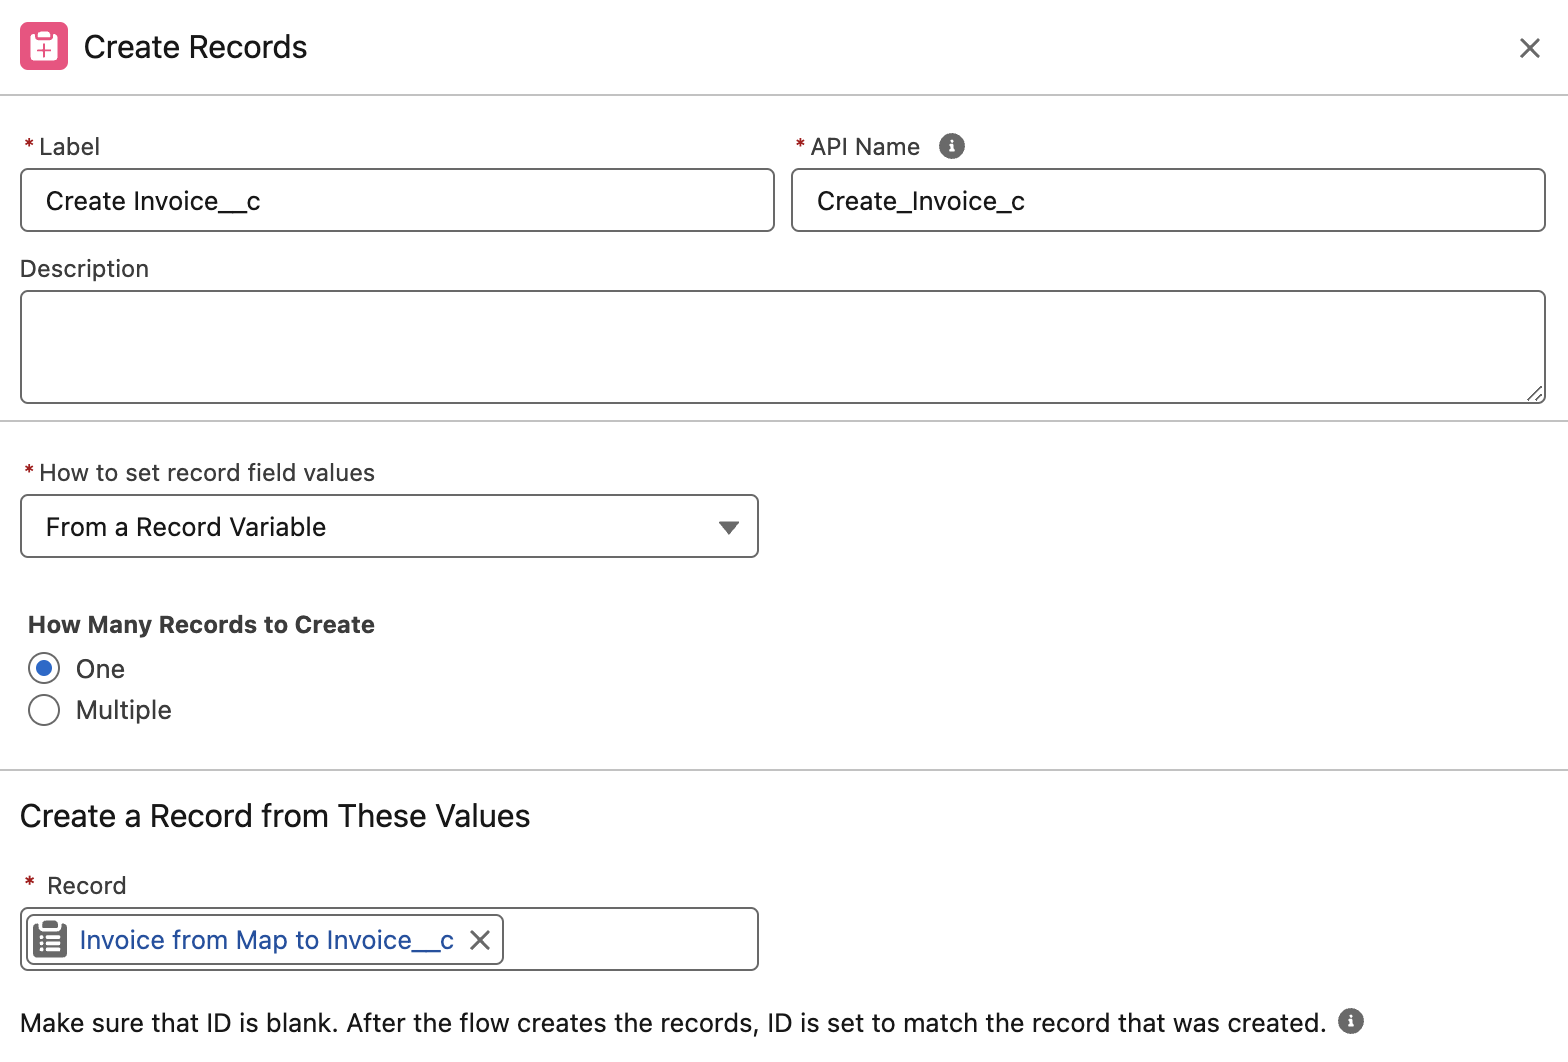
-
Click the Add Element button right after the "Create Invoice__c" create records element.
-
In the search text box look for
Transform, then select the first result.
-
Set
Map to InvoiceLine__cas label andMap_to_InvoiceLine__cas API Name.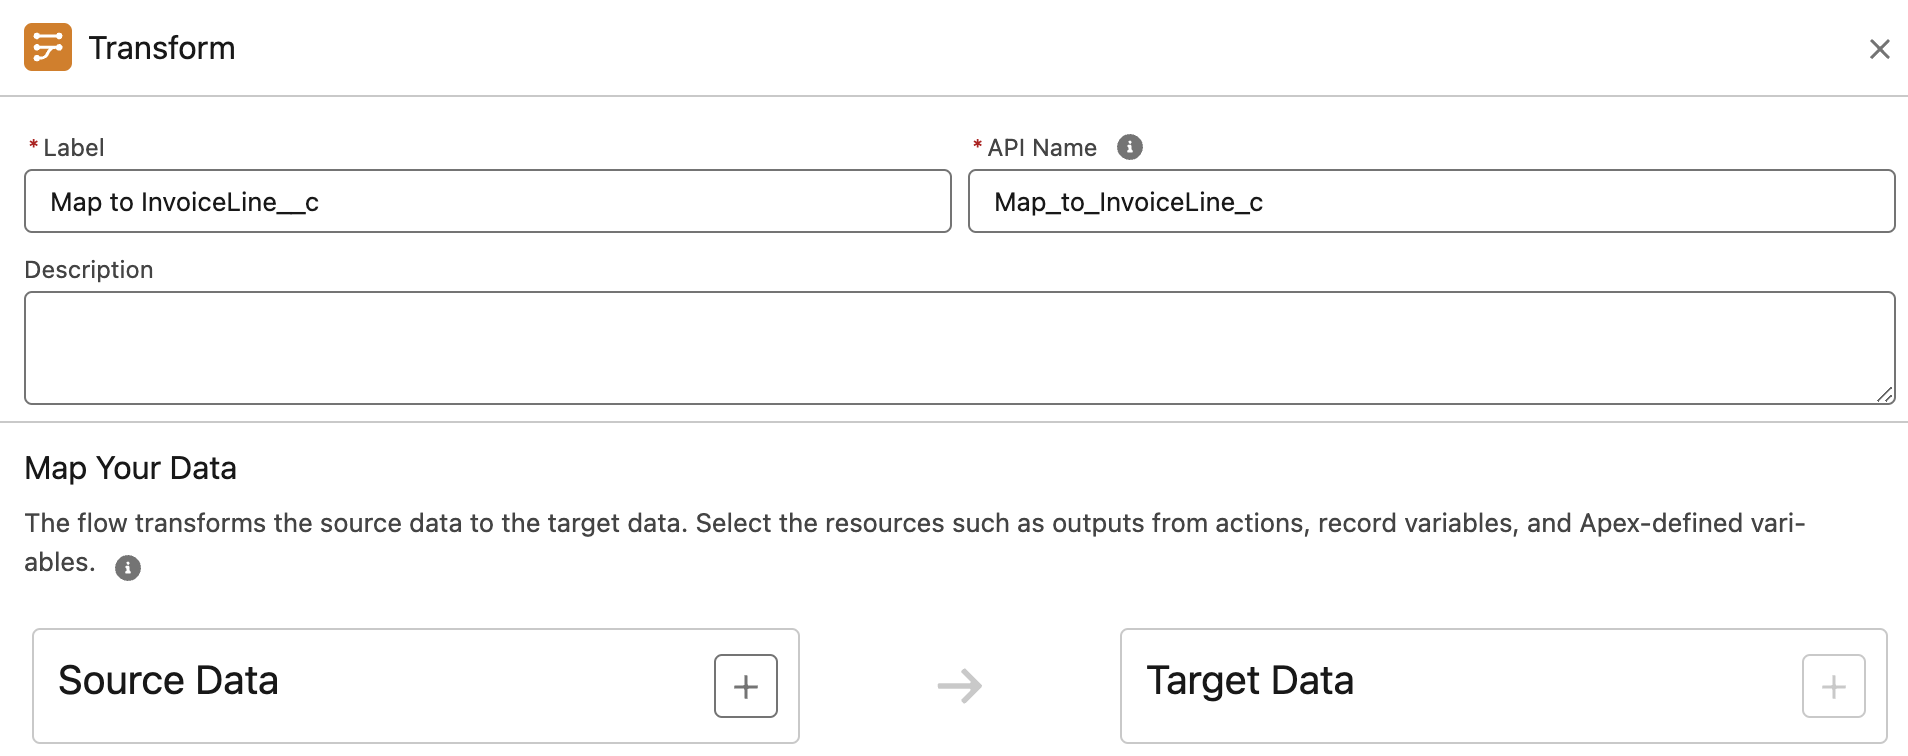
-
Let’s now define the source data for our invoice. Click the + button right to "Source Data".
-
In the search text box enter
Loopand click the first result. Doing so we are adding the page data extracted by IDP as first data source.
-
We need now to add as second data source the invoice record you just created, this is required since we need to link our invoice line to the related invoice.
In the search text box enter
Map_to_Invoice__cand click the first result under RECORD (SINGLE) VARIABLES.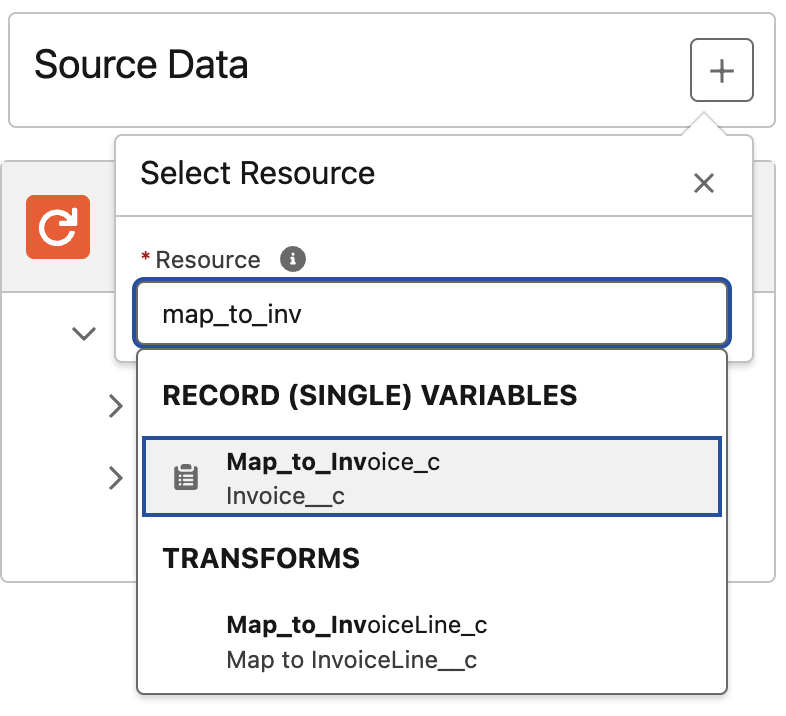
-
Now you have added the required data sources and you should see on the left something like follows.

-
Let’s now define the target data for our invoice line. Click the + button right to "Target Data".
-
Select Record as Data Type and in the Object text box look for
InvoiceLine__c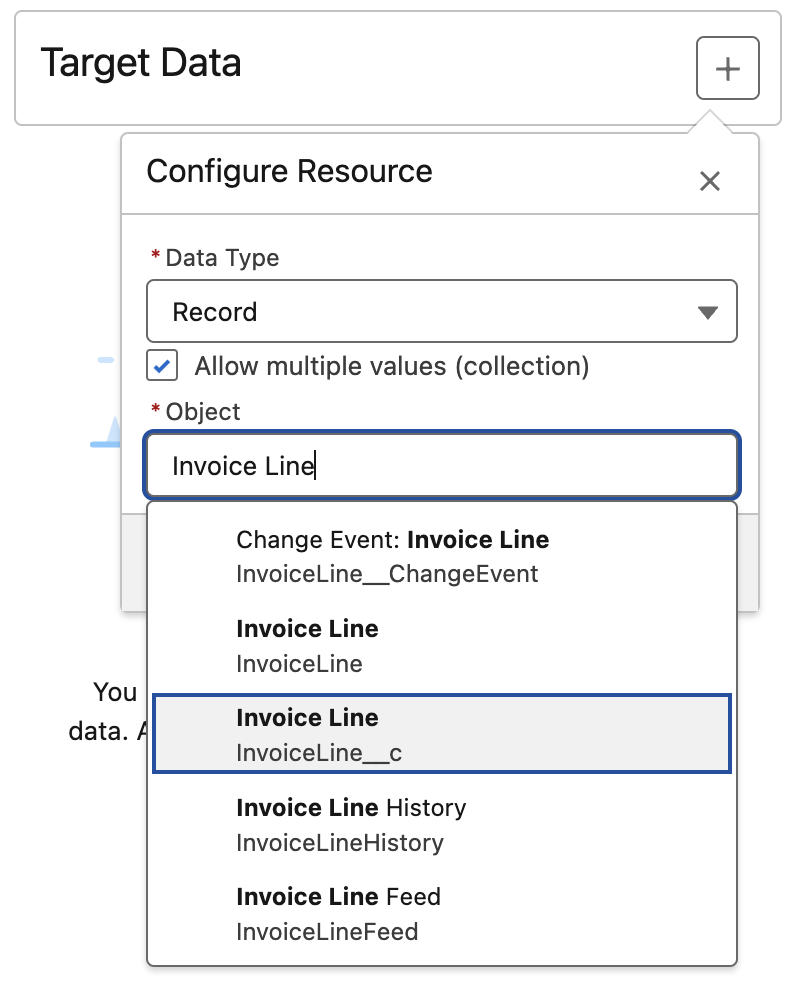
-
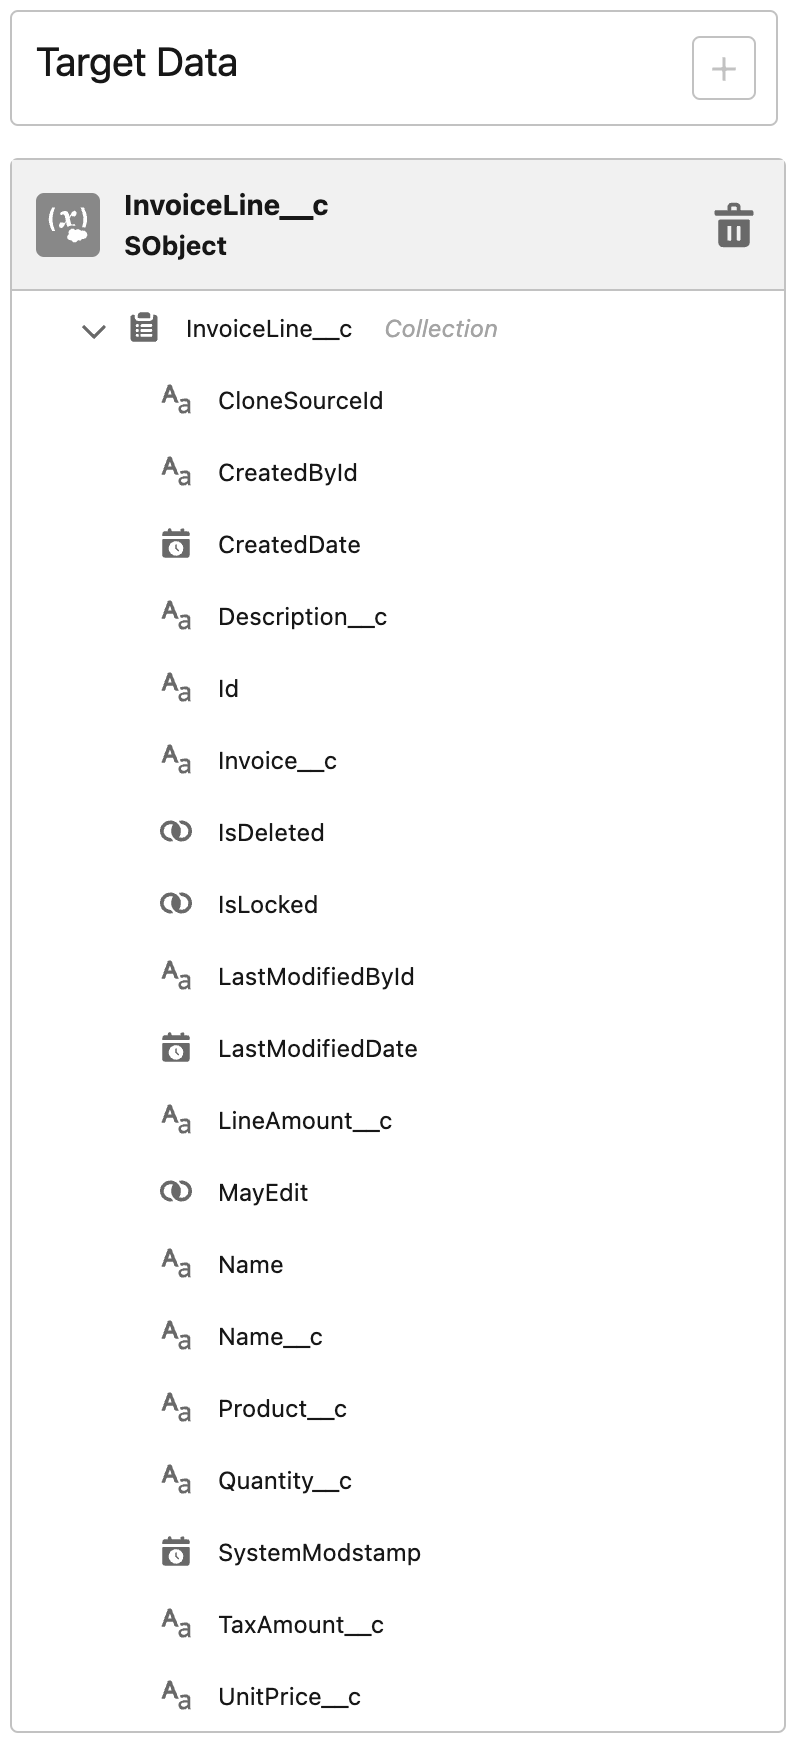
Now you have added the required data target and you should see on the right something like follows.
-
Map the fields as follows.
Source Data Field Target Data Field Loop Over Pages → tables → table1 → description → valueInvoiceLine__c.Description__cLoop Over Pages → tables → table1 → price → valueInvoiceLine__c.LineAmount__cLoop Over Pages → tables → table1 → quantity → valueInvoiceLine__c.Quantity__cLoop Over Pages → tables → table1 → unitPrice → valueInvoiceLine__c.UnitPrice__cMap to Invoice__c → IdInvoiceLine__c.Invoice__c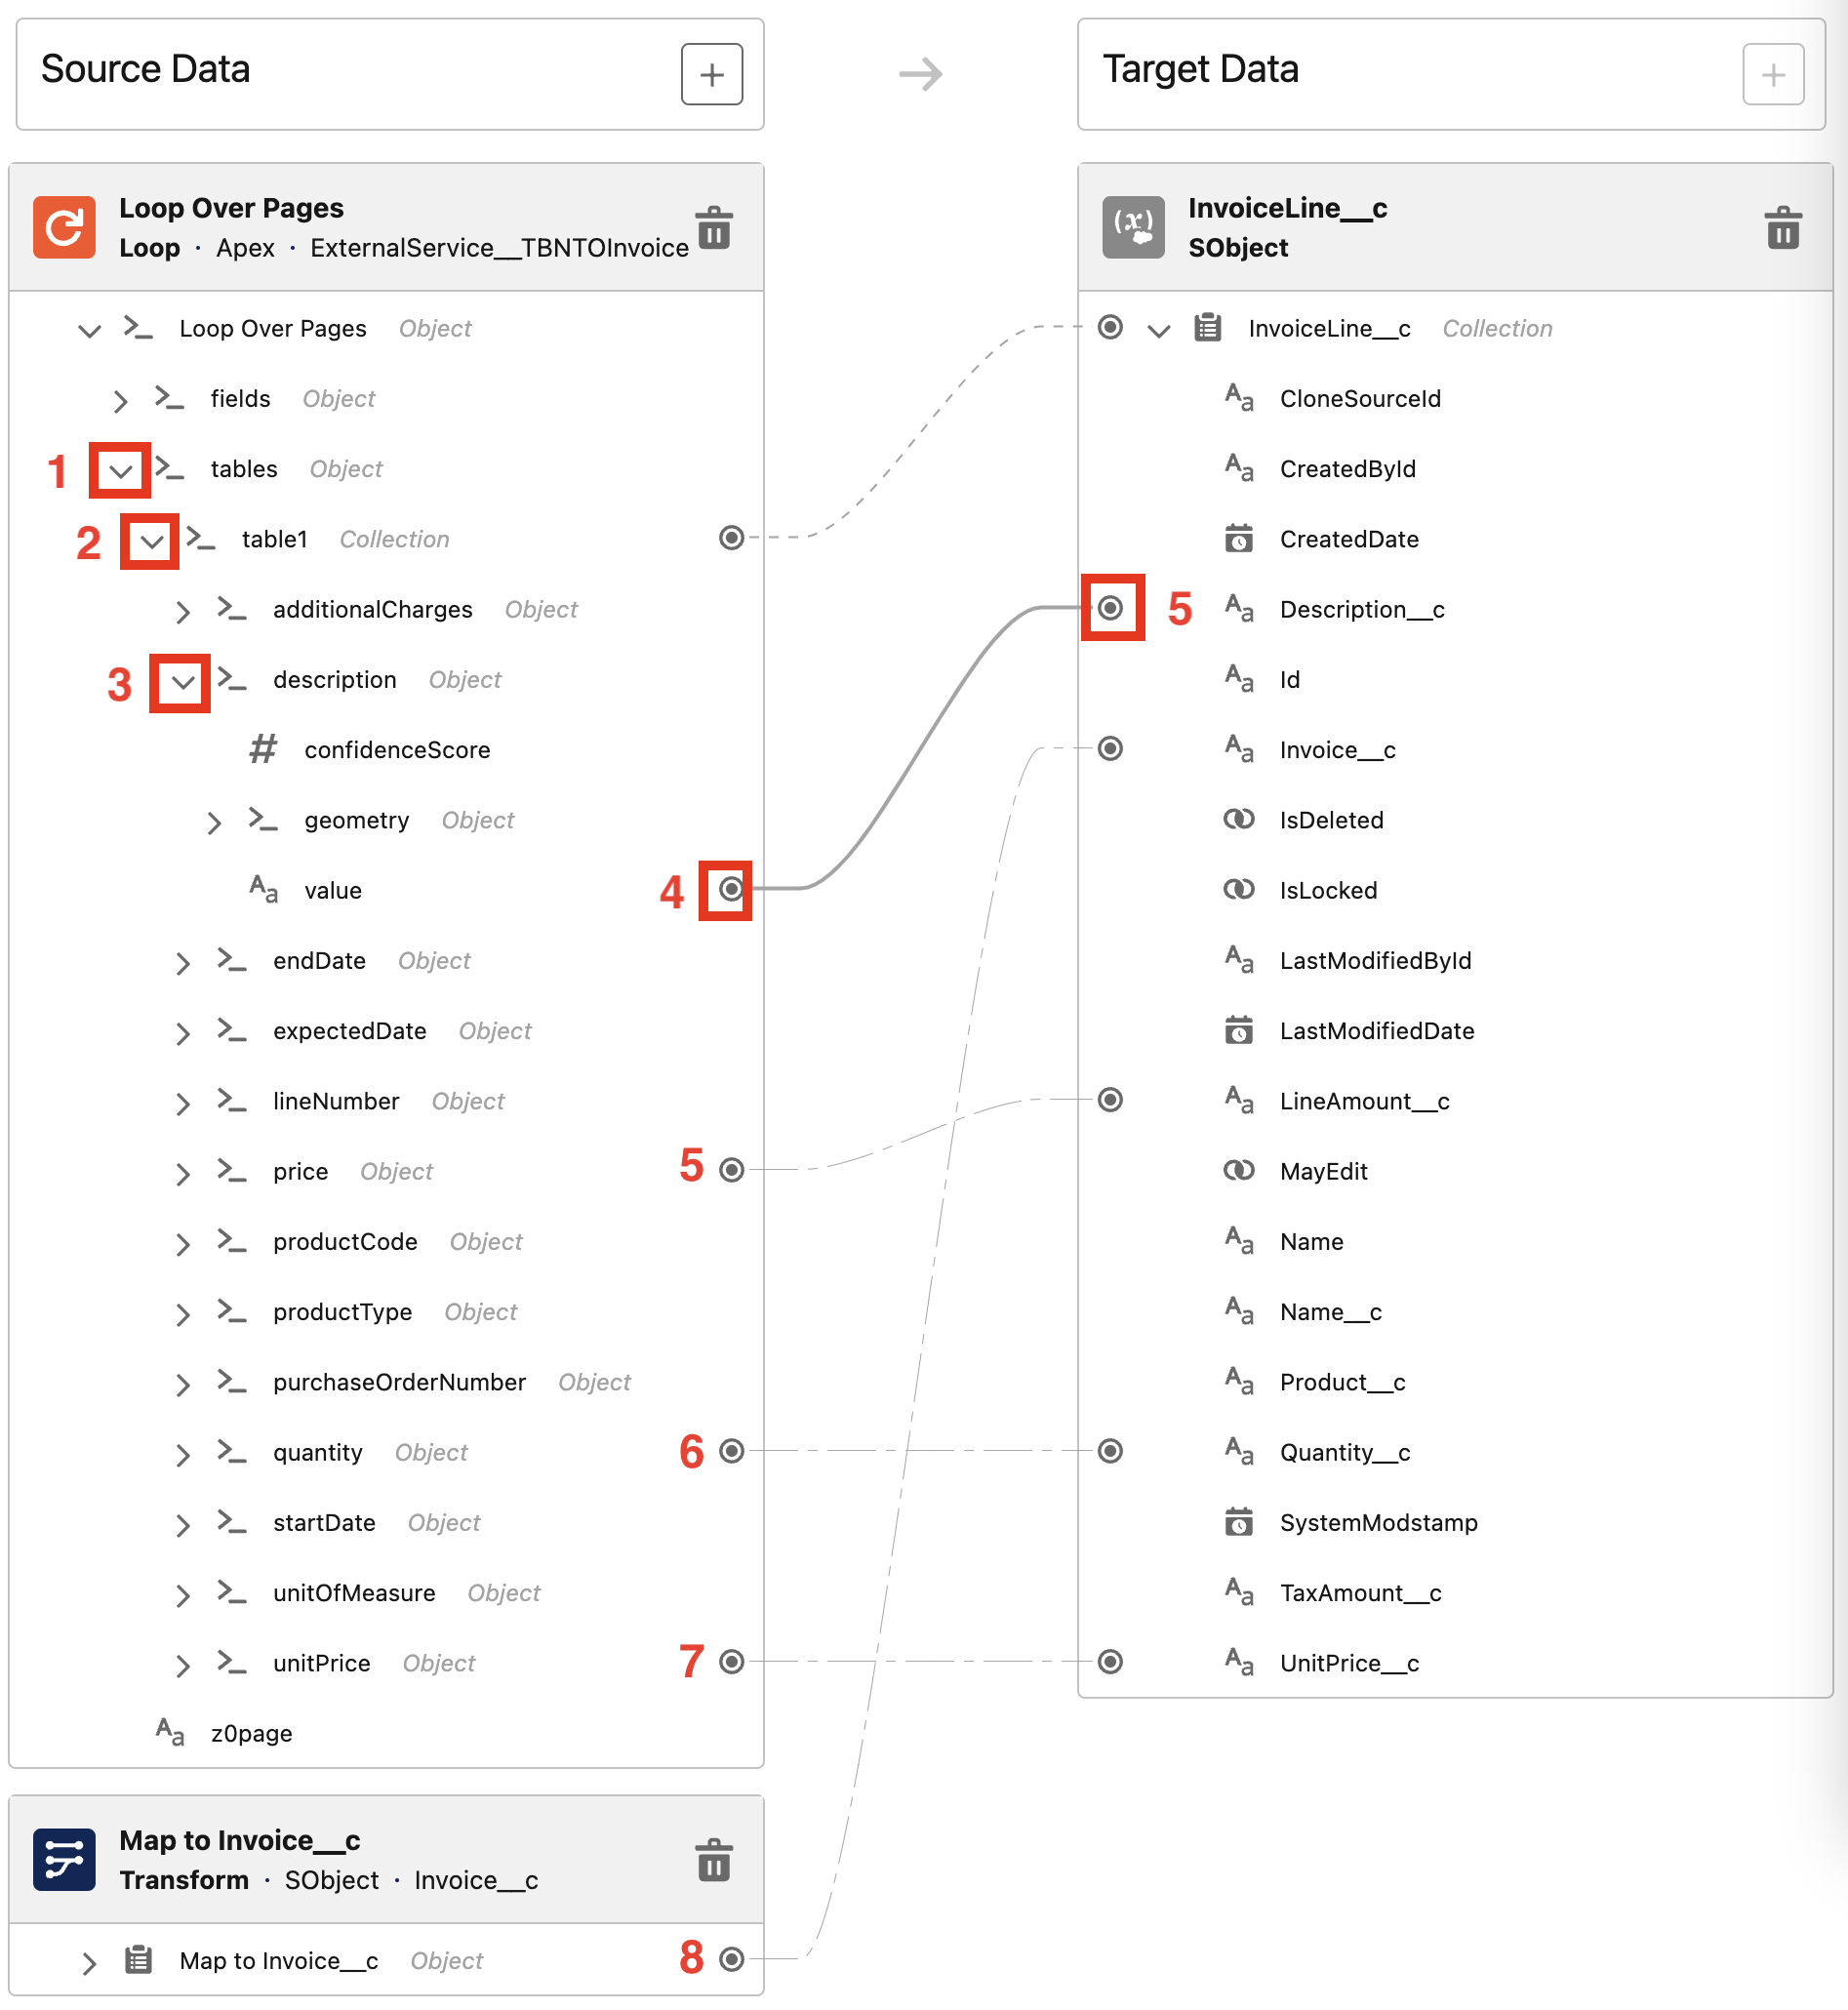
-
Click the Add Element button right after the "Map to InvoiceLine__c" transform element.
-
In the search text box look for
Create Records, then select the first result.
-
You can now configured the
Create Recordselement as follows.Field Value Label
Create InvoiceLine__cAPI Name
Create_InvoiceLine__cHow to set record field values
From a Record VariableHow Many Records to Create
MultipleRecord
{!Map_to_InvoiceLine__c}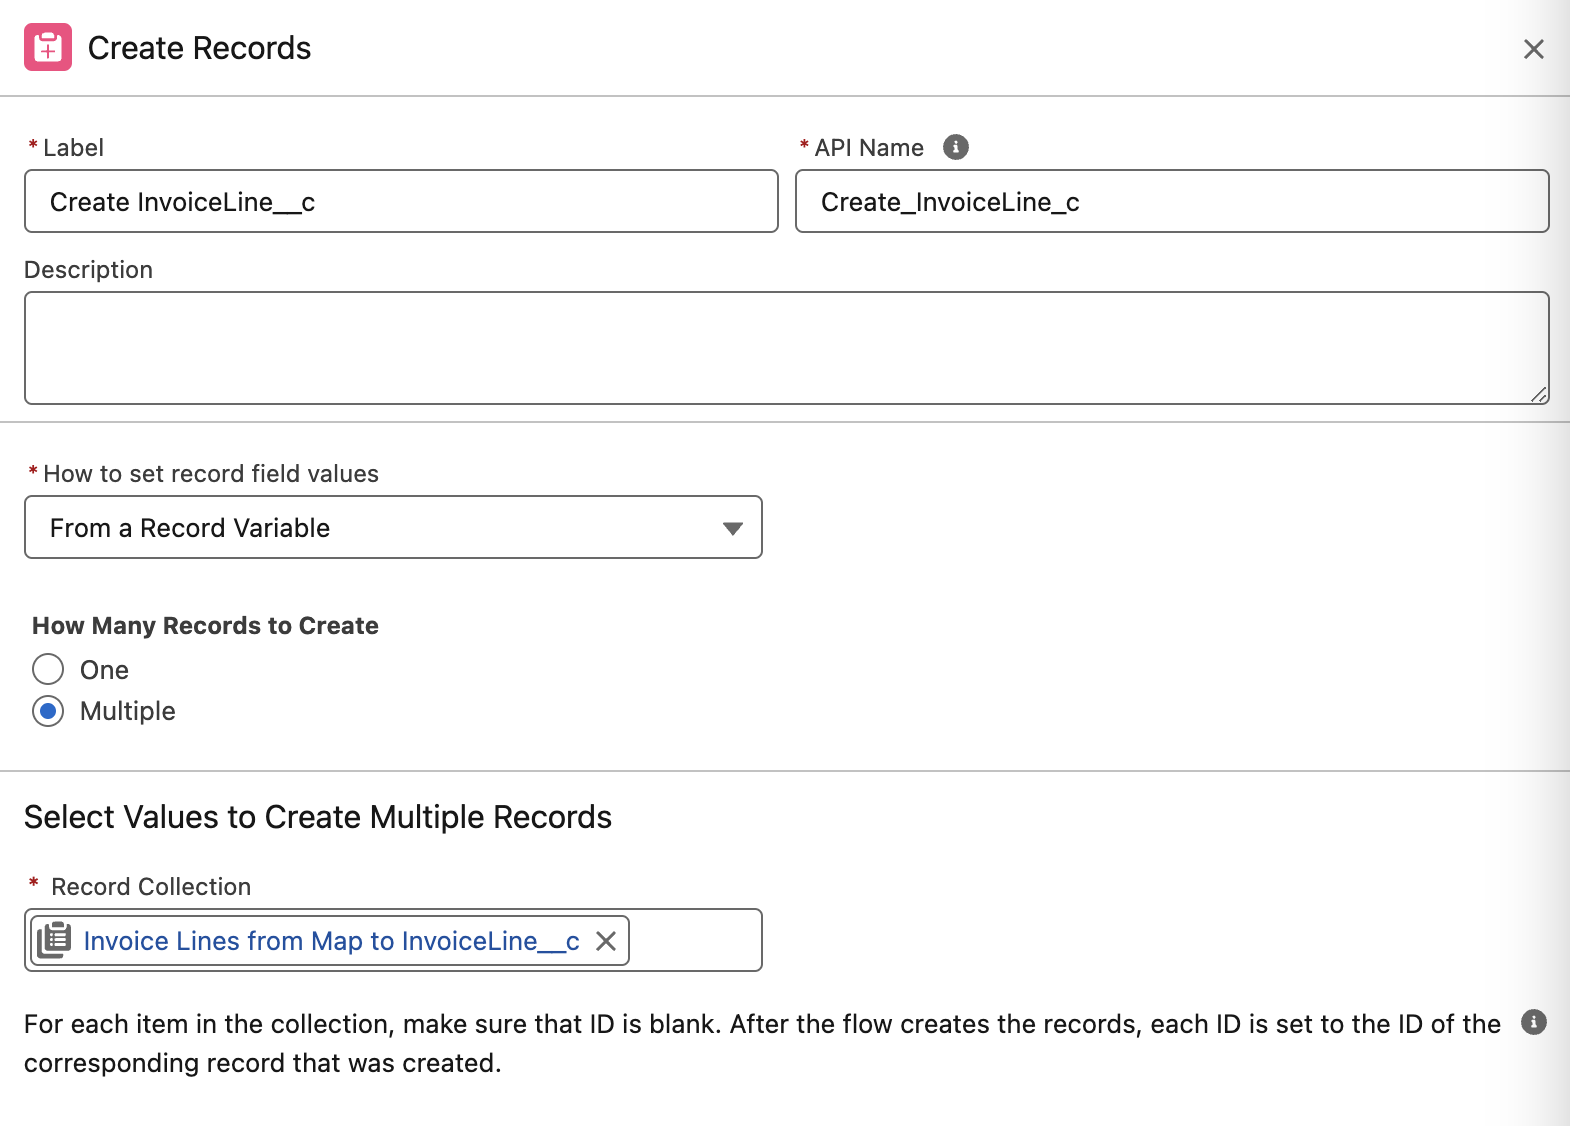
-
Click the Save button in the top-right corner.
-
Activate the flow by cliccking the Activate button in the top-right corner.
Step 7: Test Flows
You’ll now test what configured so far.
-
Open the App launcher from the top-left corner within Salesforce and search for
MuleSoft IDP, then select the first result to open the App.
-
Navigate to the Accounts by clicking the related tab.
-
Click the New button to create a new Account.
-
Enter <your-initials>
- Northern Trail Outfittersas Account Name then click the Save button.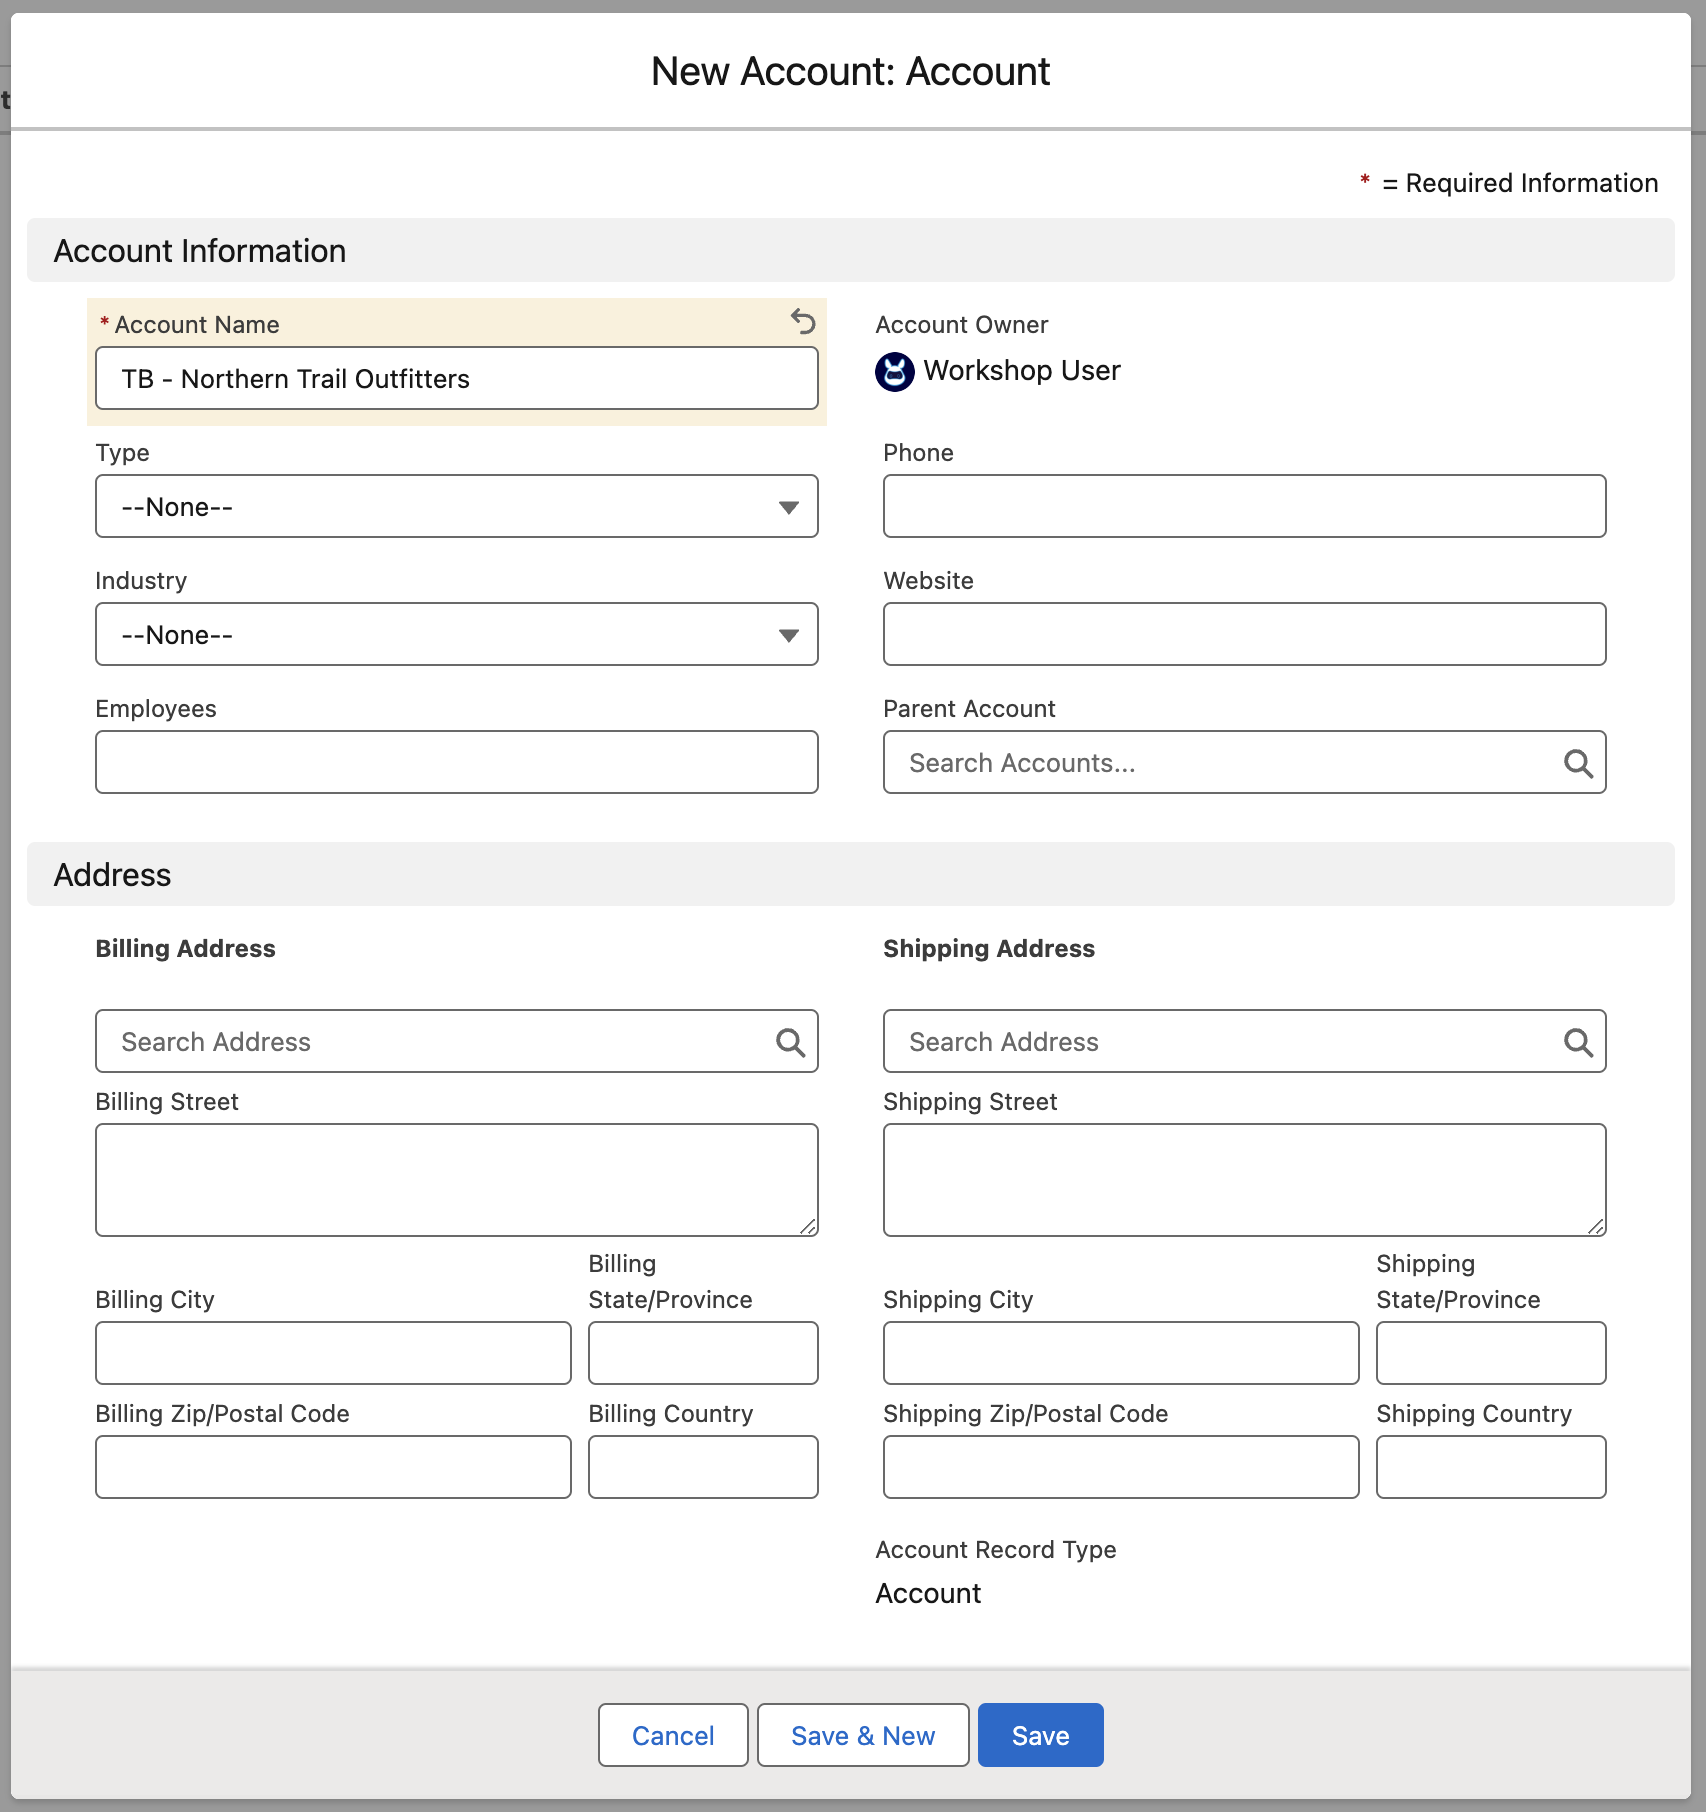
-
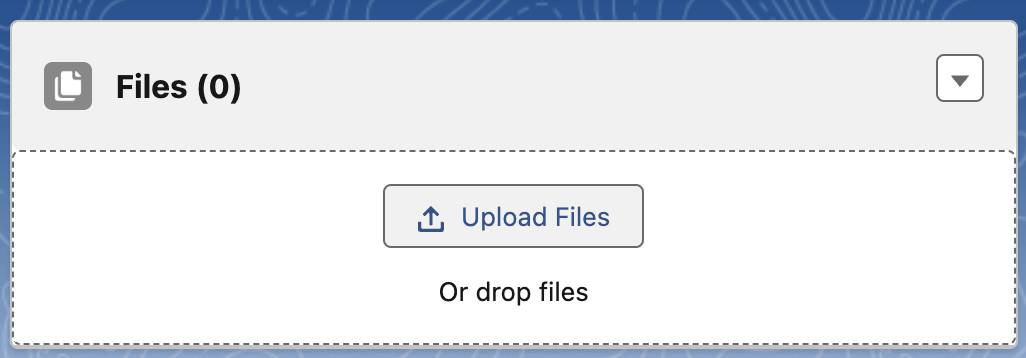
You should now be on the newly created Account page. Click the Upload Files button in the Files panel located in the top-right corner.
-
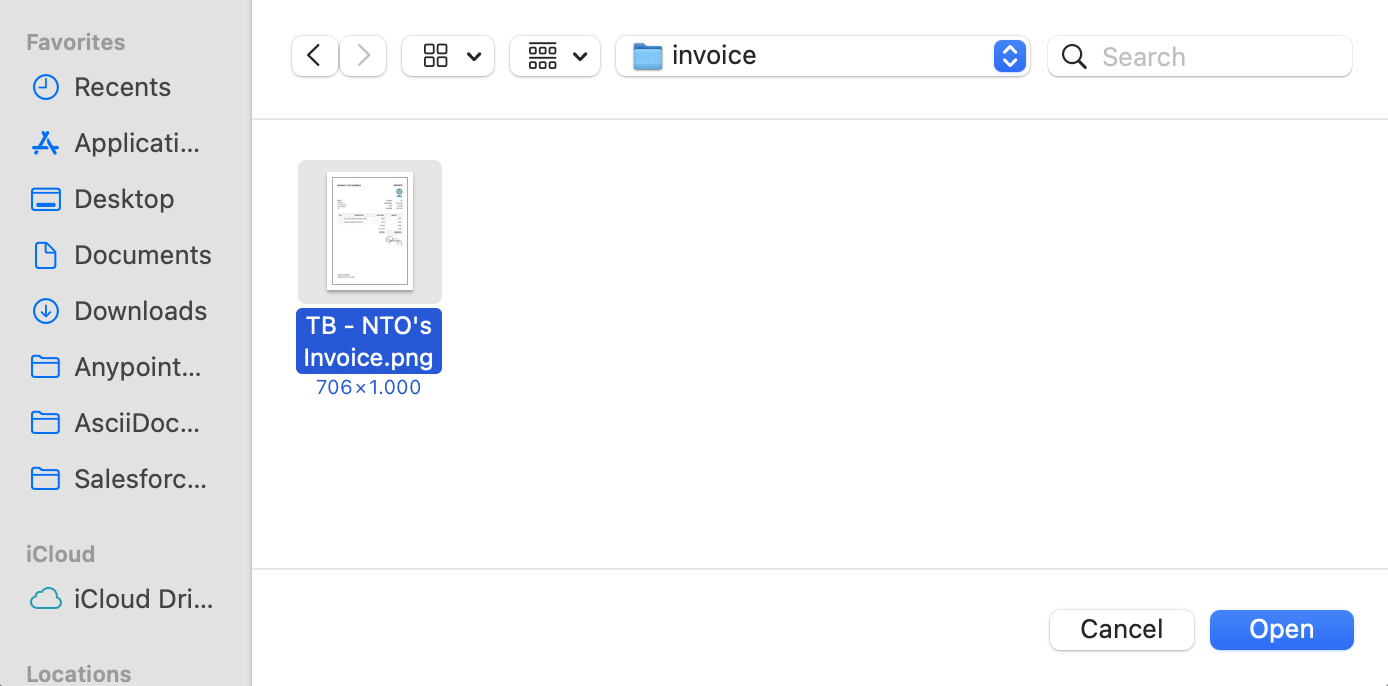
Using the system file explorer navigate to the folder containing the NTO invoice and select it. Click the Open button.
!!! - important - The file name must have you initials as prefix (eg. TB - …) !!!
-
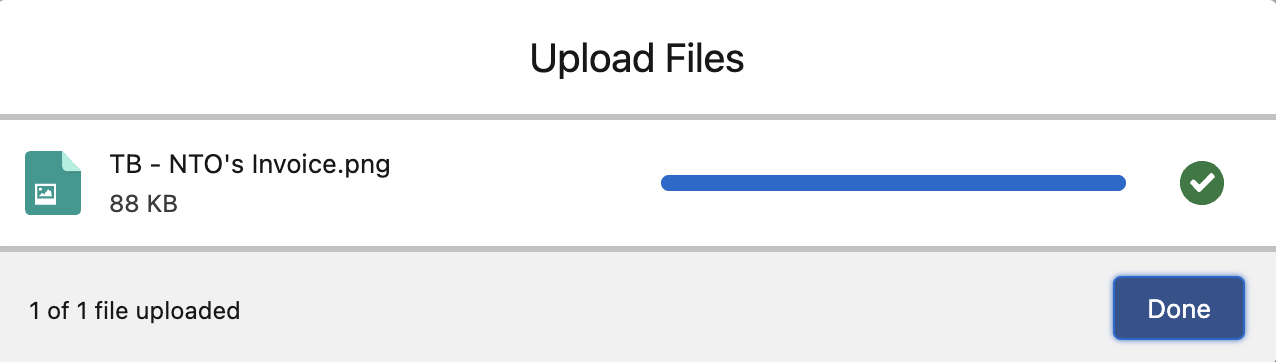
Click the Done button.
-
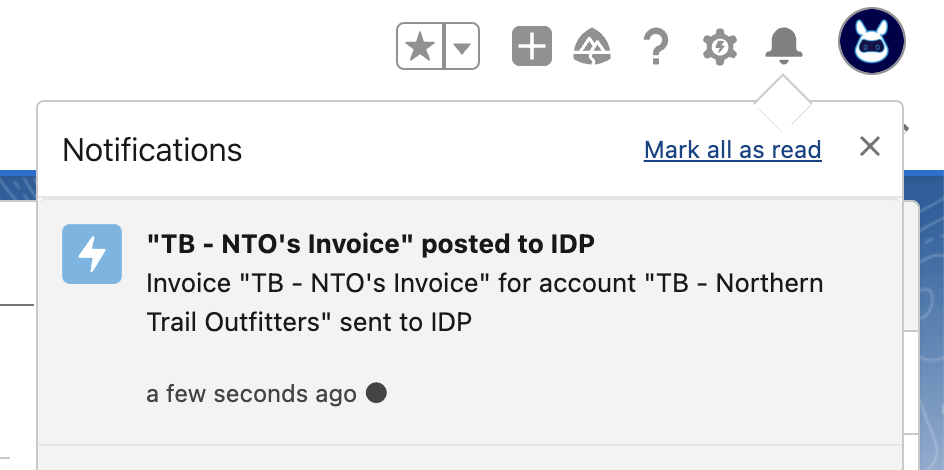
Once the document is posted to IDP you should recieve a notification as follows.

-
Let’s open the notification by clicking on the bell icon. The notification inform you that the document has been properly posted to IDP.
-
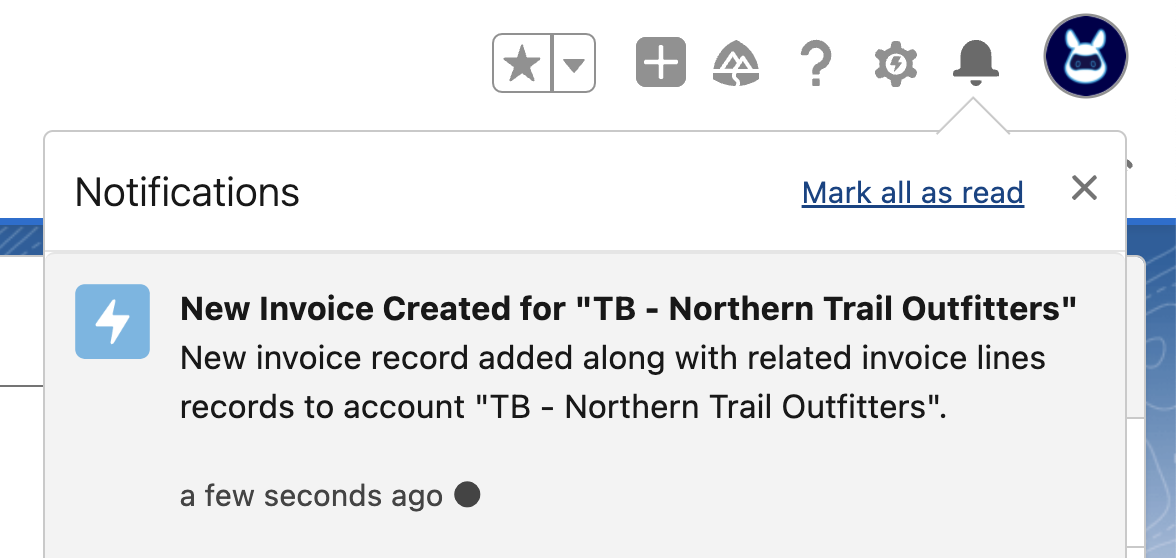
Now you need to wait for IDP to complete the document processing and the second flow you built to run and map all the extracted data to Salesforce object. Let’s wait for the notification.
-
Let’s open the notification by clicking on the bell icon. The notification inform you that an invoice record is created within Salesforce.
-
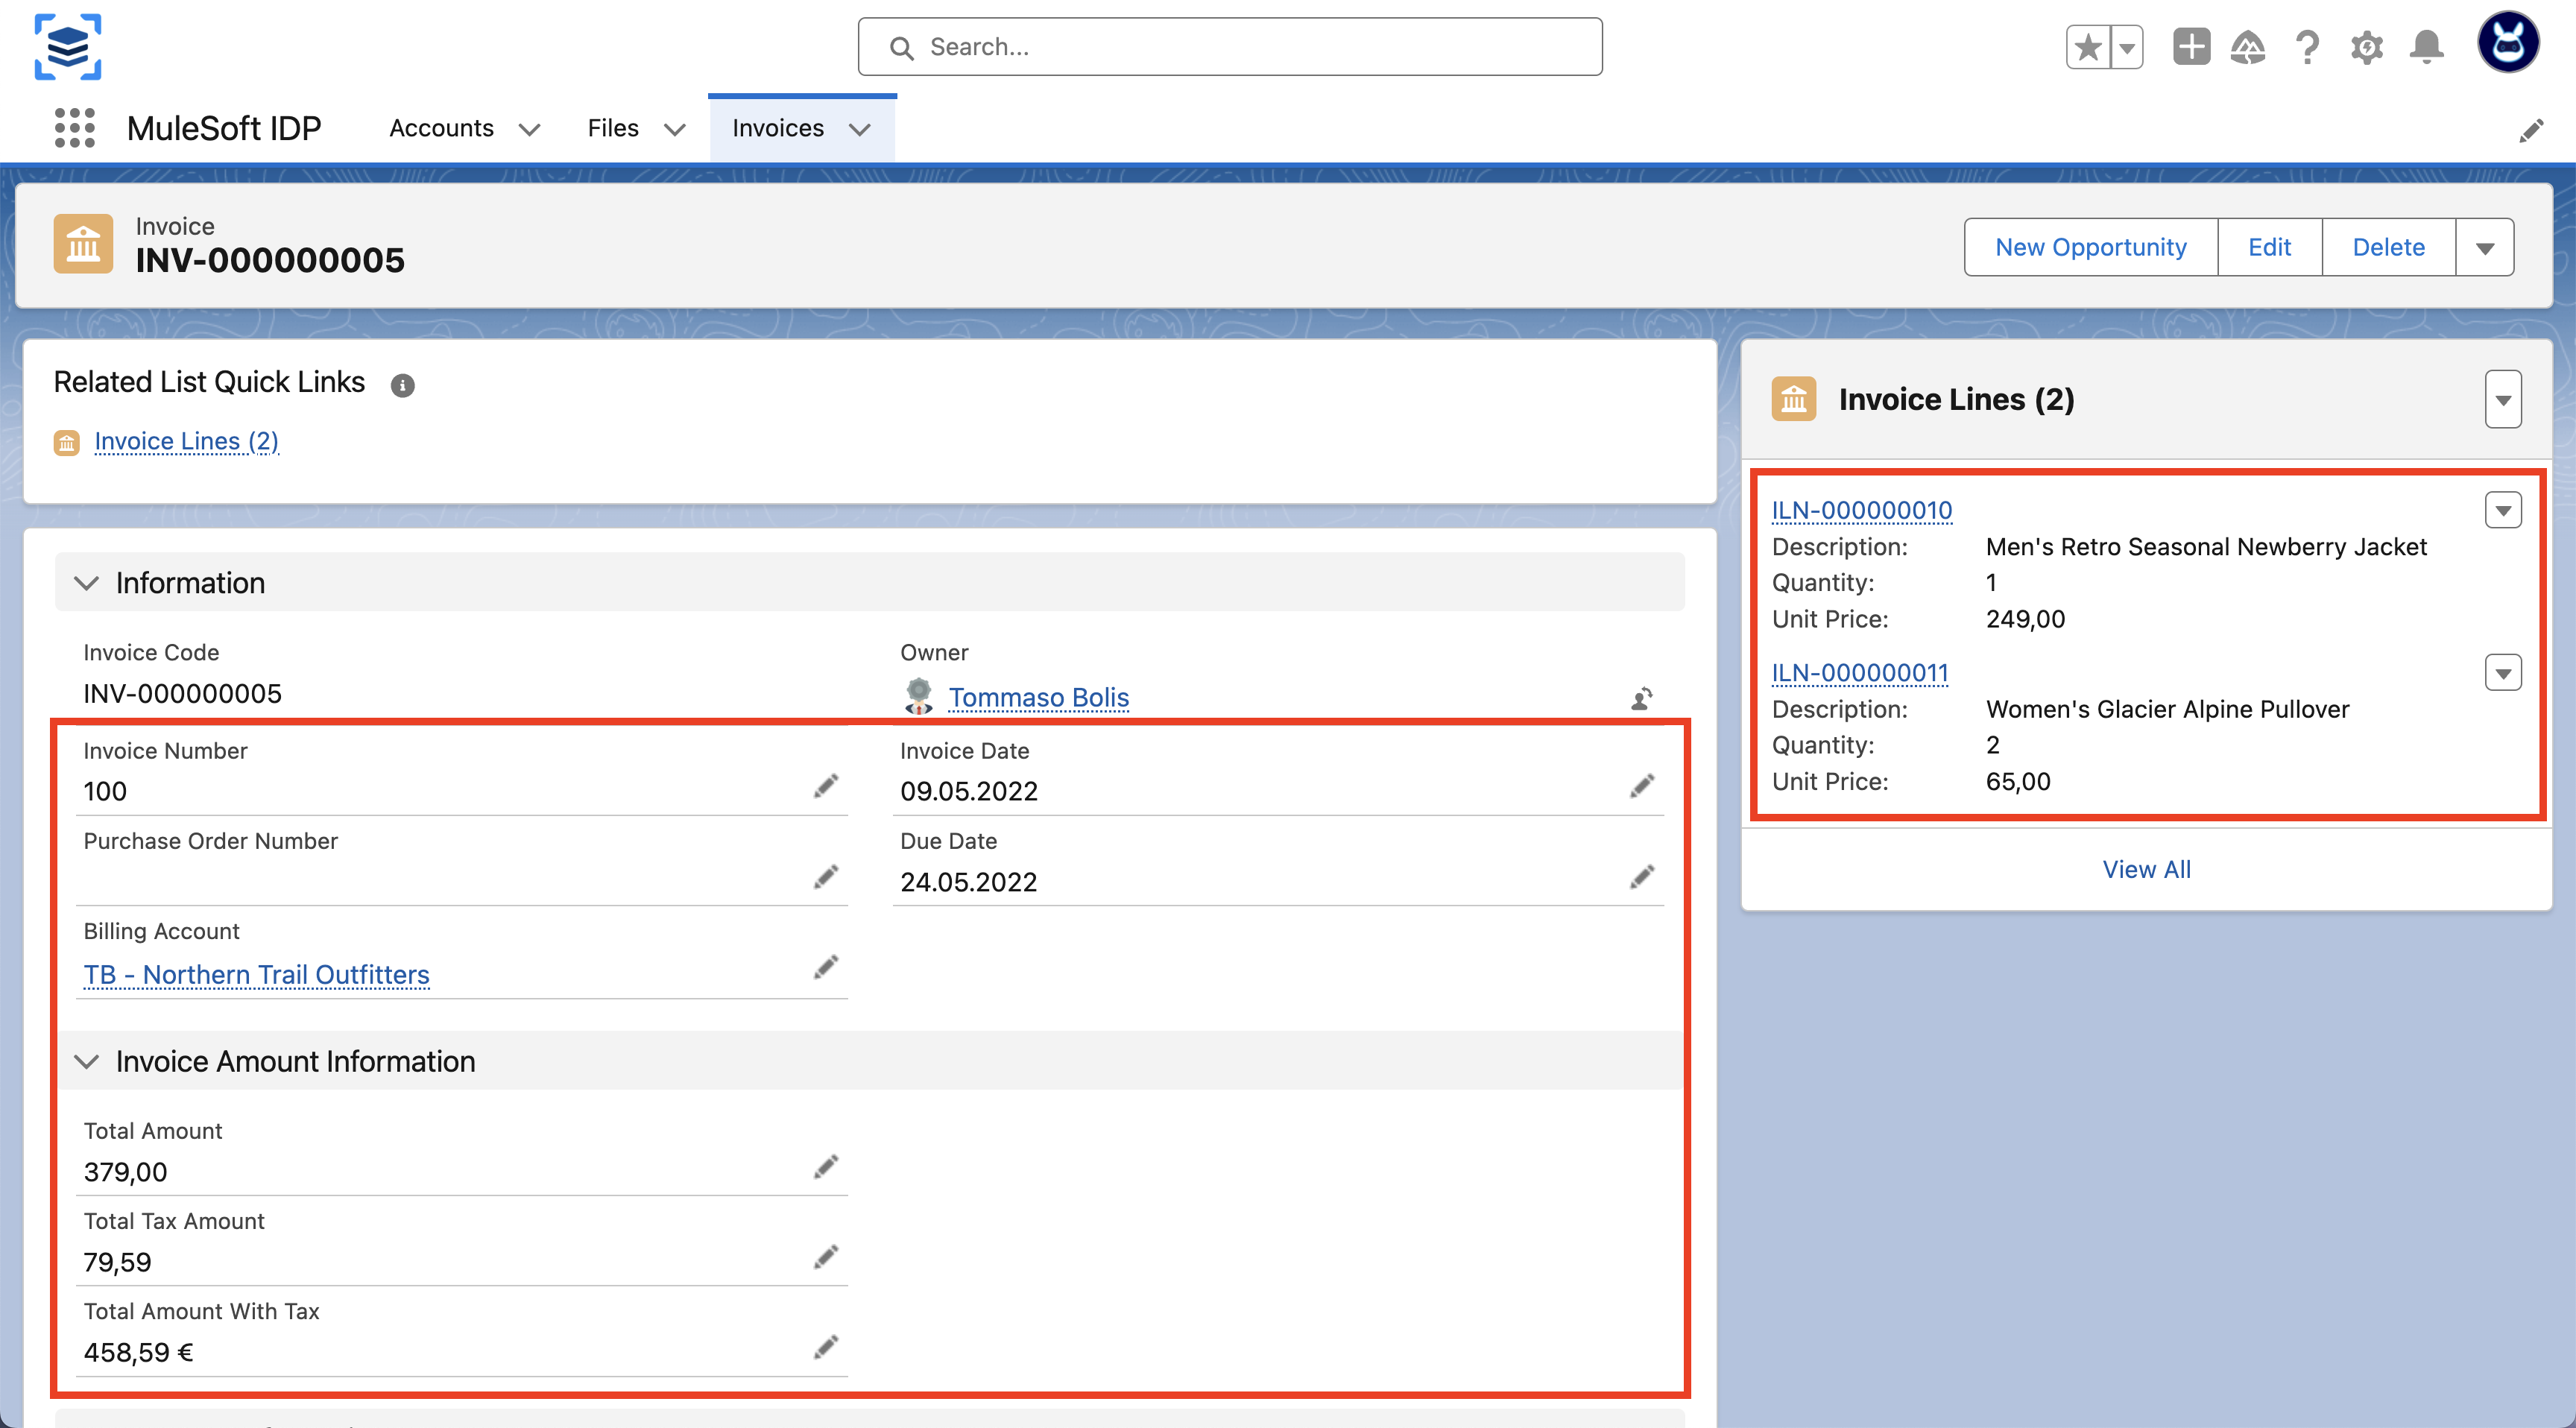
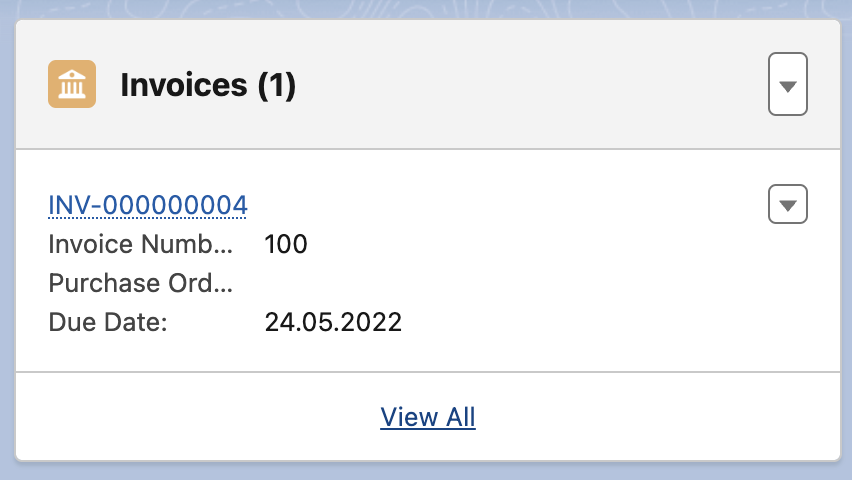
Now that the invoice has been create you should see it on the Account page in the Invoice Panel right below the uploaded files. Click on the invoice code to open the invoice detail page.
-
As you can see the invoice has been successfully created along with the related line items.