Lab 1: Process an Invoice with MuleSoft IDP
Overview
We will now dive into the practical application of IDP by processing an invoice. This lab will guide you through the steps of configuring a document action of IDP to accurately extract key data points from an invoice, such as invoice number, date, total amount, etc.
Before we begin download the Learners Repository here
Step 1: Create a New Document Action
-
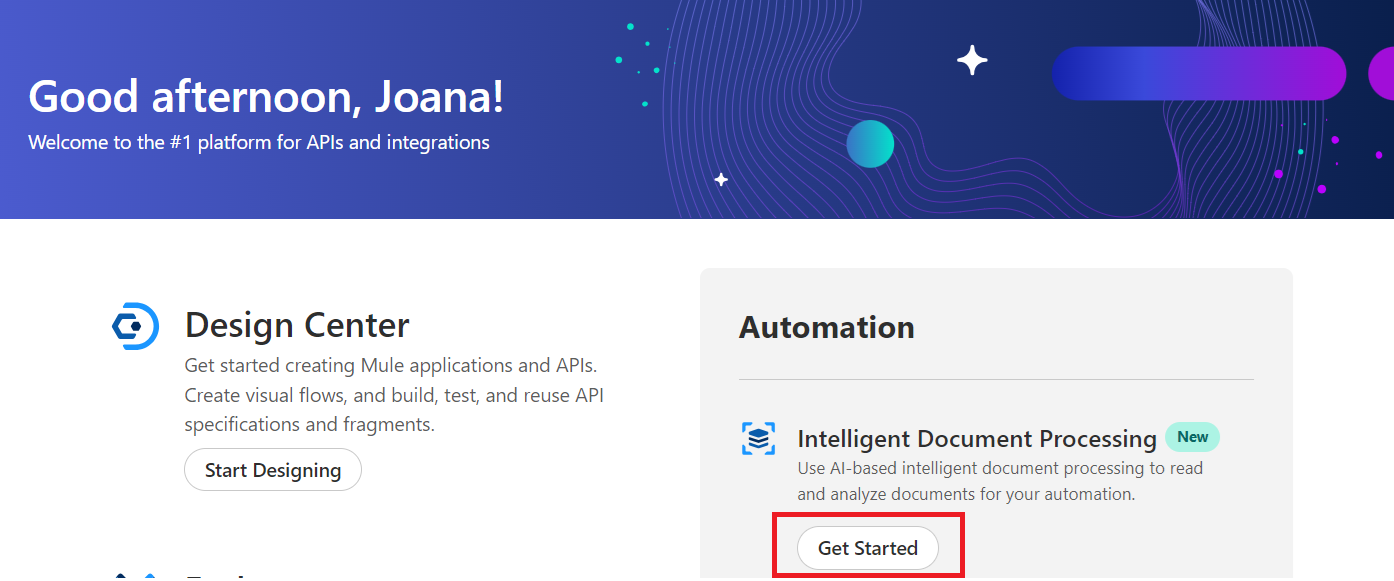
Log into Anypoint Platform. In the Anypoint Home menu, under the Automation section, click on the Get Started button to access the Intelligent Document Processing tool.
-
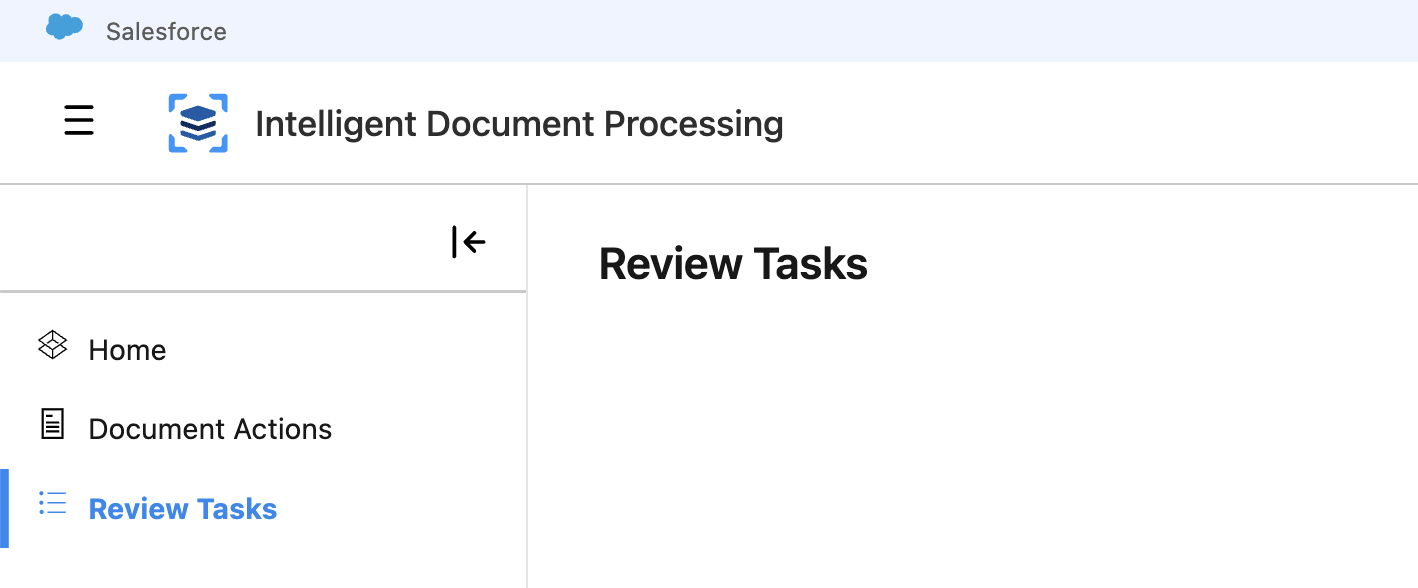
Now the MuleSoft IDP Home page is opened. Let’s do a short review about the menu options. The menu is on the left side, which has three different options:
-
Home:This is the access to review the latest document actions created and create new ones. -
Document Actions: A document action is a multi-step process that uses multiple AI engines to scan a document, filter out fields, and return a structured response as a JSON object. Each document action defines the types of documents it expects as input, the fields to extract, and the fields to filter out from the response. It can be hidden fields, mark fields as required, configure the minimum confidence score accepted for each field to extract, and configure Prompts to enhance and refine the data-extraction process by asking questions using natural language. -
Review Tasks: Document actions return a JSON response that contains the extracted fields and their detected values. Each of these values has a confidence score that determines the accuracy of the value during the extraction. A document is queued for review if at least one non-hidden field shows a confidence score lower than the configured threshold or At least one non-hidden field marked as required is missing or could not be extracted. After a reviewer verifies and approves the result, the execution status changes to SUCCEEDED.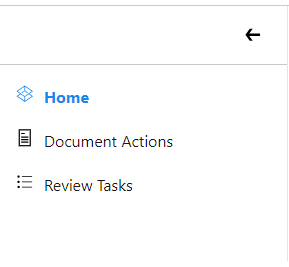
-
-
Let’s go to create a new IDP Document Action. Click on
Create Newbutton.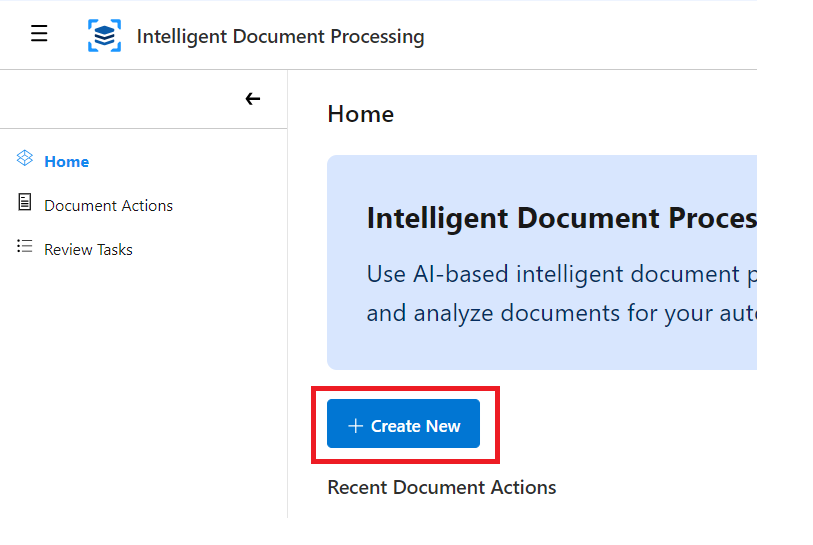
-
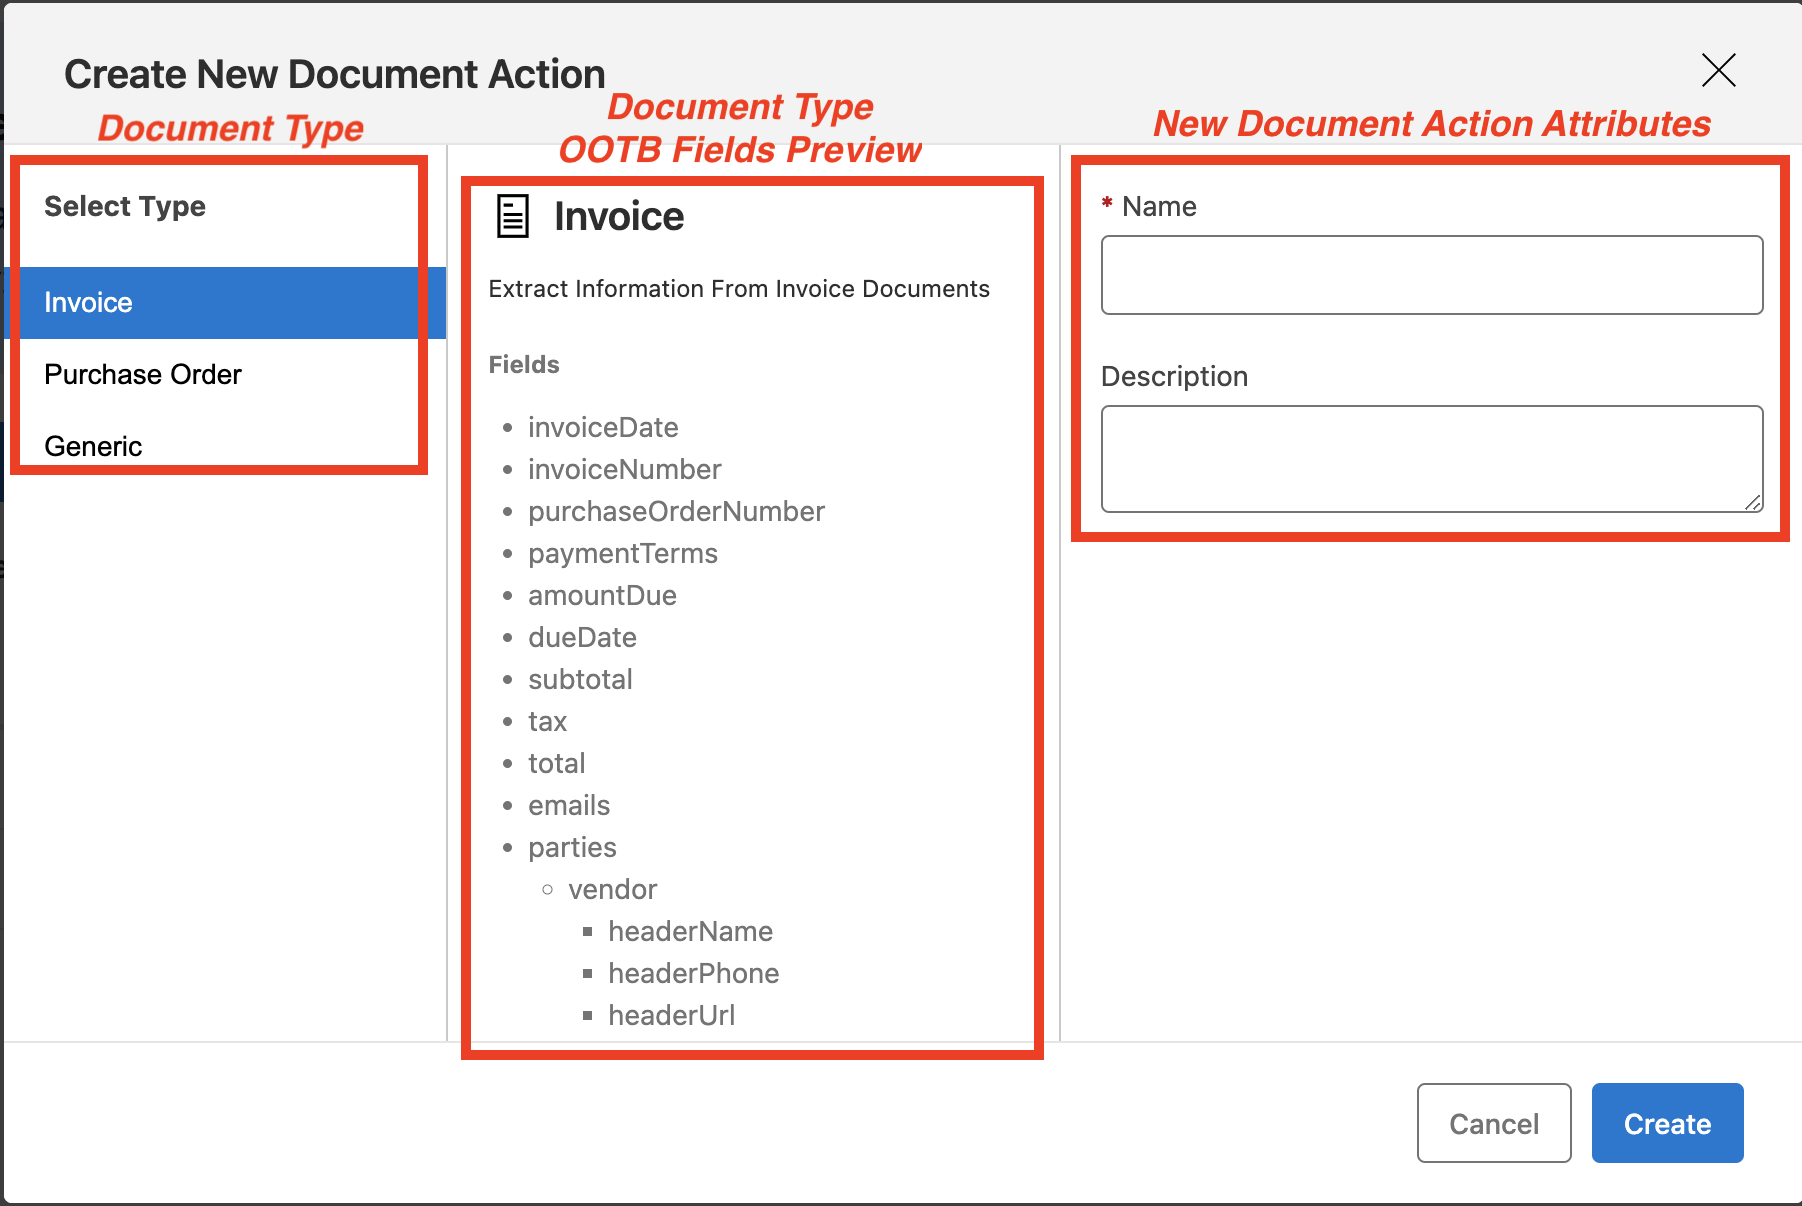
At this point a window will open where you can configure the new Document Action. There are different types to be selected:
-
Invoice: This is an out-of-the-box template that helps extract information from different types of invoices. It includes pre-built extraction for various fields and line items from the invoices. -
Purchase Order: This is an out-of-the-box template that helps extract information from different purchase orders. It includes pre-built extraction for various fields and line items from the purchase orders. -
Generic: This is the type where generic document templates can be configured, allowing prompts to be set up to extract the needed information using natural language and AI.
-
-
Select the document type, and for our purposes choose the
Invoice.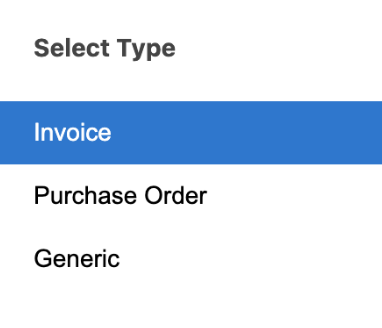
-
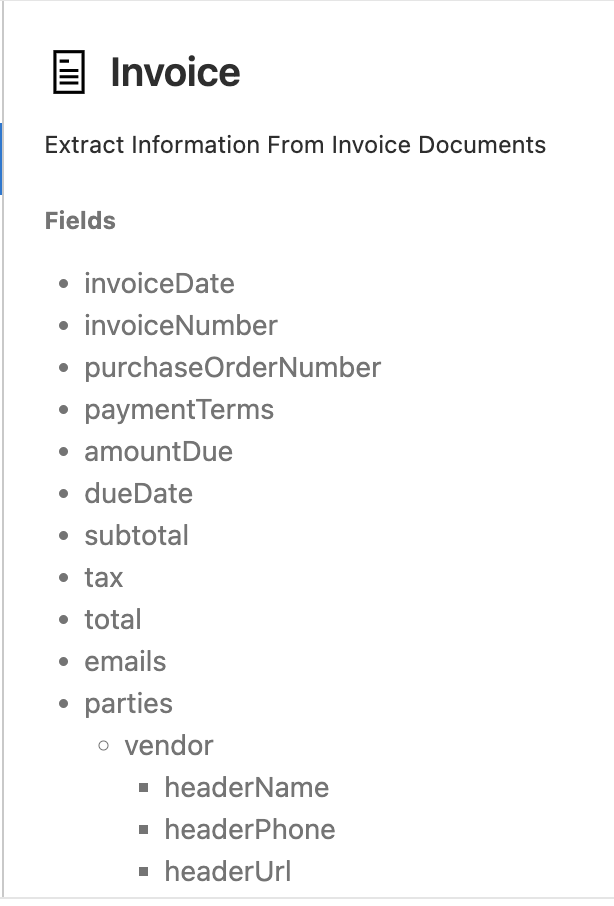
In the middle bar you can check what type of data will be extracted by default from the IDP, based on the document type.
-
Next enter name and description as follows:
-
Name: <Your Initials>
- NTO Invoice -
Description: <Your full name>
- NTO Invoice
-
-
Click the button Create.
Step 2: Process the NTO Invoice
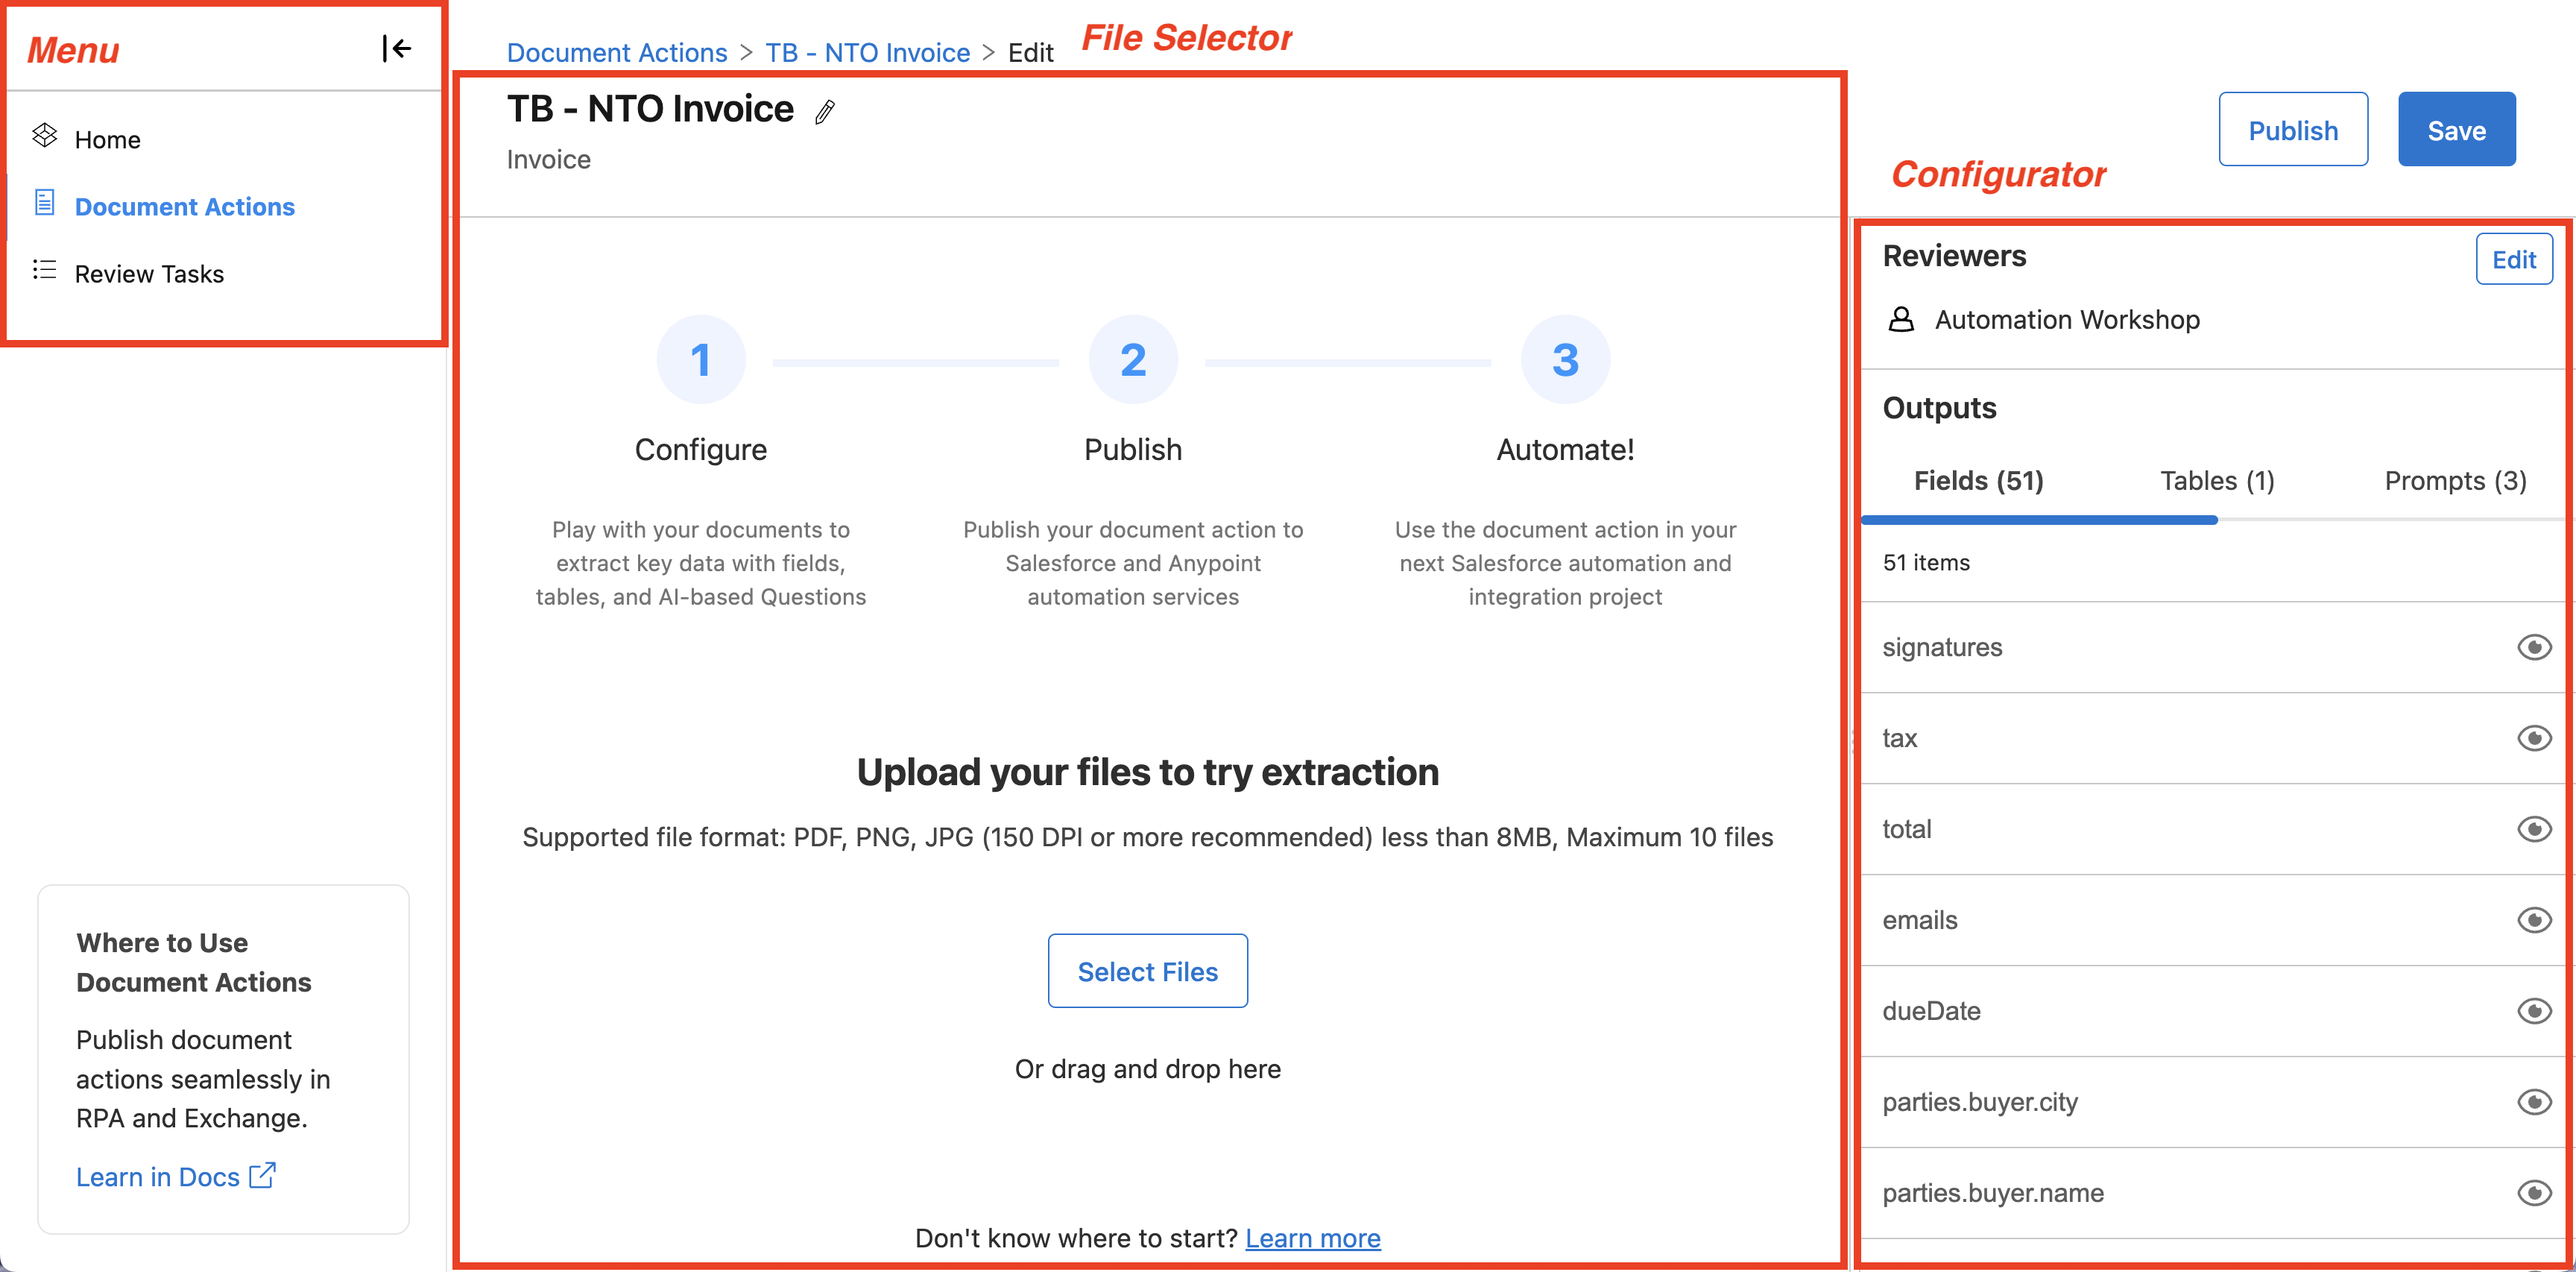
This view helps to configure, review, and test the new Document Action before publishing it later.
There are three main areas:
-
Menu: This area contains the main menu mentioned in Step 1. You can collapse it by clicking on the arrow.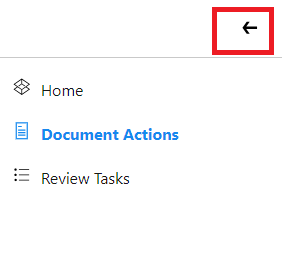
-
File Selector: This area allows you to select multiple files for testing. -
Configurator: This area contains two different sections: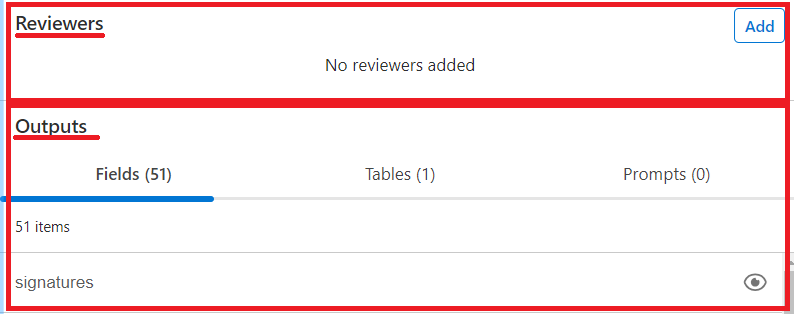
-
Reviewers: It allows the addition of one or more reviewers to a document action to verify and correct the documents queued for review due to low confidence scores or missing required fields. -
Outputs: Depending on the document action type, it can show up to three main tabs:-
Fields: These are the fields extracted out of the box by the Invoice and Purchase Order templates. -
Tables: This is the data related to the line items extracted by the Invoice and Purchase Order templates. -
Prompts: This is the section where prompts can be defined using natural language to extract additional data apart from what is extracted by the Invoice or Purchase Order templates. For Generic Types, this is the only tab shown.
-
-
Let’s start to configure the Invoice Document Action.
-
Click on the button
Select Files, to upload the document to process. Open theAutomation Workshop Invoice.pngfile you’ve been provided with. It can also process multiple files at once.Note: The
Automation Workshop Invoice.pngfile is available at path Learners_Repository\Student Files. The Learners_Repository zip can be downloaded from here.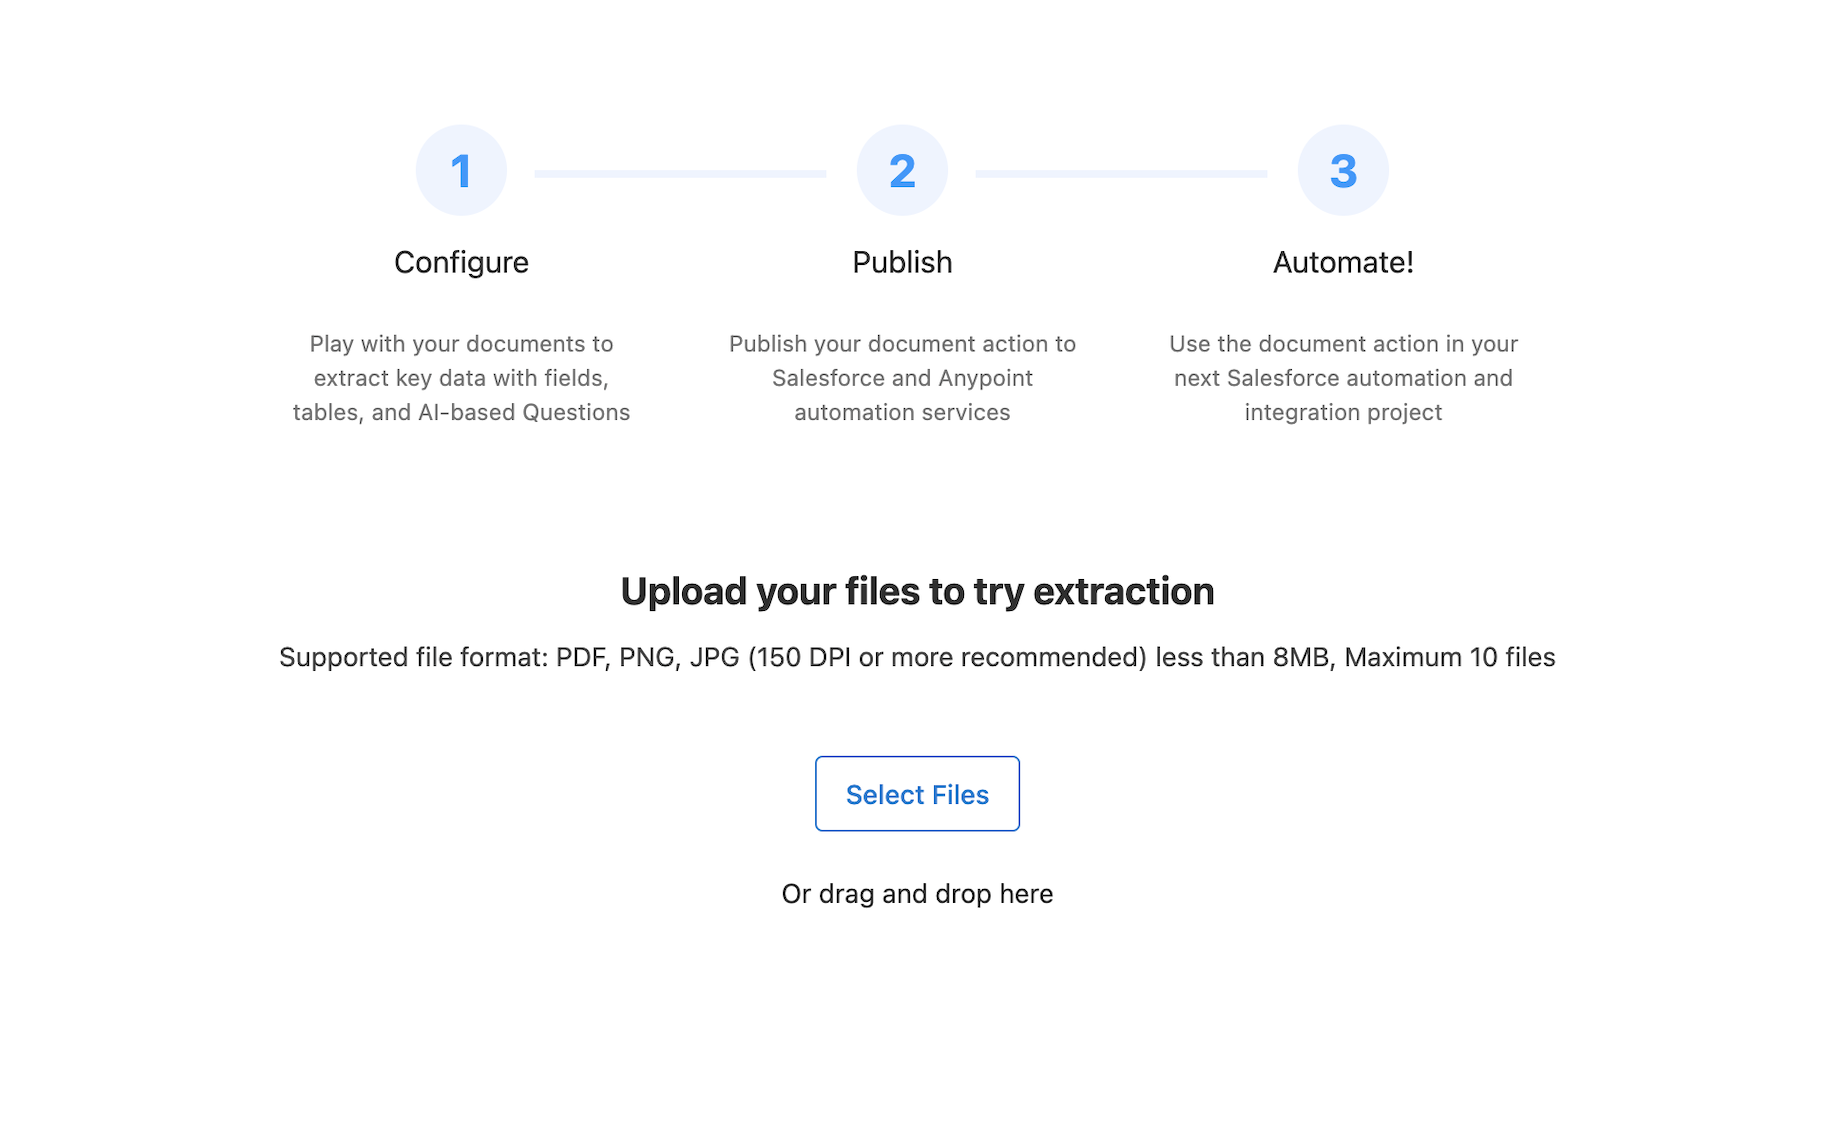
-
Look on
Fieldssection, and examine the data the IDP will extract by default. Click onTAXfield, for example: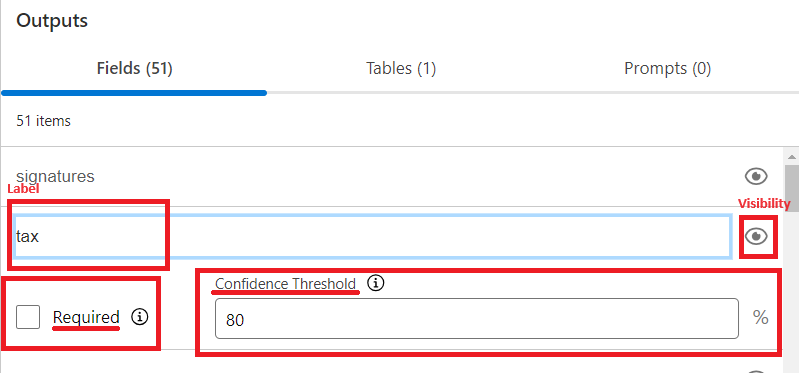
Let’s review what is shown. There are four important elements to mention:
-
Visibility: defines if this field shows in the output JSON result. Theeyeicon is used to set or toggle visibility for the field i.e. hide/show. Click theeyeicon to hide this field. -
Label: defines the name of the field extracted. -
Required: this option sends the document to review if the field is missing or can’t be extracted. -
Threshold: the minimum required confidence score accepted for this field. If the returned Confidence value is below the threshold, the document is queued for human review.
-
-
Let’s run it. Click on the
Runbutton and examine the data extracted.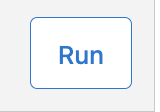
-
Click on the
scanicon next to theTaxitem. This will show where on the document the information has been found. Review the accuracy of the extraction in theConfidence Thresholdfield and the value extracted.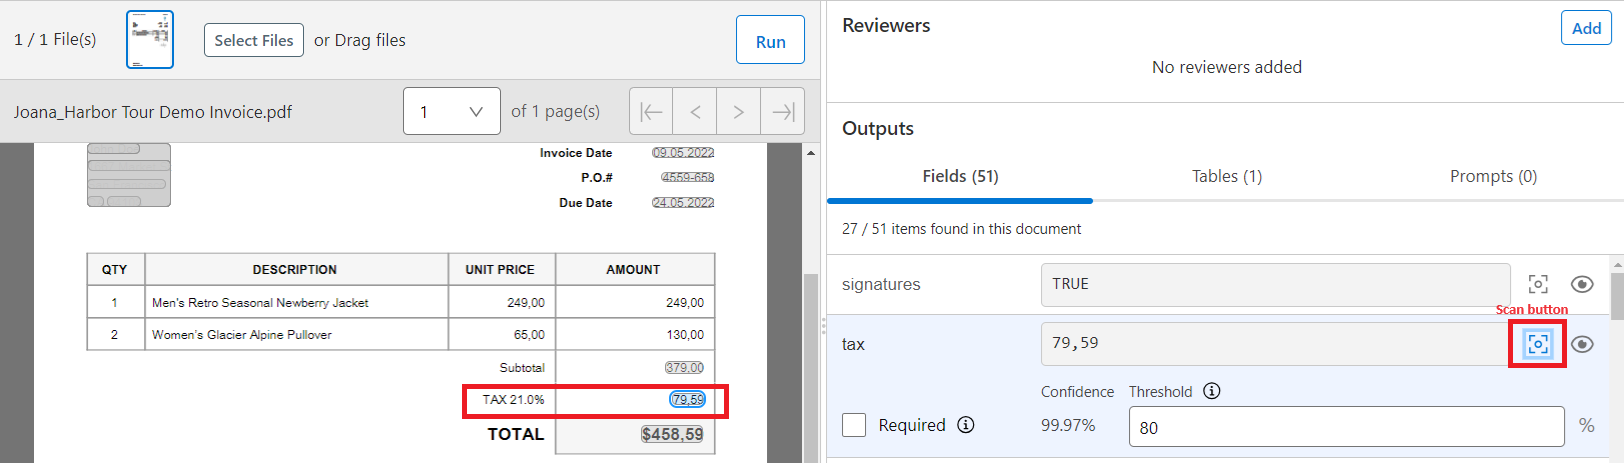
-
Now move to the
Tables(1)tab and review the content extracted by the Invoice template. Click theScanicon again and review the line item content extracted in the table below the invoice.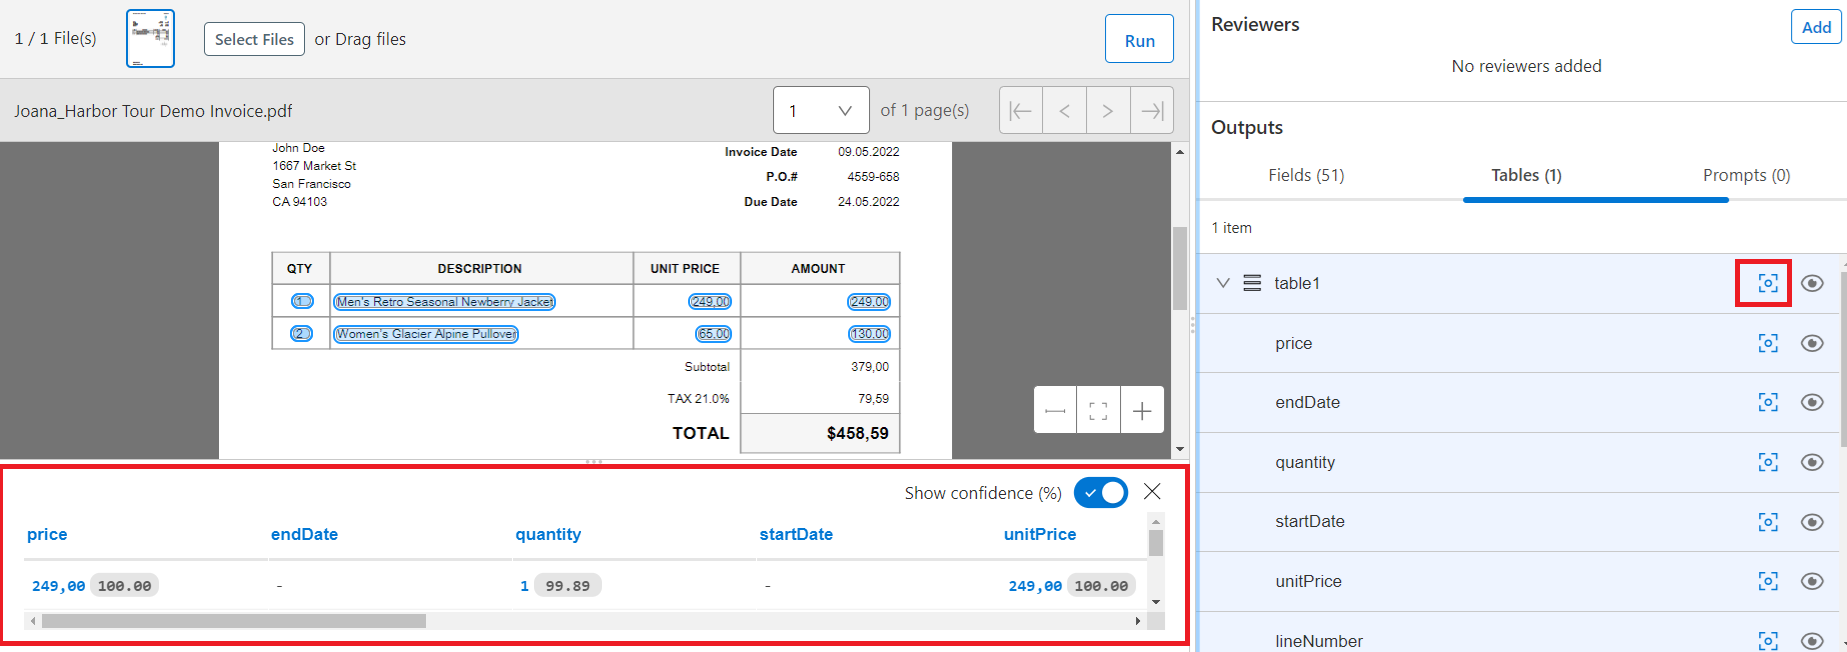
Step 3: Add Reviewers
Before being able to publish your document action you need to specify a reviewer for it. Add one or more reviewers to a document action to verify and correct the documents queued for review due to low confidence score values or missing required fields.
Following you see the section where review tasks will be presented to the reviewers.
You can add single Anypoint Platform users or teams as reviewers.
-
From the document action page click on the
Addbutton next to Reviewers
-
In the search bar look for your username
Automation Workshop, click it, and then click theAddbutton.
-
Click the
Savebutton.
Step 4: Publish your Document Action to Exchange
Now we can publish our document action making it discoverable in RPA and available in Anypoint Exchange as an API that you can call.
-
Click on the
Publishbutton.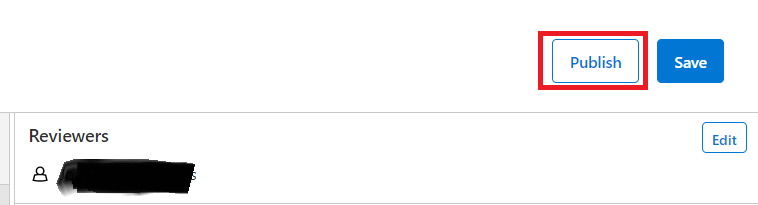
-
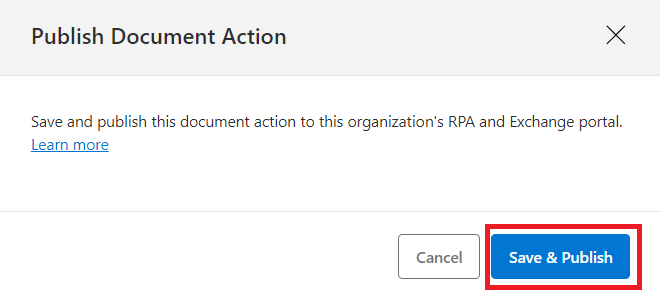
Click on the Save and Publish button.
-
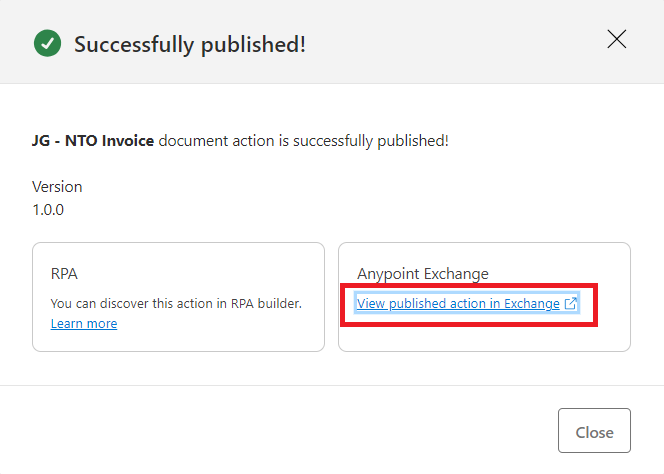
Click on the `View published action in Exchange`link
-
Check the IDP Document Action published in Exchange.
Expand the API specification in the left-side menu and click the POST method.
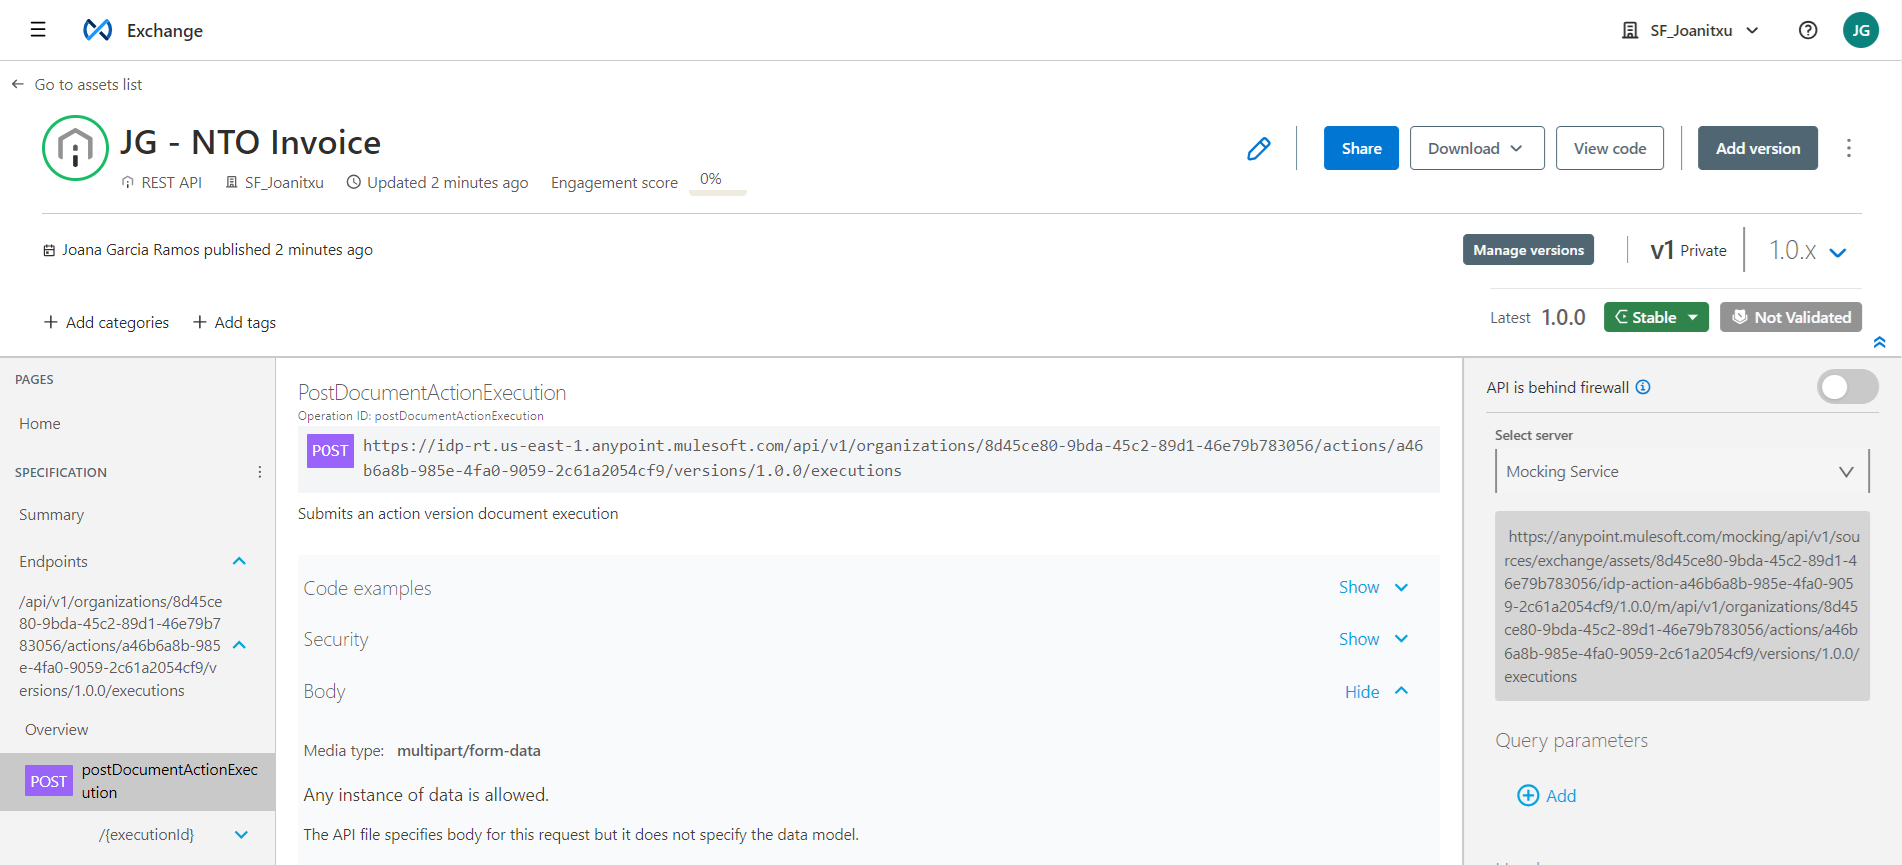
Step 5: Test your Document Action using API Console in Exchange
In this step it can be tested the Document Action using API Console in Exchange. Anypoint Exchange is a curated catalog of reusable assets. APIs, API groups, API spec fragments, custom assets, examples, GraphQL APIs, integration assets such as connectors, policies, RPA assets, rulesets, and templates are some of the types that are supported in Exchange.
IDP configurations are asynchronous processes. As soon as the IDP Document Action is published, the POST and GET methods will be accessible to launch and get the response.
-
In the new IDP API published in Exchange, you can see two sections:
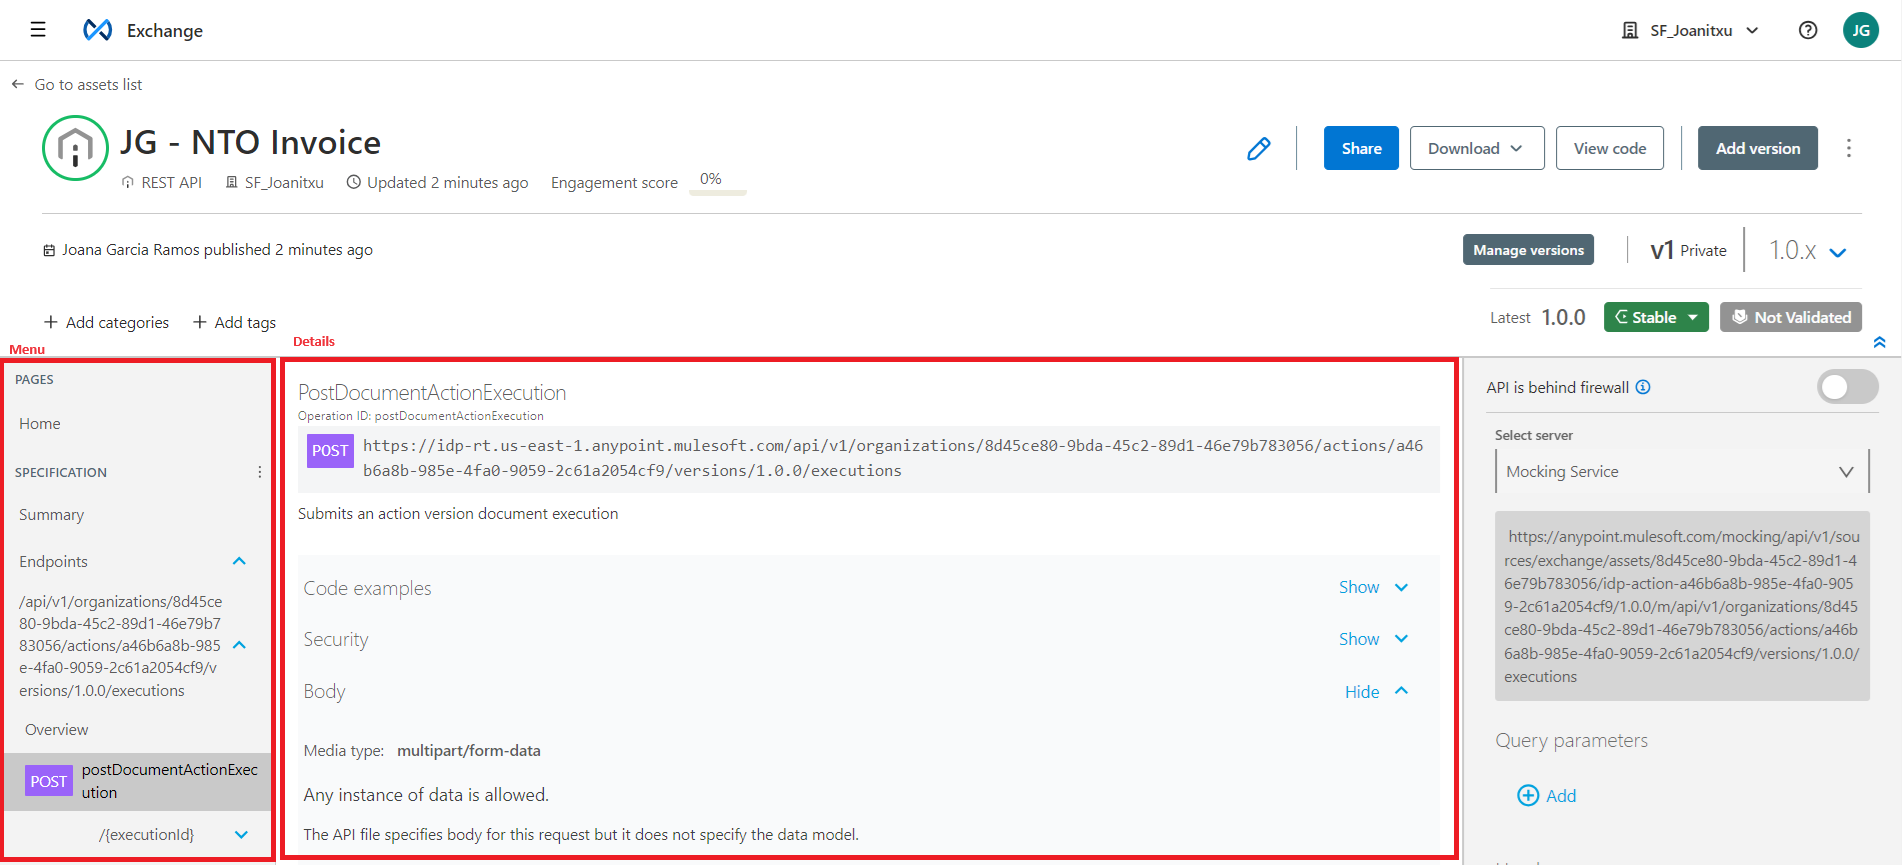
-
Menu(left navigation bar): It is the menu of the all content of the new API published like different methods available to invoke it. -
Asset Detail Pane: It shows the details related to the asset.
Now, navigate from the
left navigation barand select thePOSTmethod. Review the details about this method. -
-
Go to the Mocking Service section (grey right column) and provide next details:
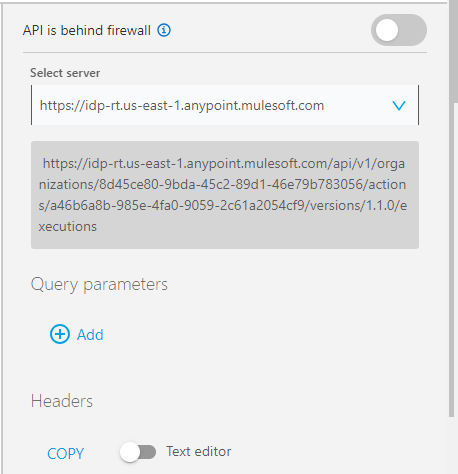
-
Select Server: Select the https call from the drop down list.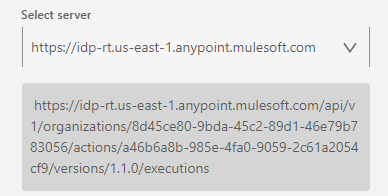
-
File Name: typefile(not the name of the file on your desktop) and click on theChoose Filebutton. Before attaching the file to extract the data you need to rename it as follows.<Your Initials> - NTO’s Invoice.png.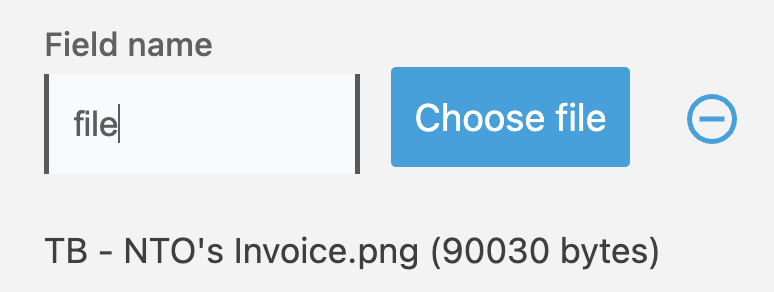
-
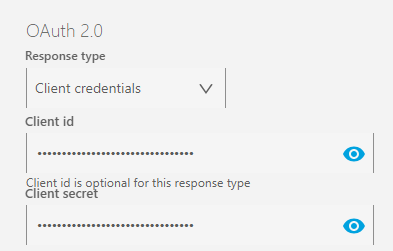
Client id: include theclient_idprovided by the instructor. -
Client secret: include theclient_secretprovided by the instructor.Note. Client ID and Secret are part of a Connected App in Anypoint but for the workshop purpose wont be required to be setup and the instructor will provide them.
-
-
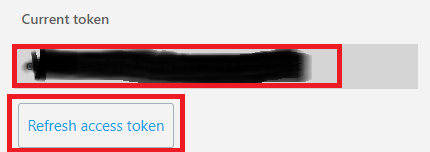
Now click on Request Access Token button in the bottom part and copy&save the token.
-
Go to the header section and add a new header by clicking on the Add button. Select in the drop down list
Authorizationoption and as value insertBearer <token saved in the previous step>. Don’t forget the space betweenBearerand the<token saved>.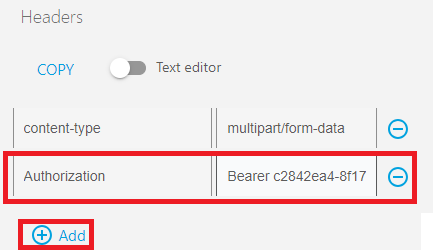
-
Click on
Sendbutton.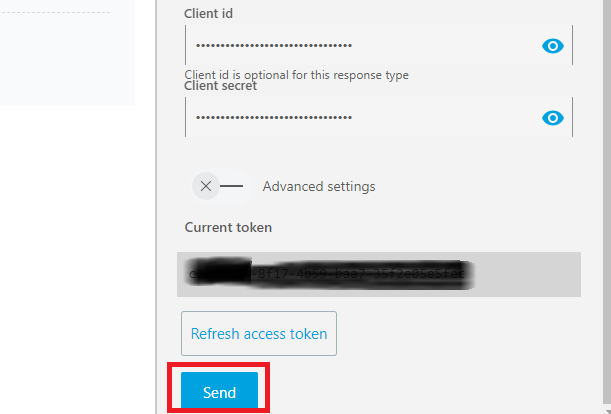
-
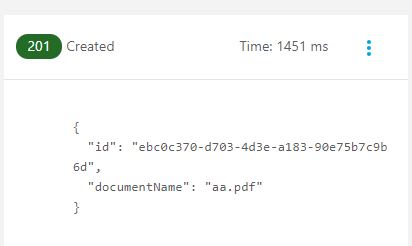
The result should be something like this:
-
As mentioned at the beginning of this step, IDP Document Actions are asynchronous; therefore, a
GETcall must be made to obtain the data result in JSON format. So, now let’s go to launch the methodGETfor obtain the result.Before clicking on the method
GETfrom the left menu, save theidgot from the previous call in the result.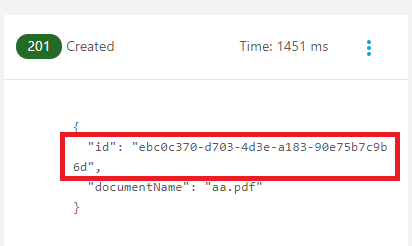
-
Click on the
GETmethod from the menu and review the content has been published.
-
In the URI parameters section, paste the
idcopied from the previous result in theexecutionIdURI parameter.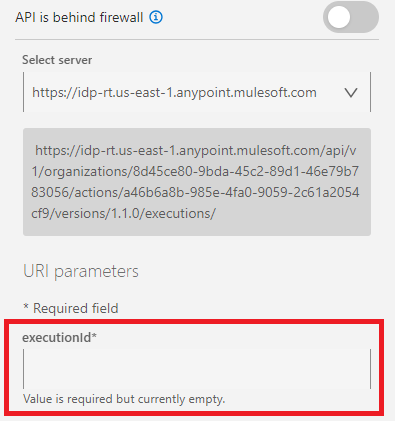
-
Go to the header section and add a new header by clicking on the Add button. Select in the drop down list
Authorizationoption and as value insertBearer <token saved in the previous step>. Don’t forget the space betweenBearerand the<token saved>.
-
Click on
Sendbutton.
-
The result should be something like this:
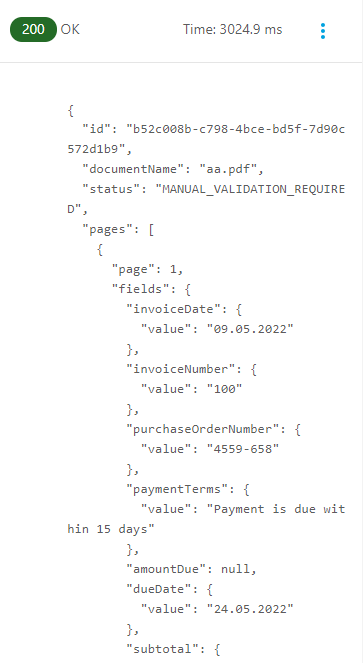
Review the results. Have a look to
Statusresult. It’sMANUAL_VALIDATION_REQUIRED. This indicates that some of the fields extracted have an accuracy lower than the establishedConfidence Thresholdand require manual validation.
Step 6: Reviewers Task actions (optional)
After processing a document Action, MuleSoft IDP queues it for review if:
-
At least one field marked as visible shows a confidence score lower than the configured threshold.
-
At least one field marked as visible and required is missing or could not be extracted.
In this case, a user must review the document to verify the values for the conflicting fields. After the review is finished, the status of the extraction changes to SUCCEEDED.
Let’s follow the next steps to proceed with the review task actions:
-
In the MuleSoft IDP menu, select the
Review tasksoption.
-
The list of the files pending to review will be listed. Select your file and check the data is shown to be reviewed.

-
Review the data pending validation for extraction. To see the format that will be sent after submitting the changes, enable
Show JSON.
You can see the JSON format and download it if it’s needed, clicking on
Download JSON: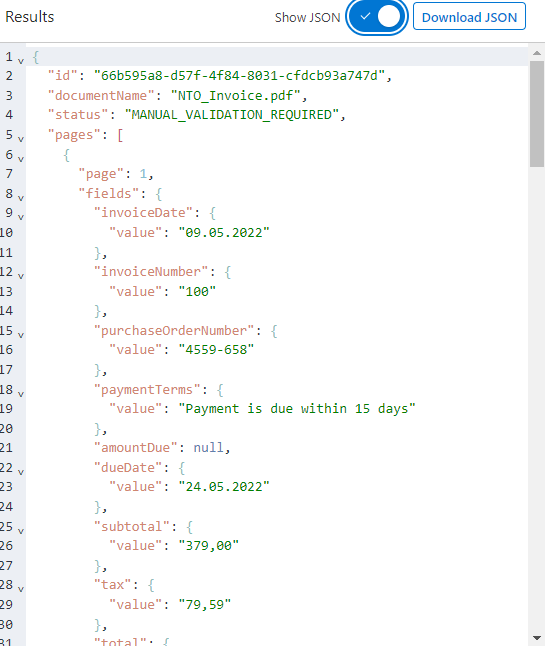
-
After reviewing the extracted data and making the necessary changes, click on the
Submit and Donebutton.
If you want to check the final status of the IDP Document Action after reviewing the data, perform the same steps as in the previous step by launching the
GETmethod.
Please proceed to Lab 2: Process a Generic Document with MuleSoft IDP