Lab 3: Test Published Document Action using Postman (Optional)
Overview
In this lab, you will use Postman to consume the document action created in Lab 1: Process an Invoice with MuleSoft IDP to process the NTO’s invoices.
Prerequisites
If you didn’t complete Lab 1: Process an Invoice with MuleSoft IDP, you have two options to test the NTO Invoice Document Action:
-
Use the document action published by another workshop attendee.
-
Quickly create a new <your-initials>
- NTO Invoicedocument action (leave everything set to the default) and publish it to Exchange.
Step 1: Create Postman Collection and Configure the Authentication
-
Locate the Postman shortcut on the Windows desktop and open it (dismiss any pop-up and click "Skip and go to the app" if prompted for sign in/sign up" ):

-
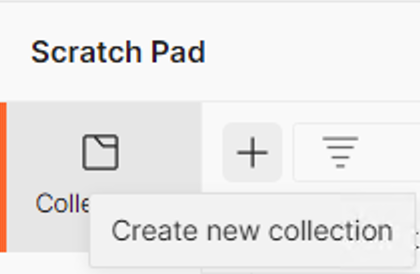
Click the "Create new collection" button in the top-left corner of the window.
-
Name the new collection
MuleSoft IDP(close the documentation section on the right if open).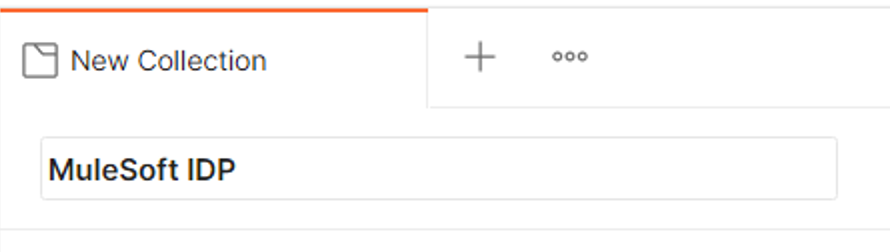
-
You should now be on the Postman Authorization tab.
-
Set the authorization type to
OAuth 2.0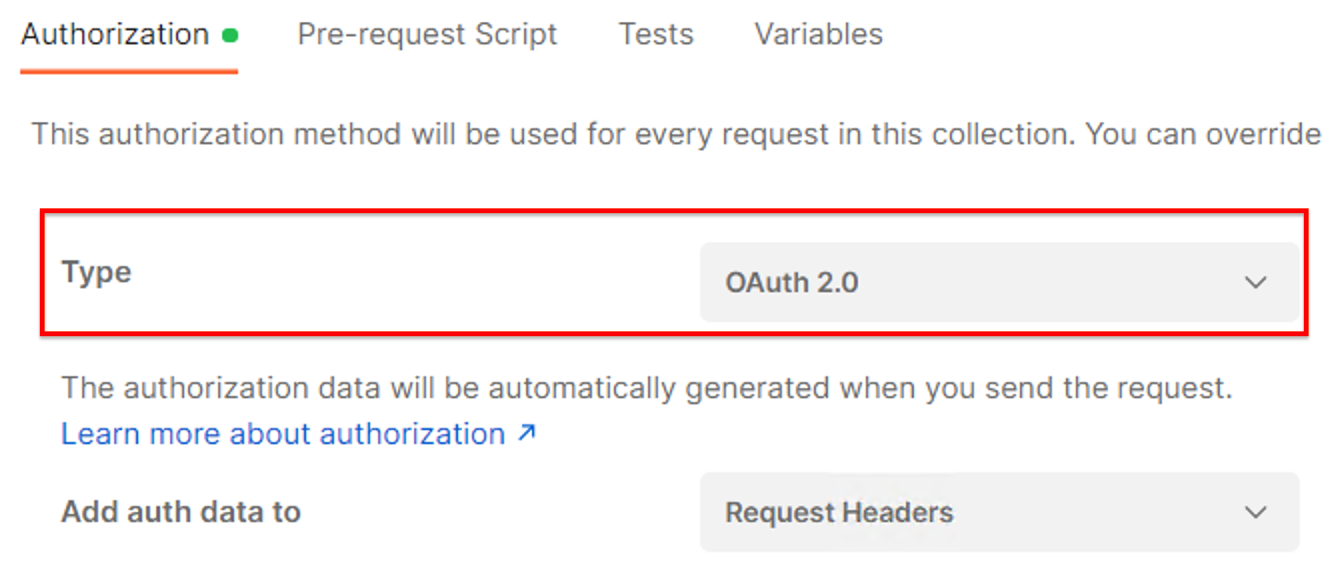
-
Click the "Edit token configuration" button.

-
Set the "Configuration Options" as follows:
Field Value Grant Type
Client CredentialsAccess Token URL
Client ID
<The Client ID provided by the Workshop Instructor>
Client Secret
<The Client Secret provided by the Workshop Instructor>
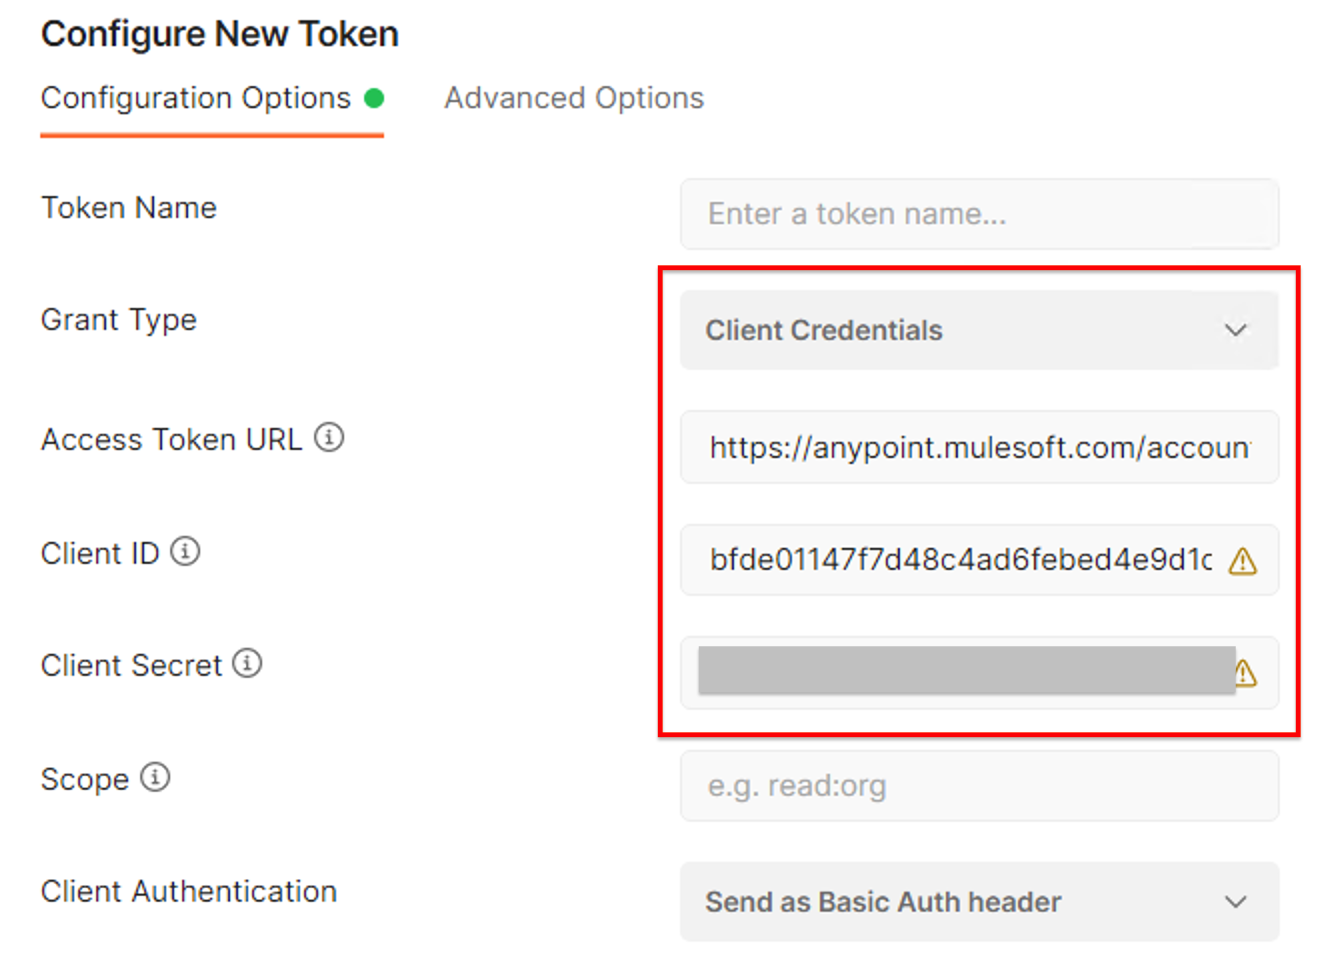
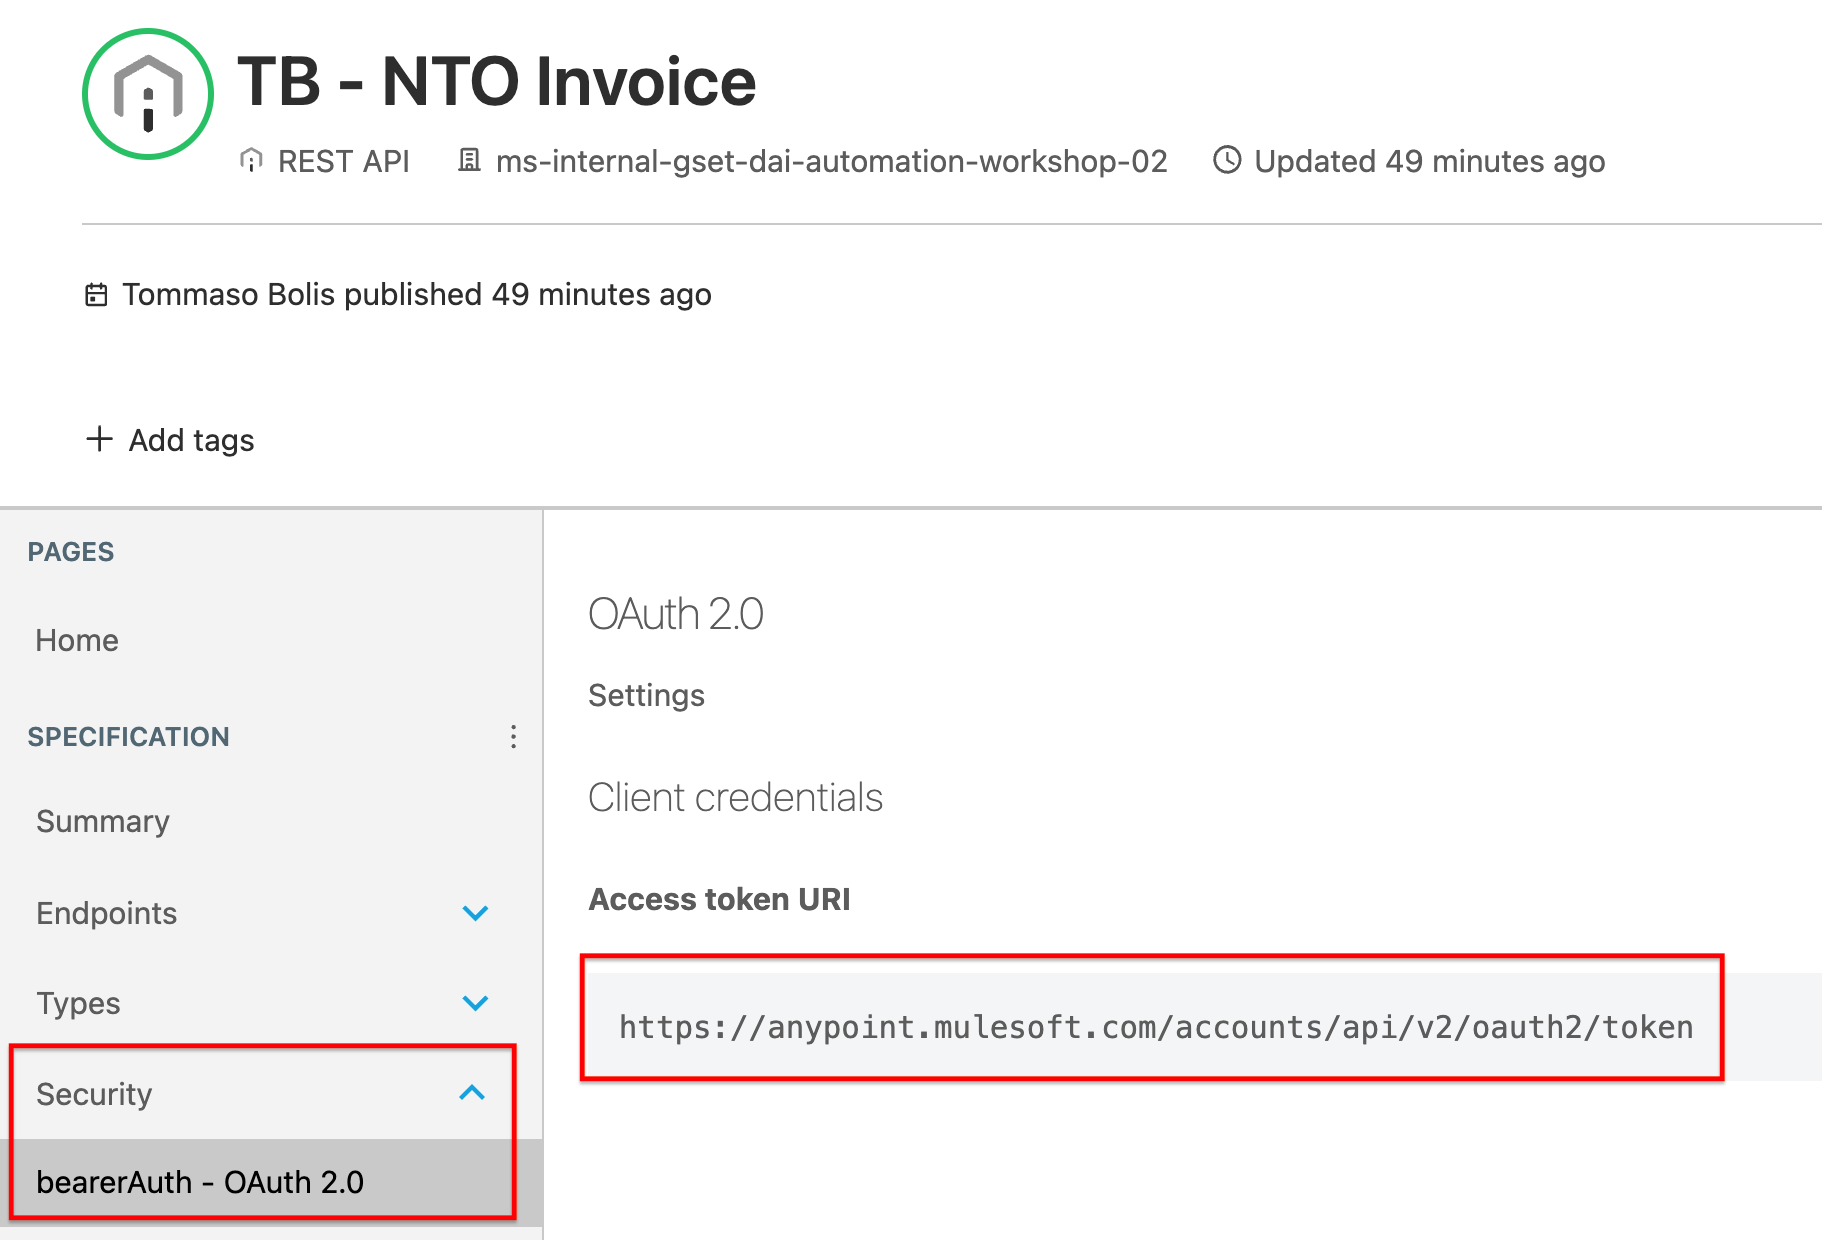
The Access Token URL can be found in Exchange in the Security section for the published Document Action.
-
Click the "Get New Access Token" button.
-
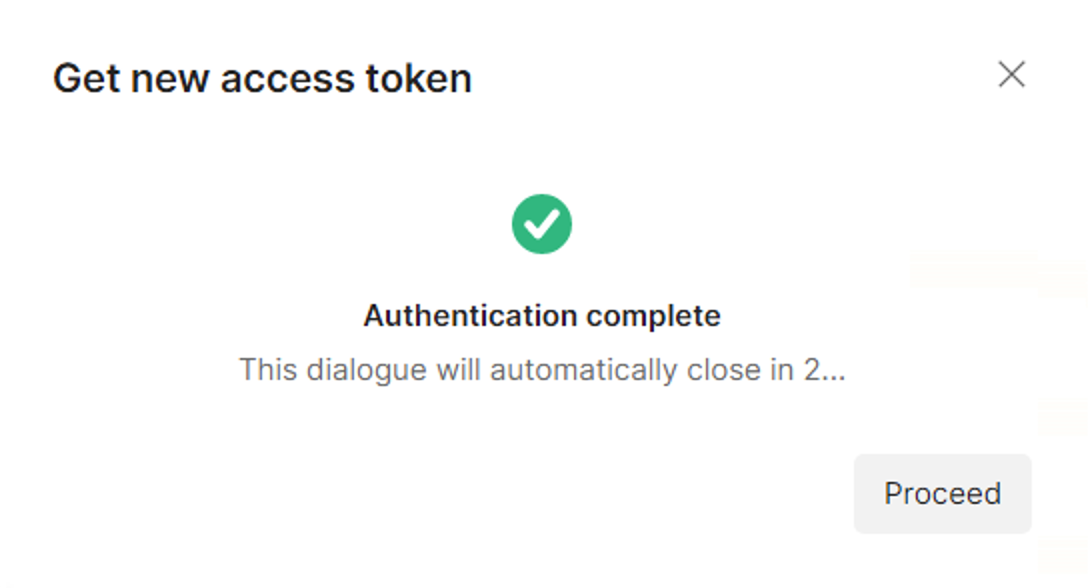
In a few second you should get a message confirming that the authentication is completed, wait for the pop-up to disappear automatically.
-
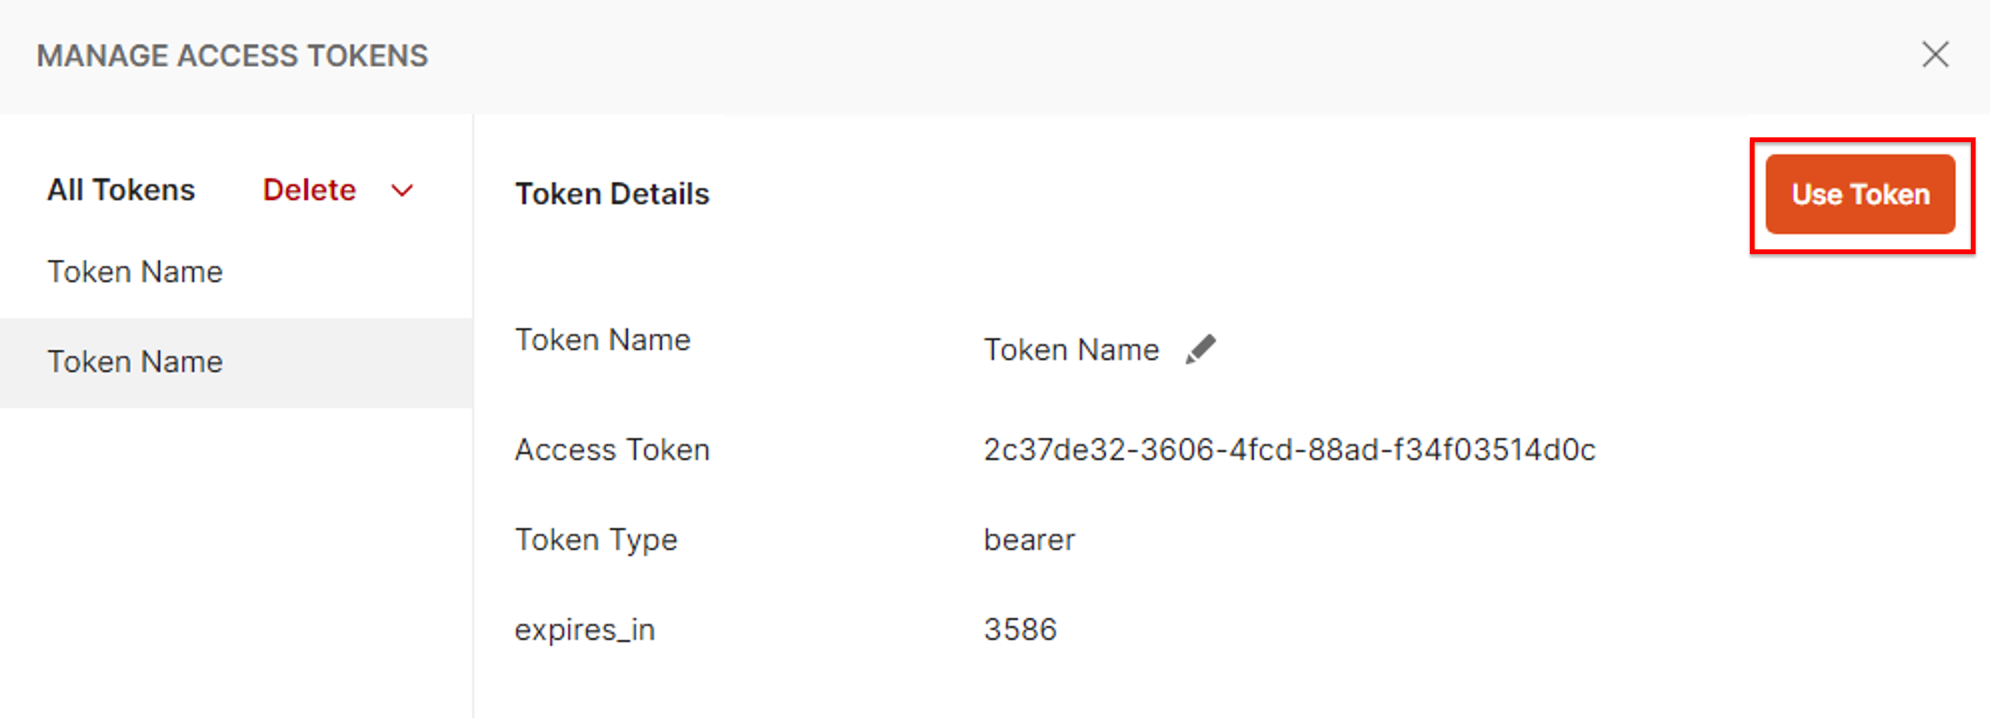
When you are prompted with the generated token, then click the "Use Token" button.
-
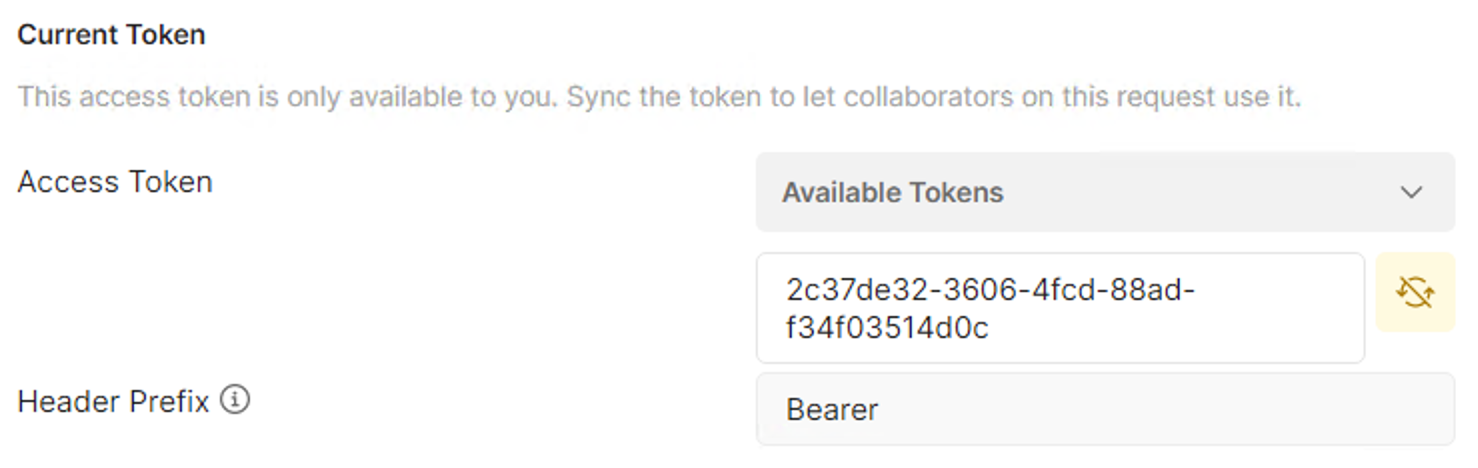
Now you should see the Access Token set in the "Authorization" tab’s "Current Token" section.
-
Save the collection by clicking the "Save" button.
Step 2: Test POST method
-
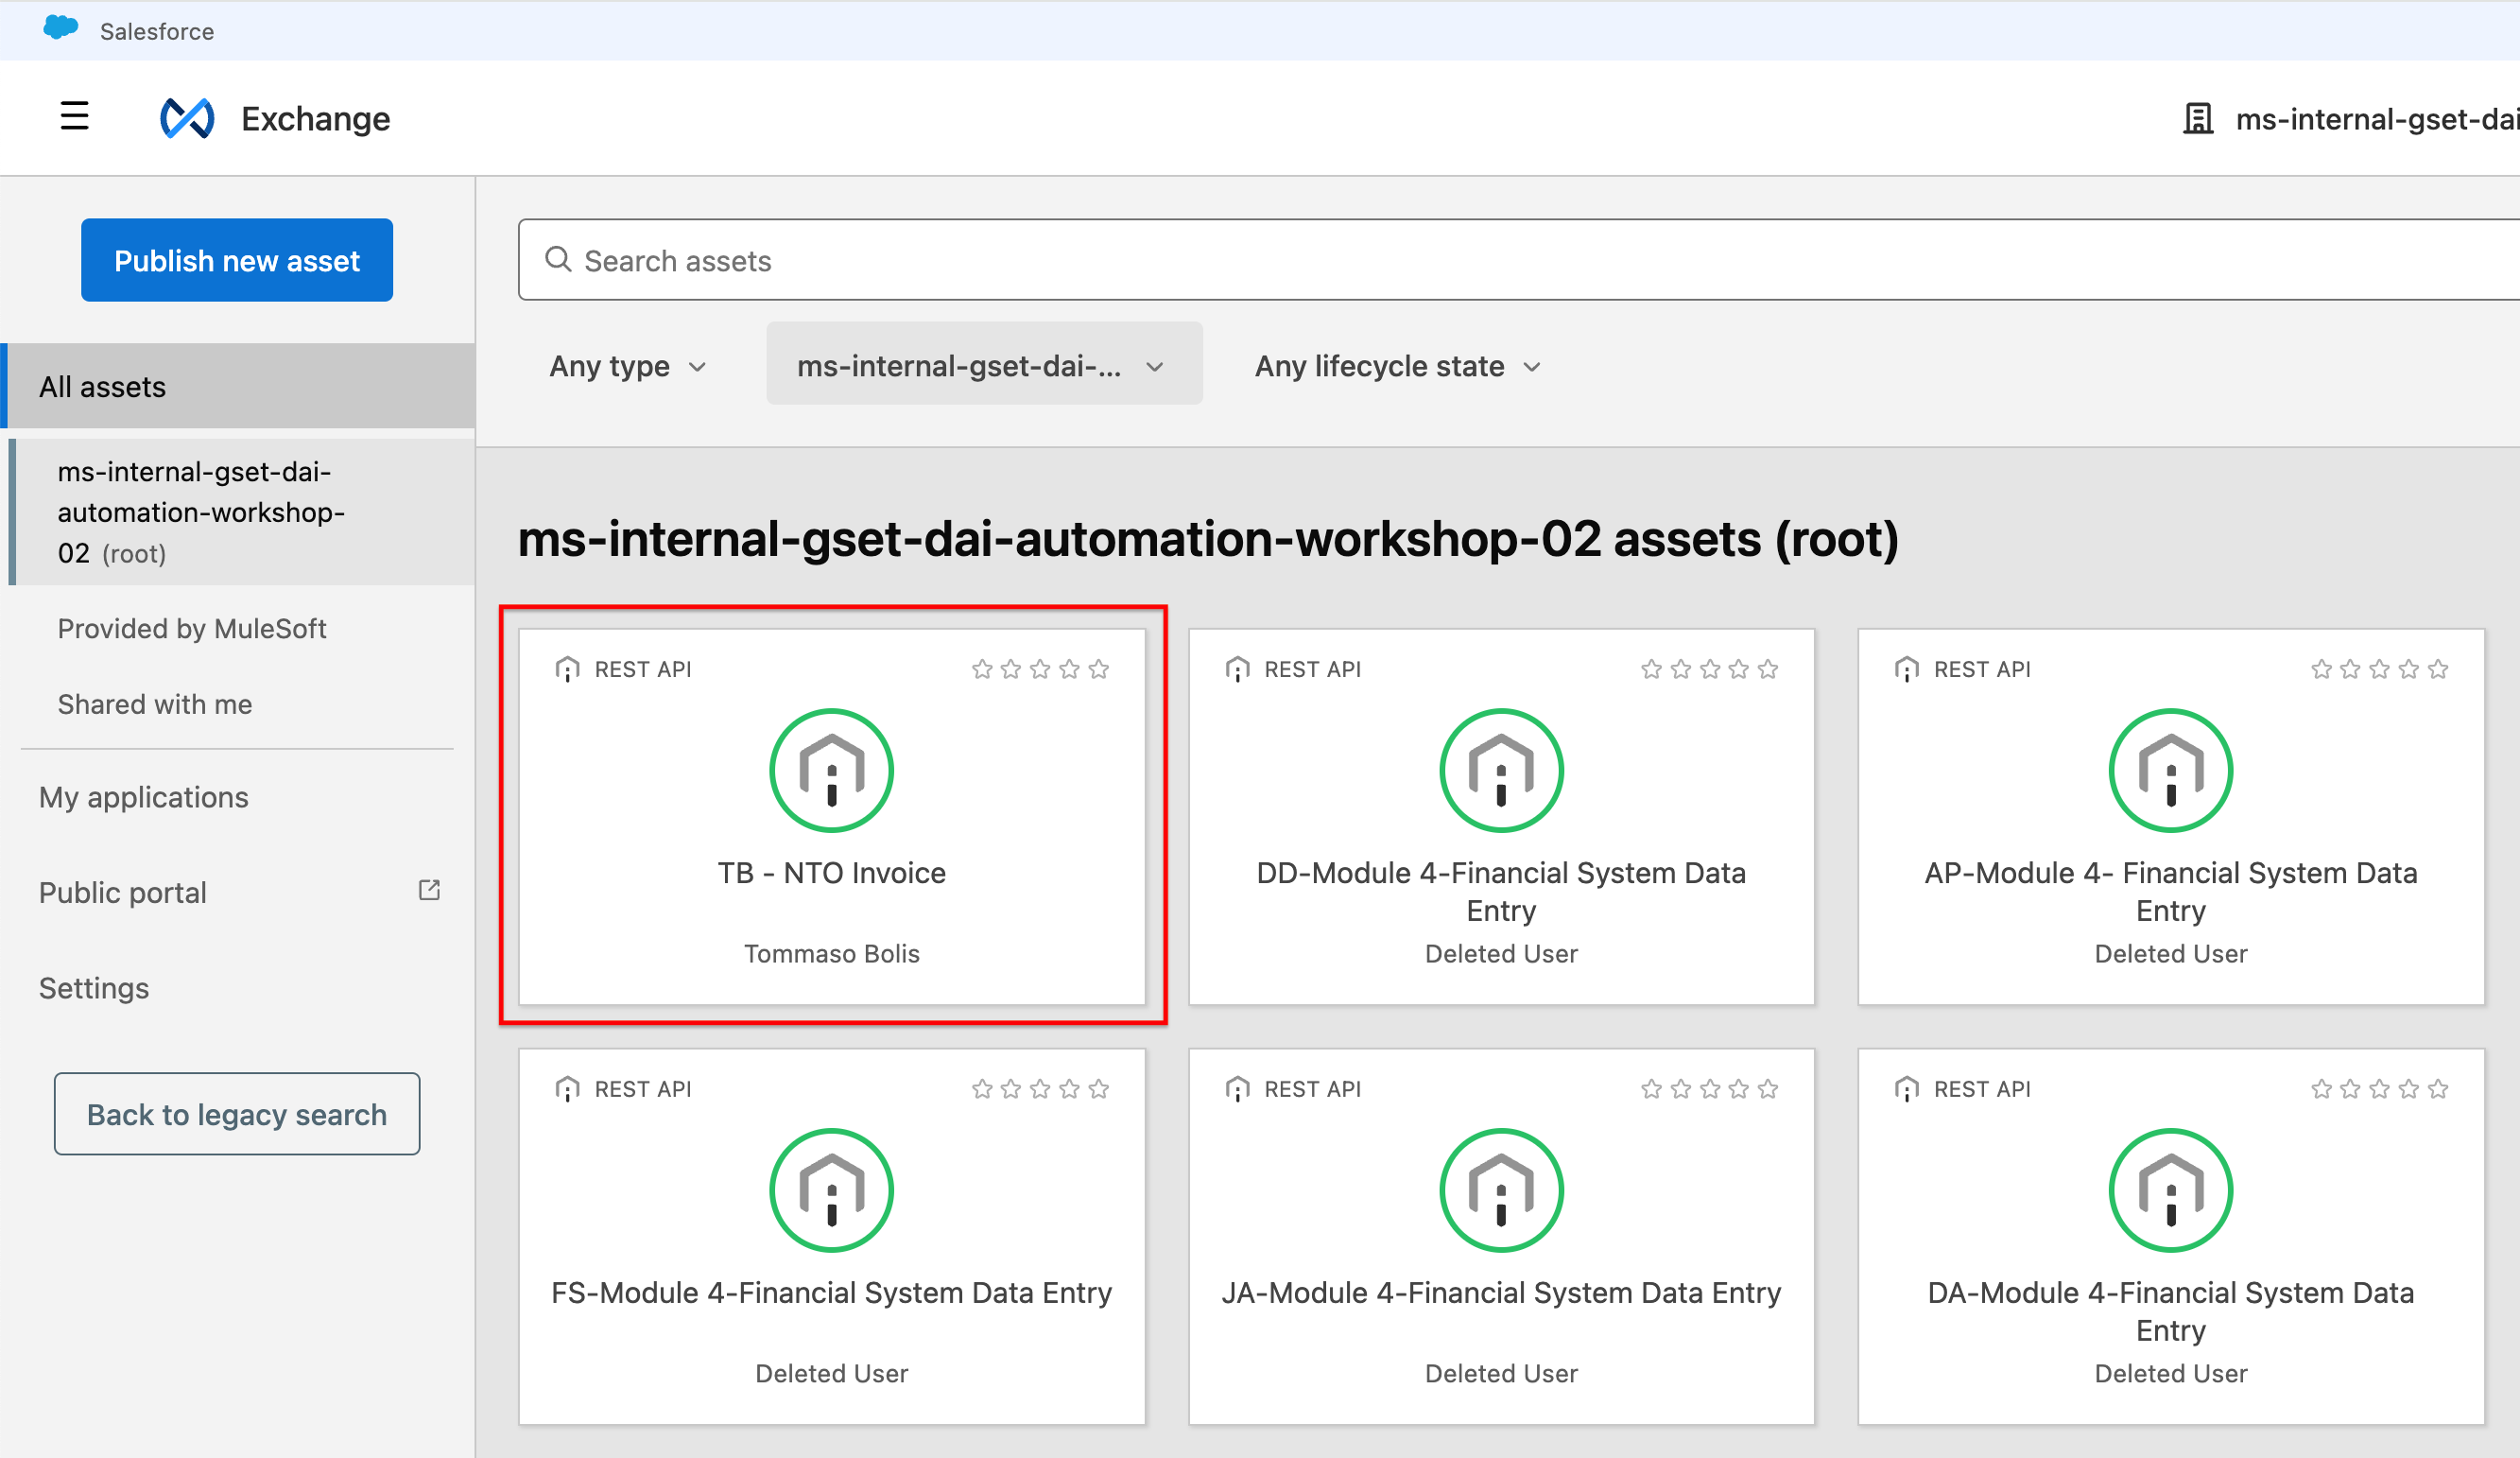
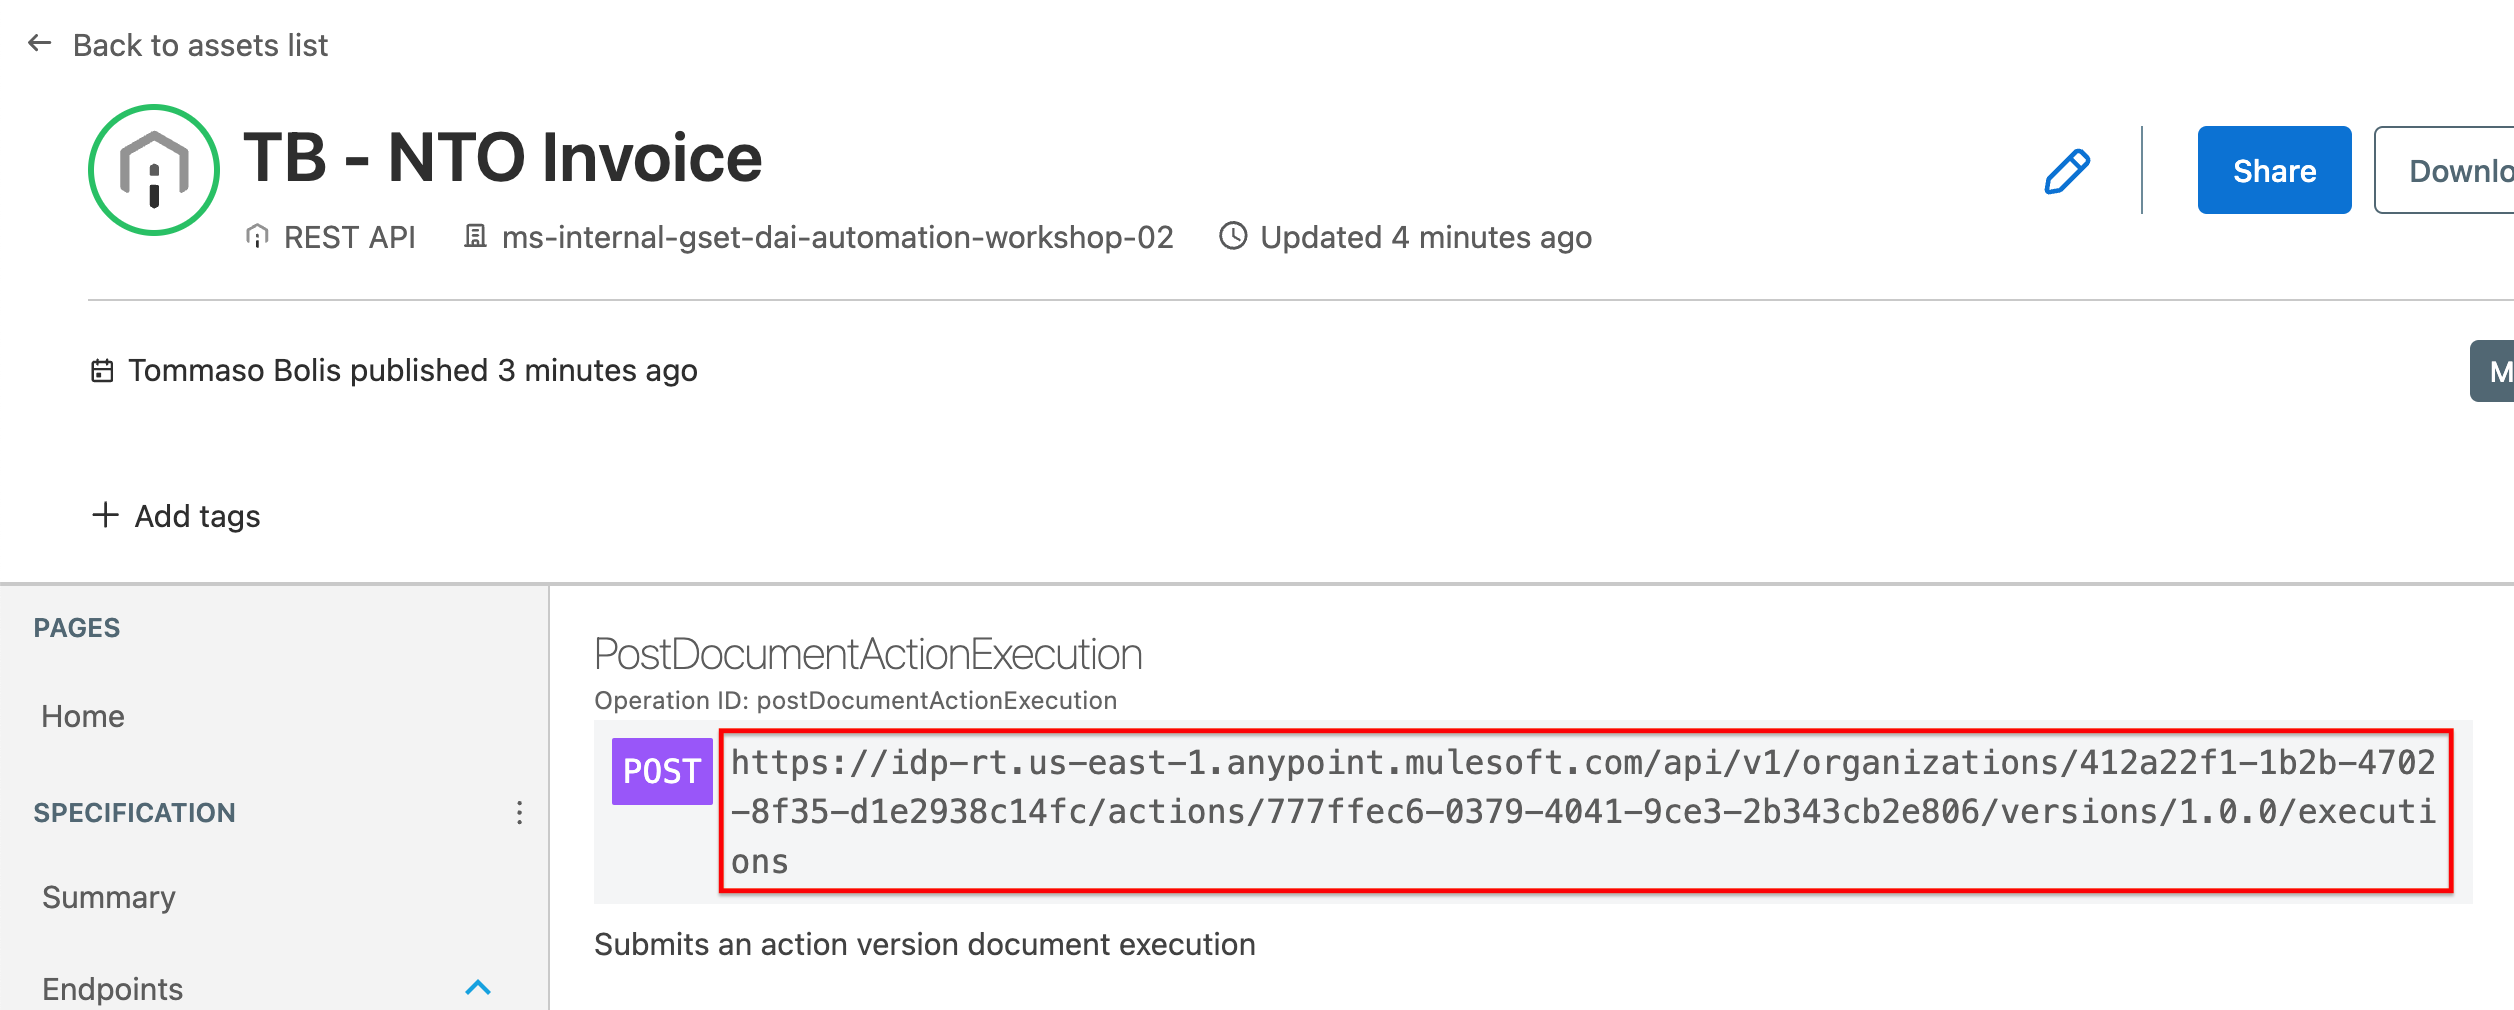
Locate the asset you want to test in exchange.
-
Open the asset, expand the Endpoints in the left-side panel and click on the POST rectangle.
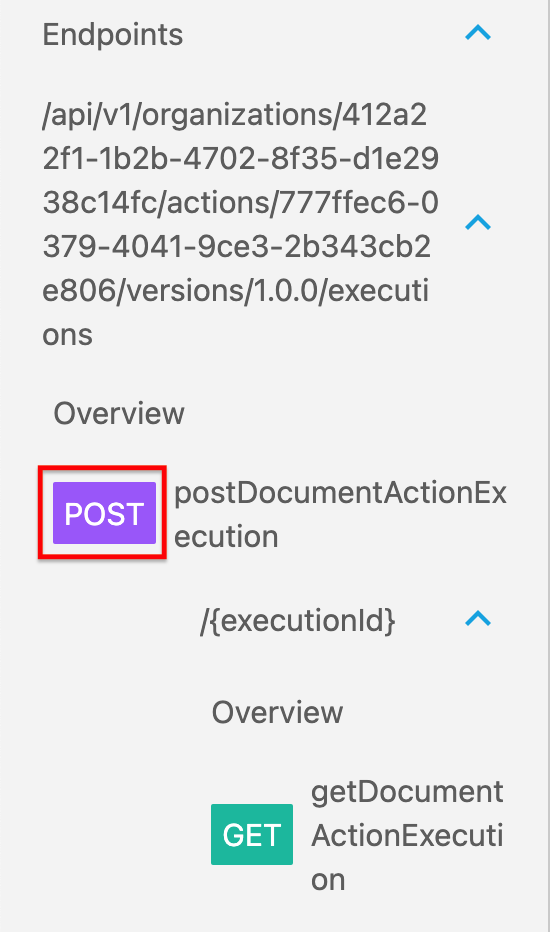
-
Copy the POST url from the center of the page, you are going to need it in Postman.
-
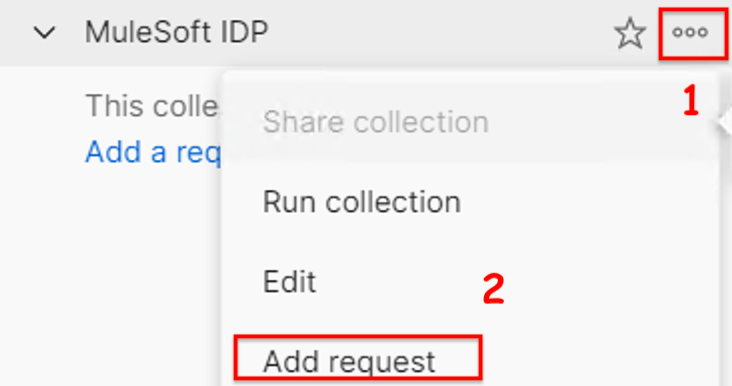
In Postman expand the collection menu and click the "Add request" menu item. A new request tab should open.
-
In the created tab, name the new request
POST NTO Invoice.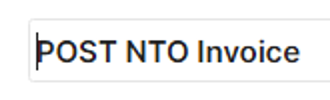
-
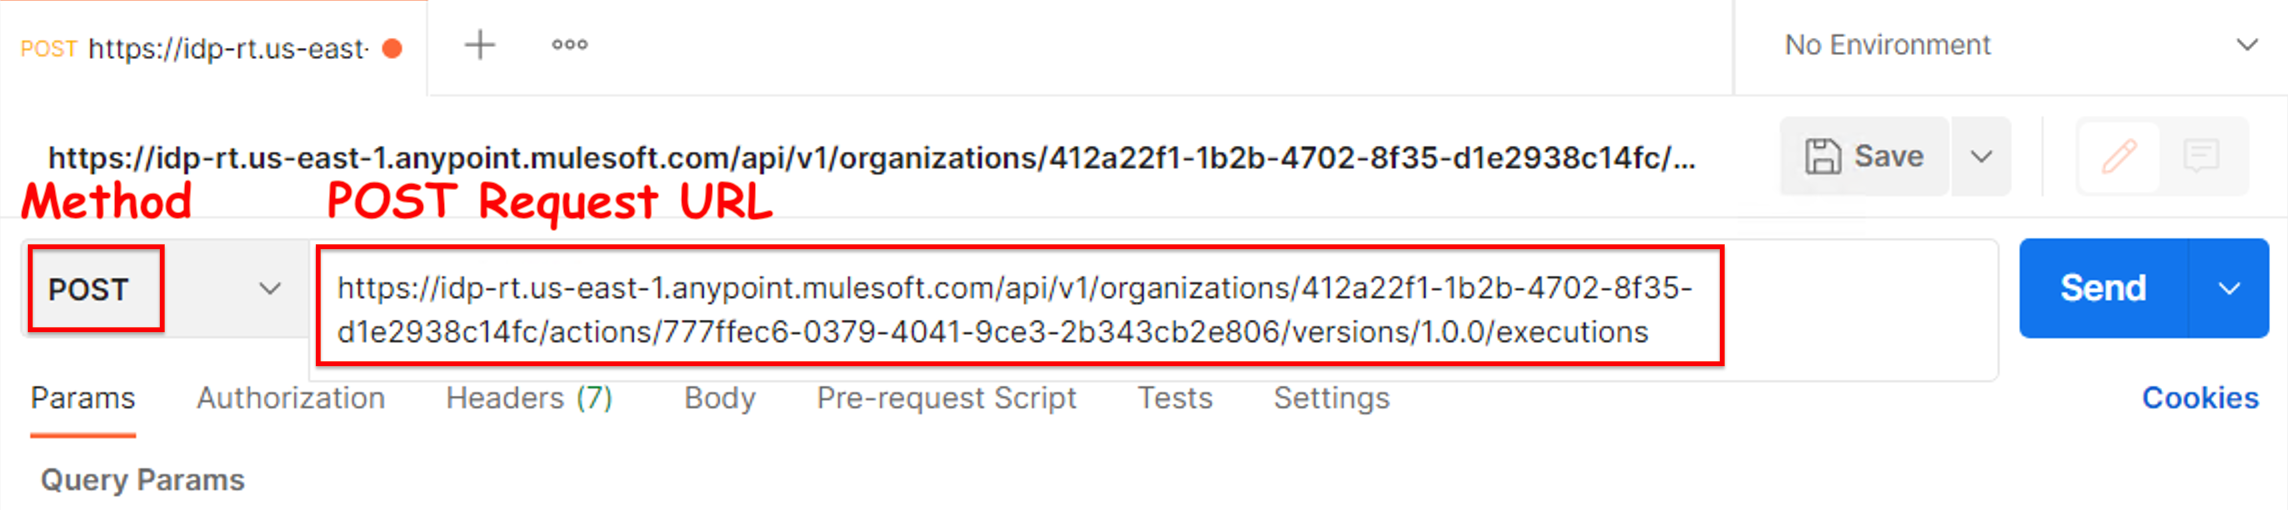
Change the method to POST and enter the POST Request URL you just copied from Exchange.
-
Click on the "Headers" tab.
-
If not visible, click the button to show the hidden auto-generated headers.

-
You should see the "Authorization" header automatically added to the request

-
Click on the "Body" tab.
-
Select
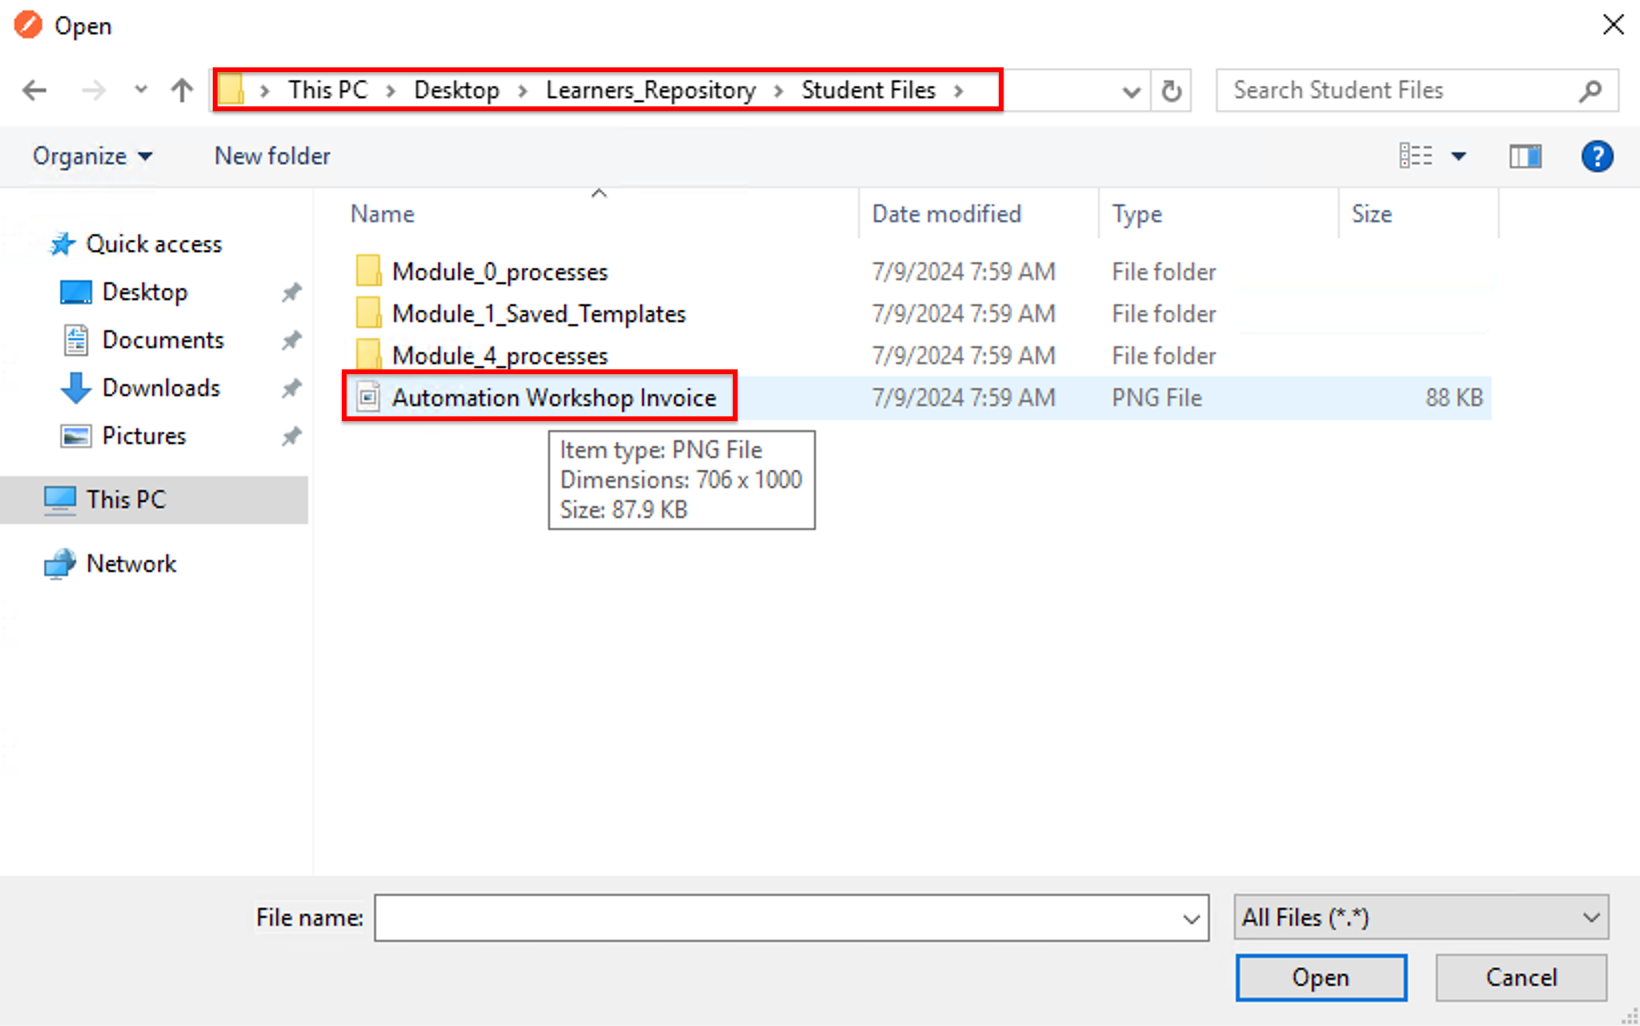
form-dataas body type and configure it as follows:Key Type Value fileFile<Select the NTO Invoice from the desktop>

-
The NTO Invoice can be found here at path "C:\Users\workshop\Desktop\Learners_Repository\Student Files".
-
Click "Save" to save the request
-
Click "Send" button to submit the request
-
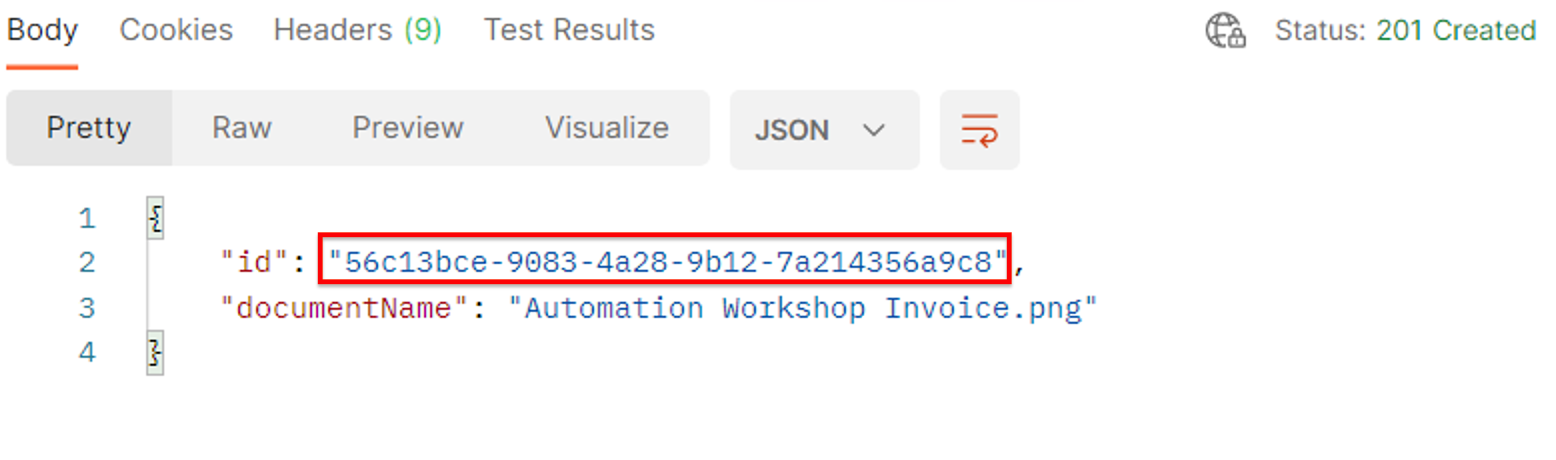
You should get a response like the following.
-
Congrats! You just posted the NTO Invoice to MuleSoft IDP. Take note of the returned execution ID, as you’ll need it when testing the GET method to retrieve the IDP output.
Step 3: Test GET method
-
Locate the asset you want to test in exchange.
-
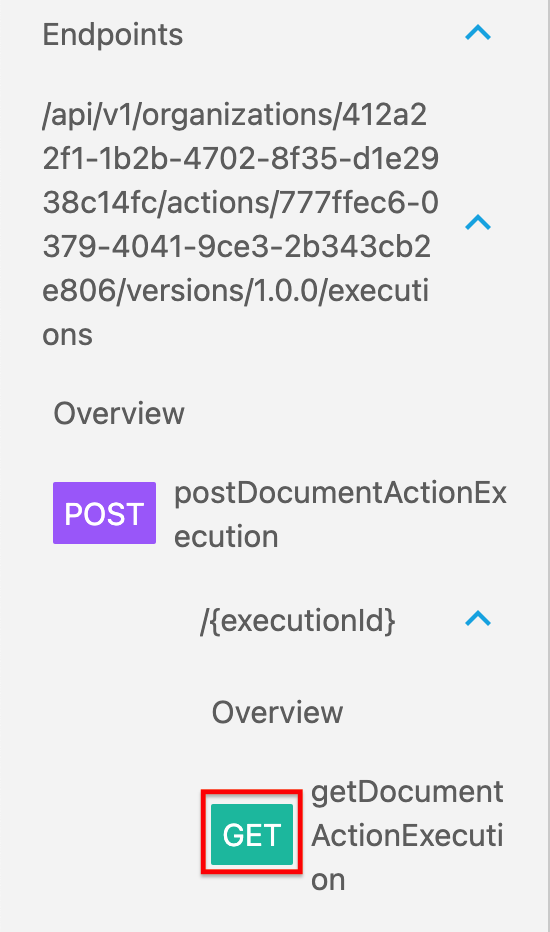
Open the asset, expand the Endpoints in the left-side panel and click on the GET rectangle.
-
Copy the GET url from the center of the page, you are going to need it in Postman.

-
In Postman expand the collection menu and click the "Add request menu" item. A new request tab should open.
-
In the created tab, name the new request
GET NTO Invoice.
-
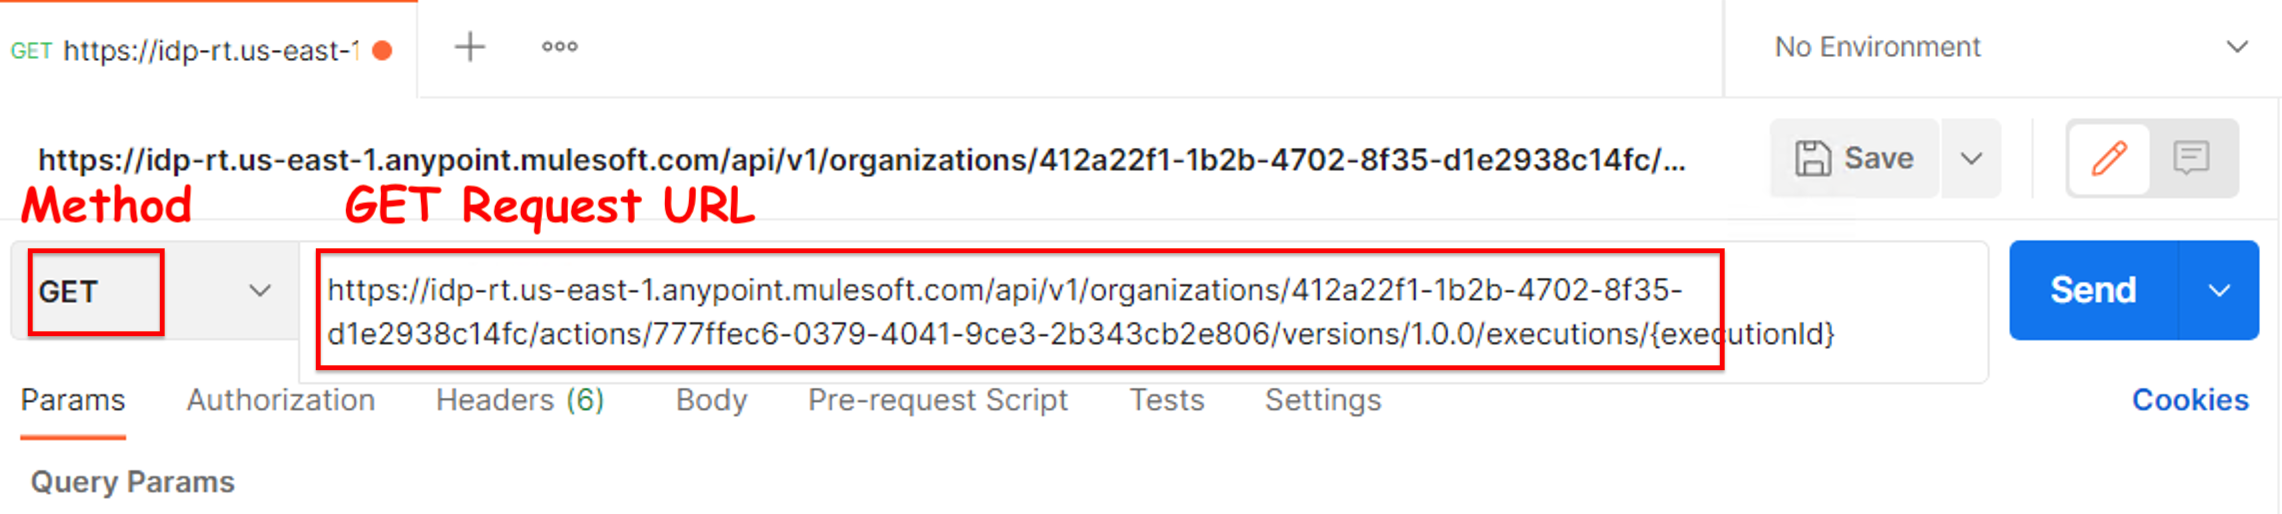
Leave the method to GET and enter the GET Request URL you just copied from Exchange.
-
Replace "{executionId}" in the URL with the execution ID you obtained when testing the POST method in the previous step.

-
Click "Save" to save the request
-
Click "Send" button to submit the request
-
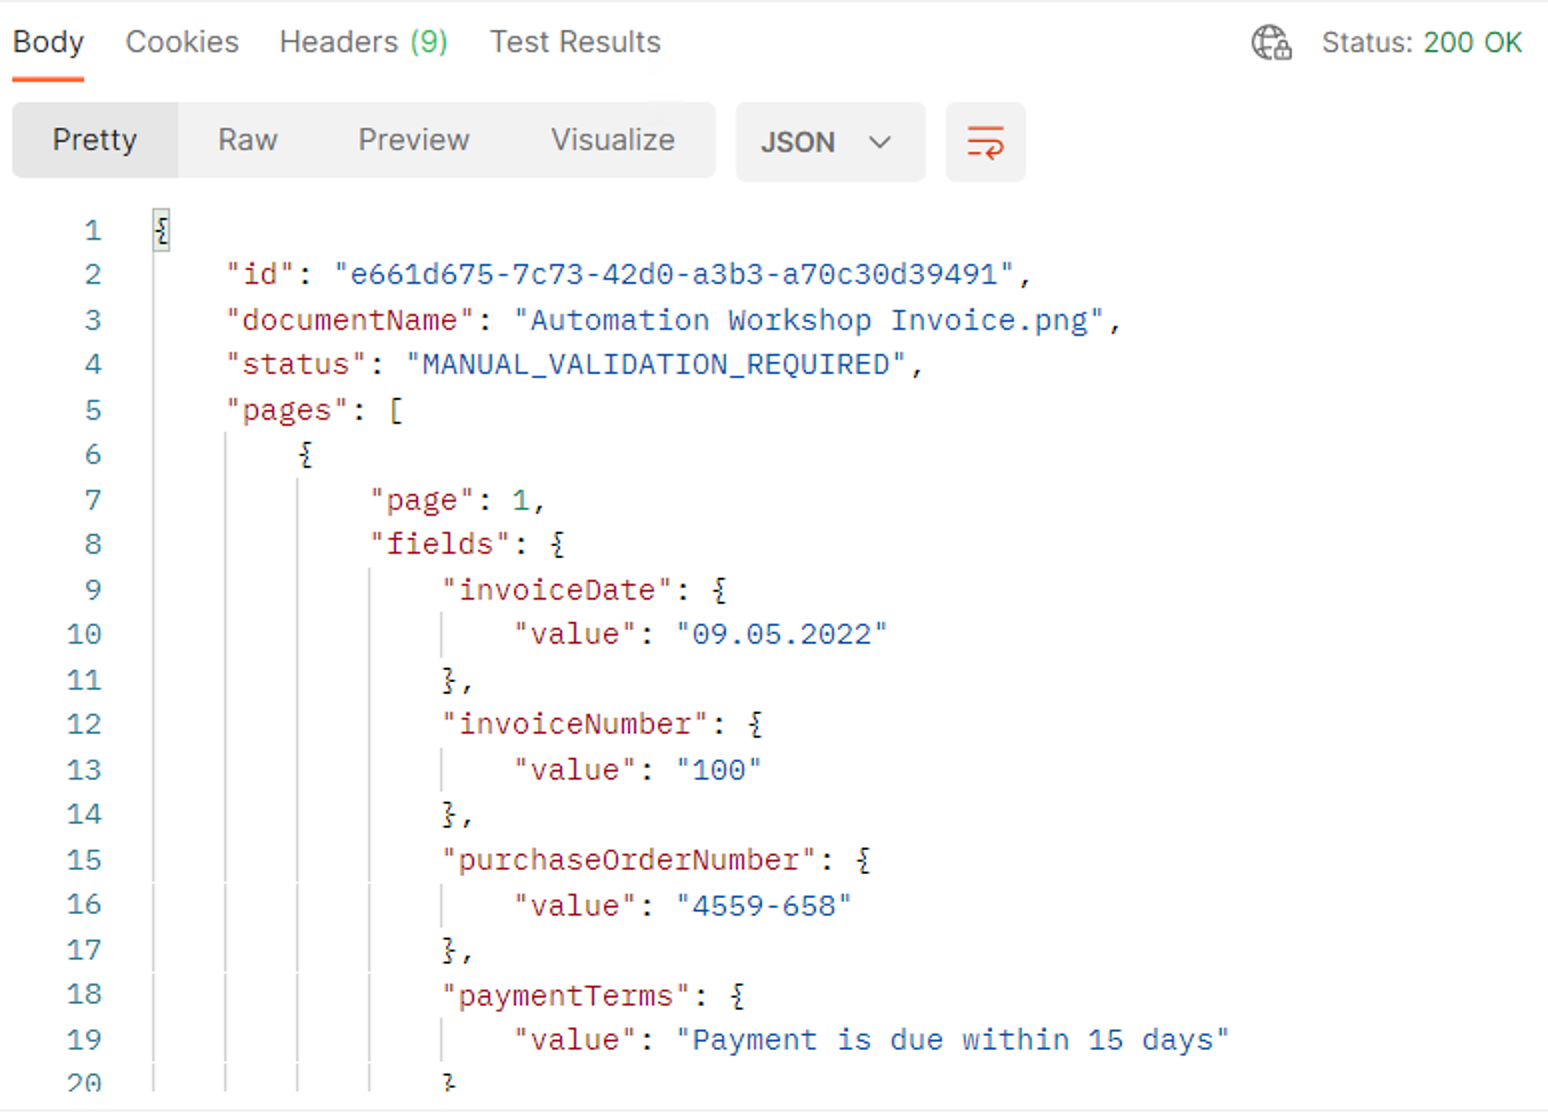
You should get a response like the following. Check the body for the data extracted from the NTO Invoice.
-
Congrats! You just retrieved the NTO Invoice processing output from MuleSoft IDP. You are now ready to move to the next lab.
Please proceed to Lab 4: Invoke Published Document Action within a Mule Application