Lab 2: Create an Autolaunched Flow for SAP synchronization (Optional)
Overview
-
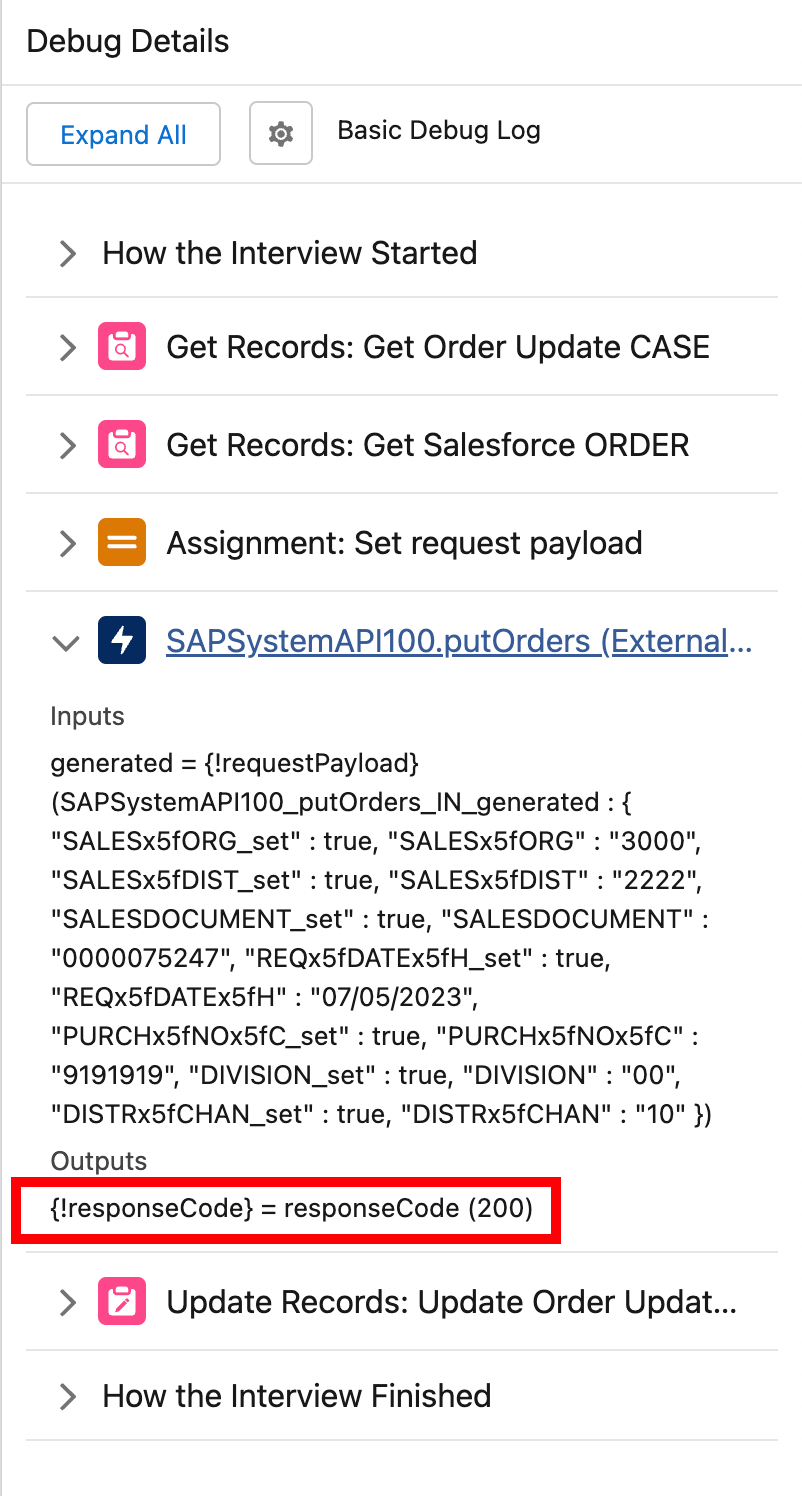
During this lab you will start from the following Autolaunched Flow draft version to avoid going through repetitive tasks.

-
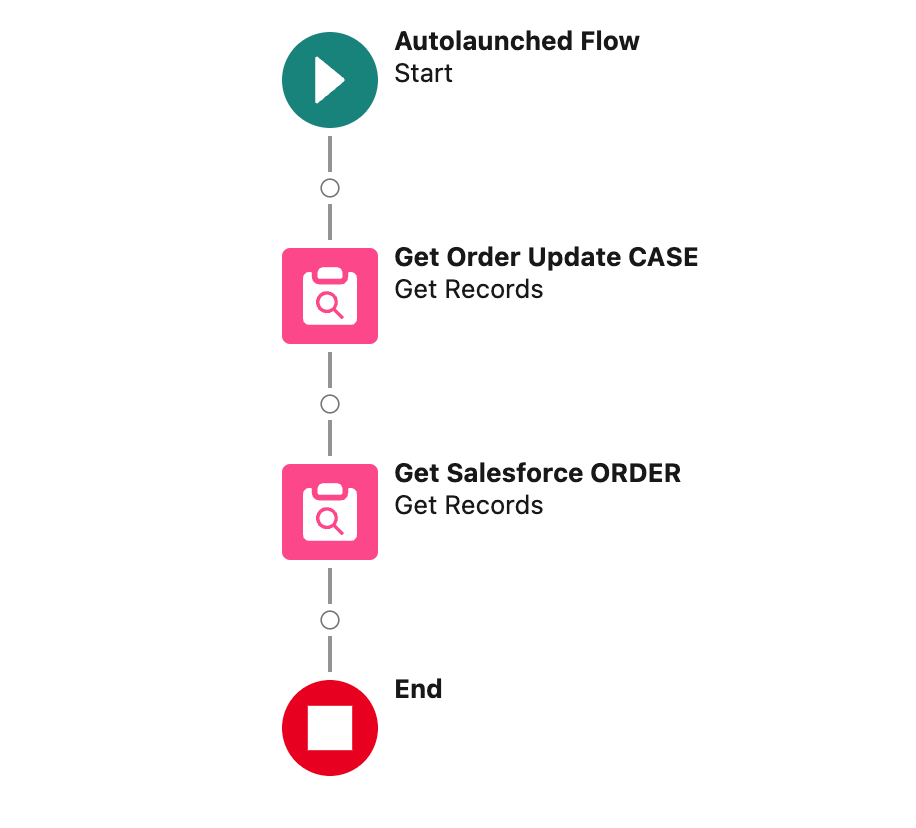
At the end you will have a fully working flow as follow.
Step 1: Create a copy of the Autolaunched Flow (No Trigger)
-
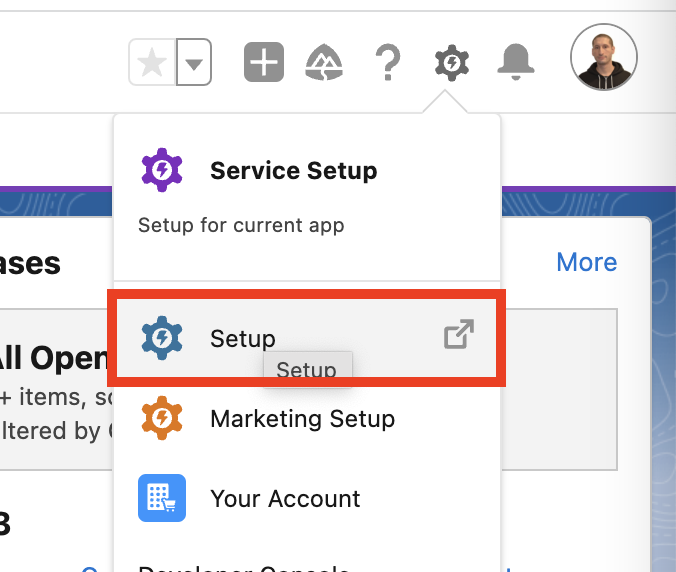
Login into the Salesforce Developer ORG and access the Setup menù.
-
Search for
Flowsin the Quick Find text field and clickFlowsunder Process Automation.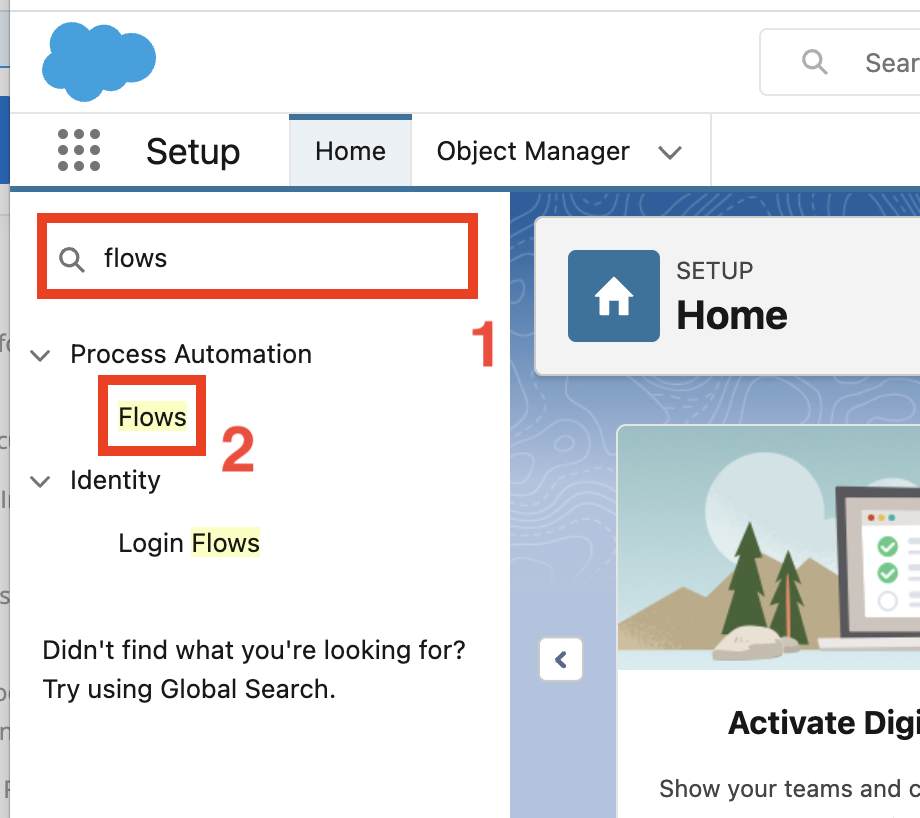
-
Select the
Orchestration Lab’s Flowslist view from the drop down menu in the top left section.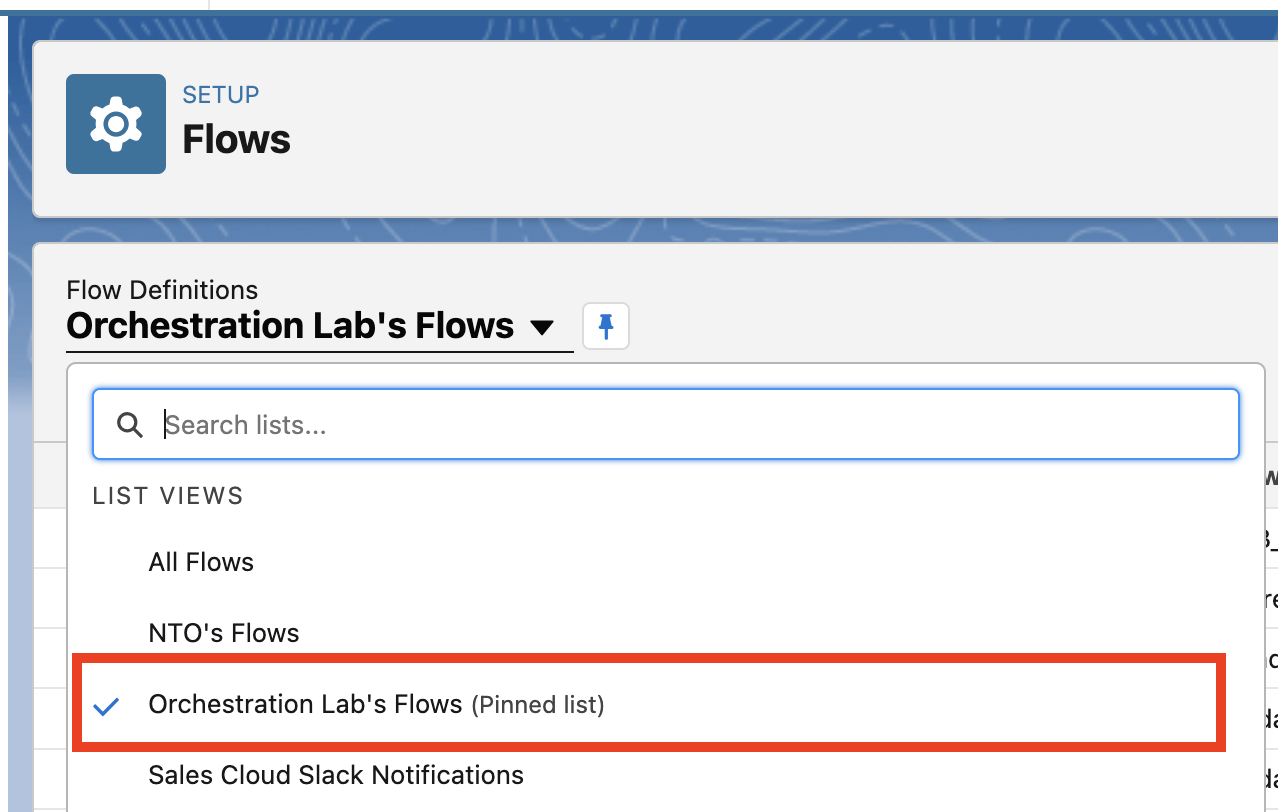
-
Click the
LAB - AUTO - Update Order in SAP (Draft)flow label link from the list.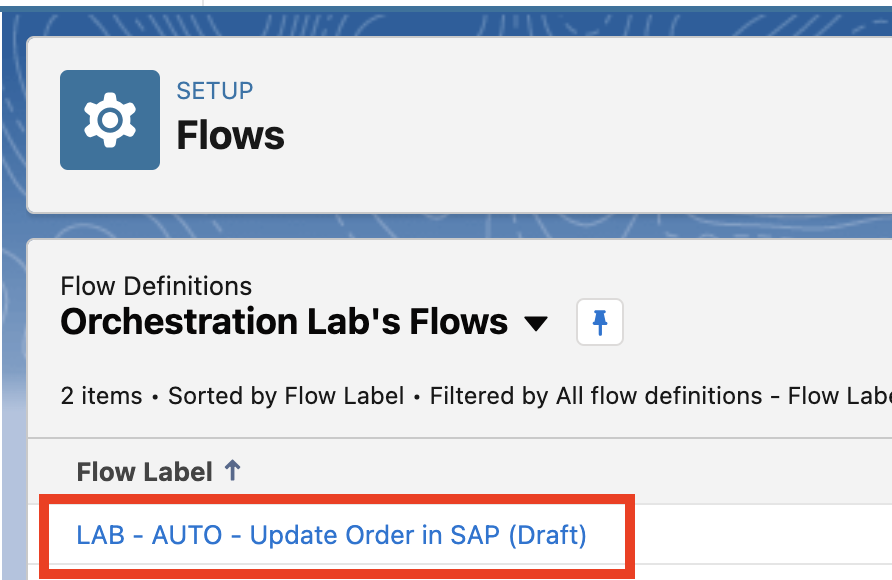
-
Once the flow is opened click the
Save Asbutton on the top right.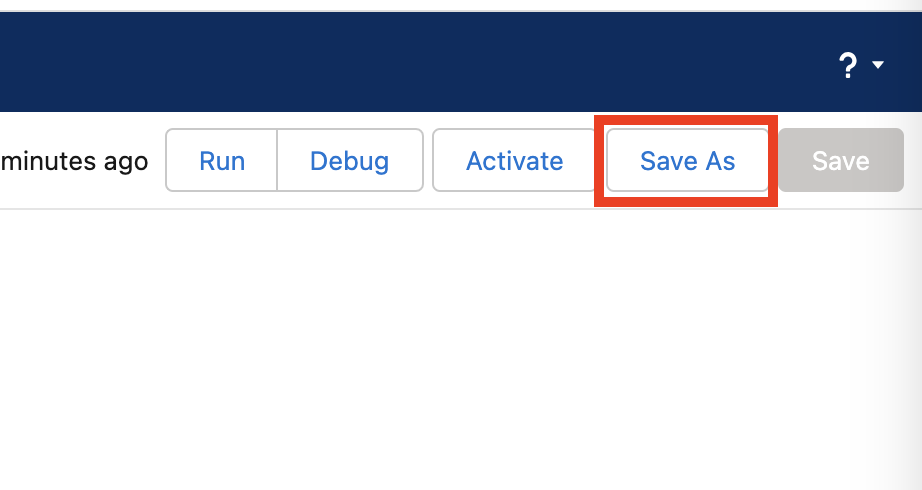
-
Select Save as
A New Flowand provideMy LAB - AUTO - Update Order in SAPas Flow Label. Click outside the label field and the Flow API Name should appear automatically.Click the
Savebutton.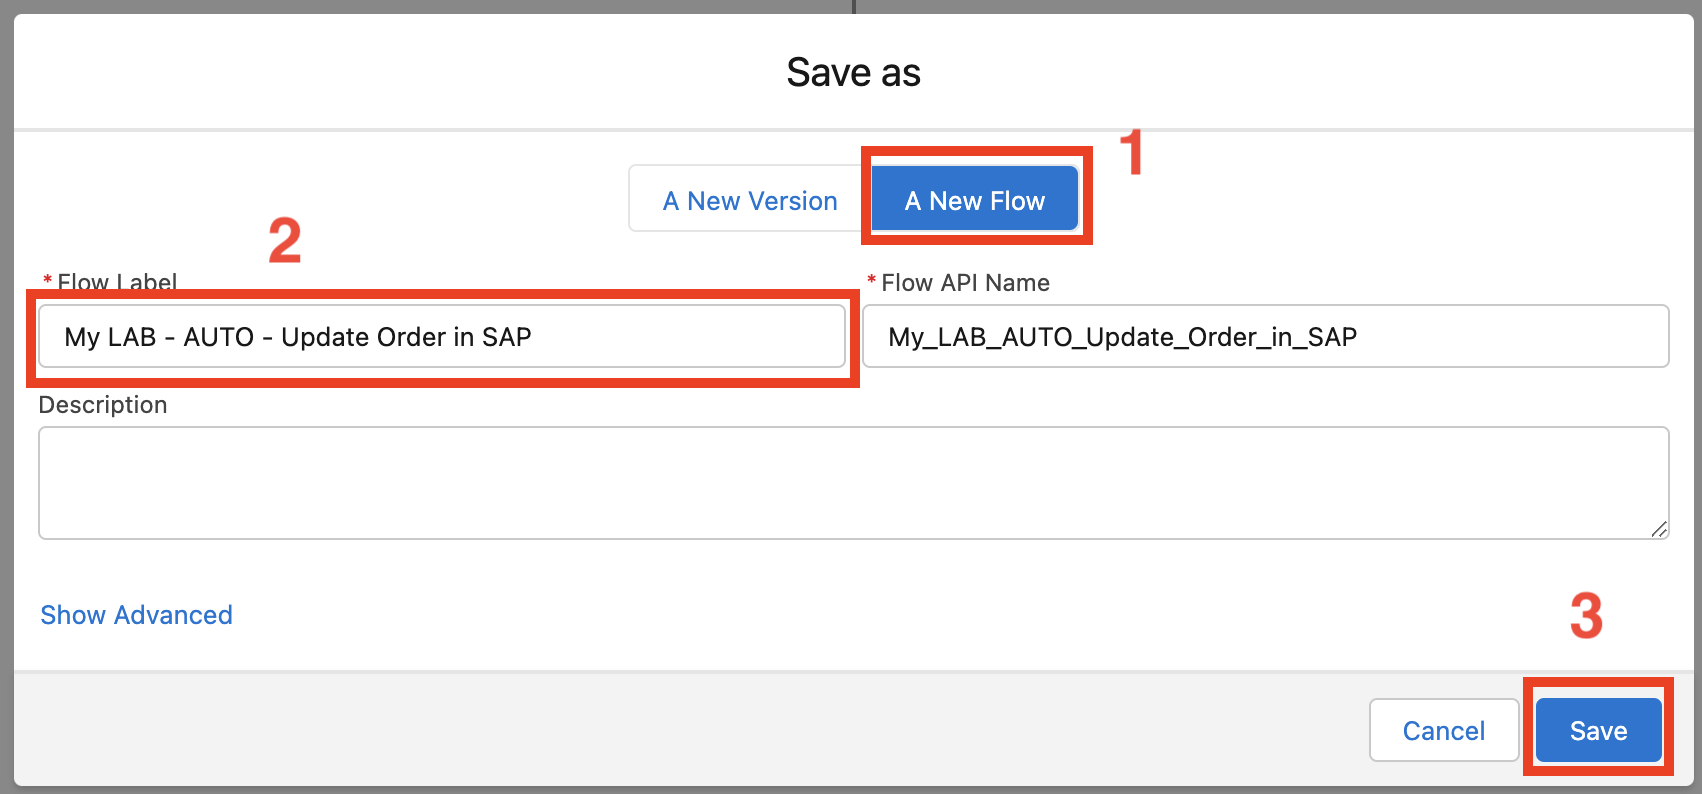
Step 2: Analize the pre-built flow
-
Click on the
Get Order Update CASEelement and clickEdit Element.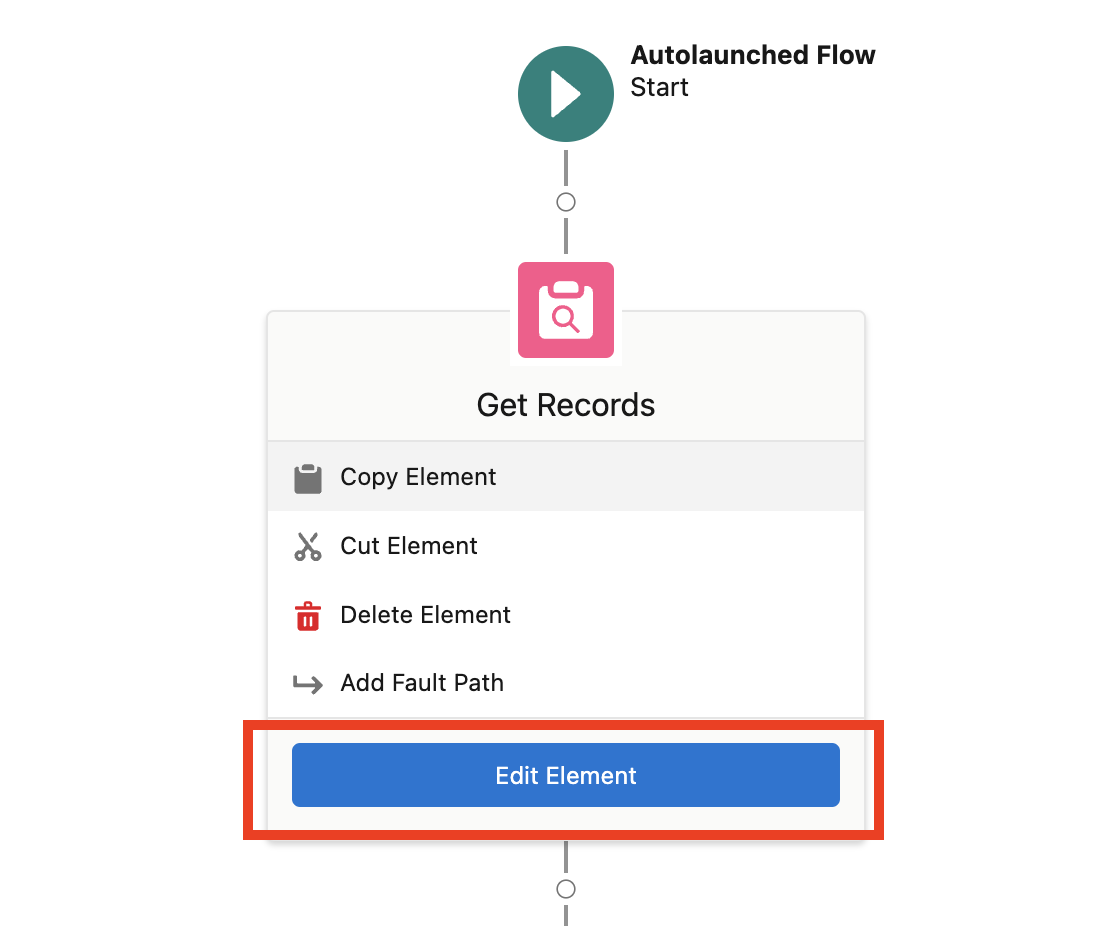
As you can see this element is in charge of retrieving the order update case with the
Idprovided as input to the flow with thecaseIdvariable. This step is required to retrive the identifier of the order referenced by the case.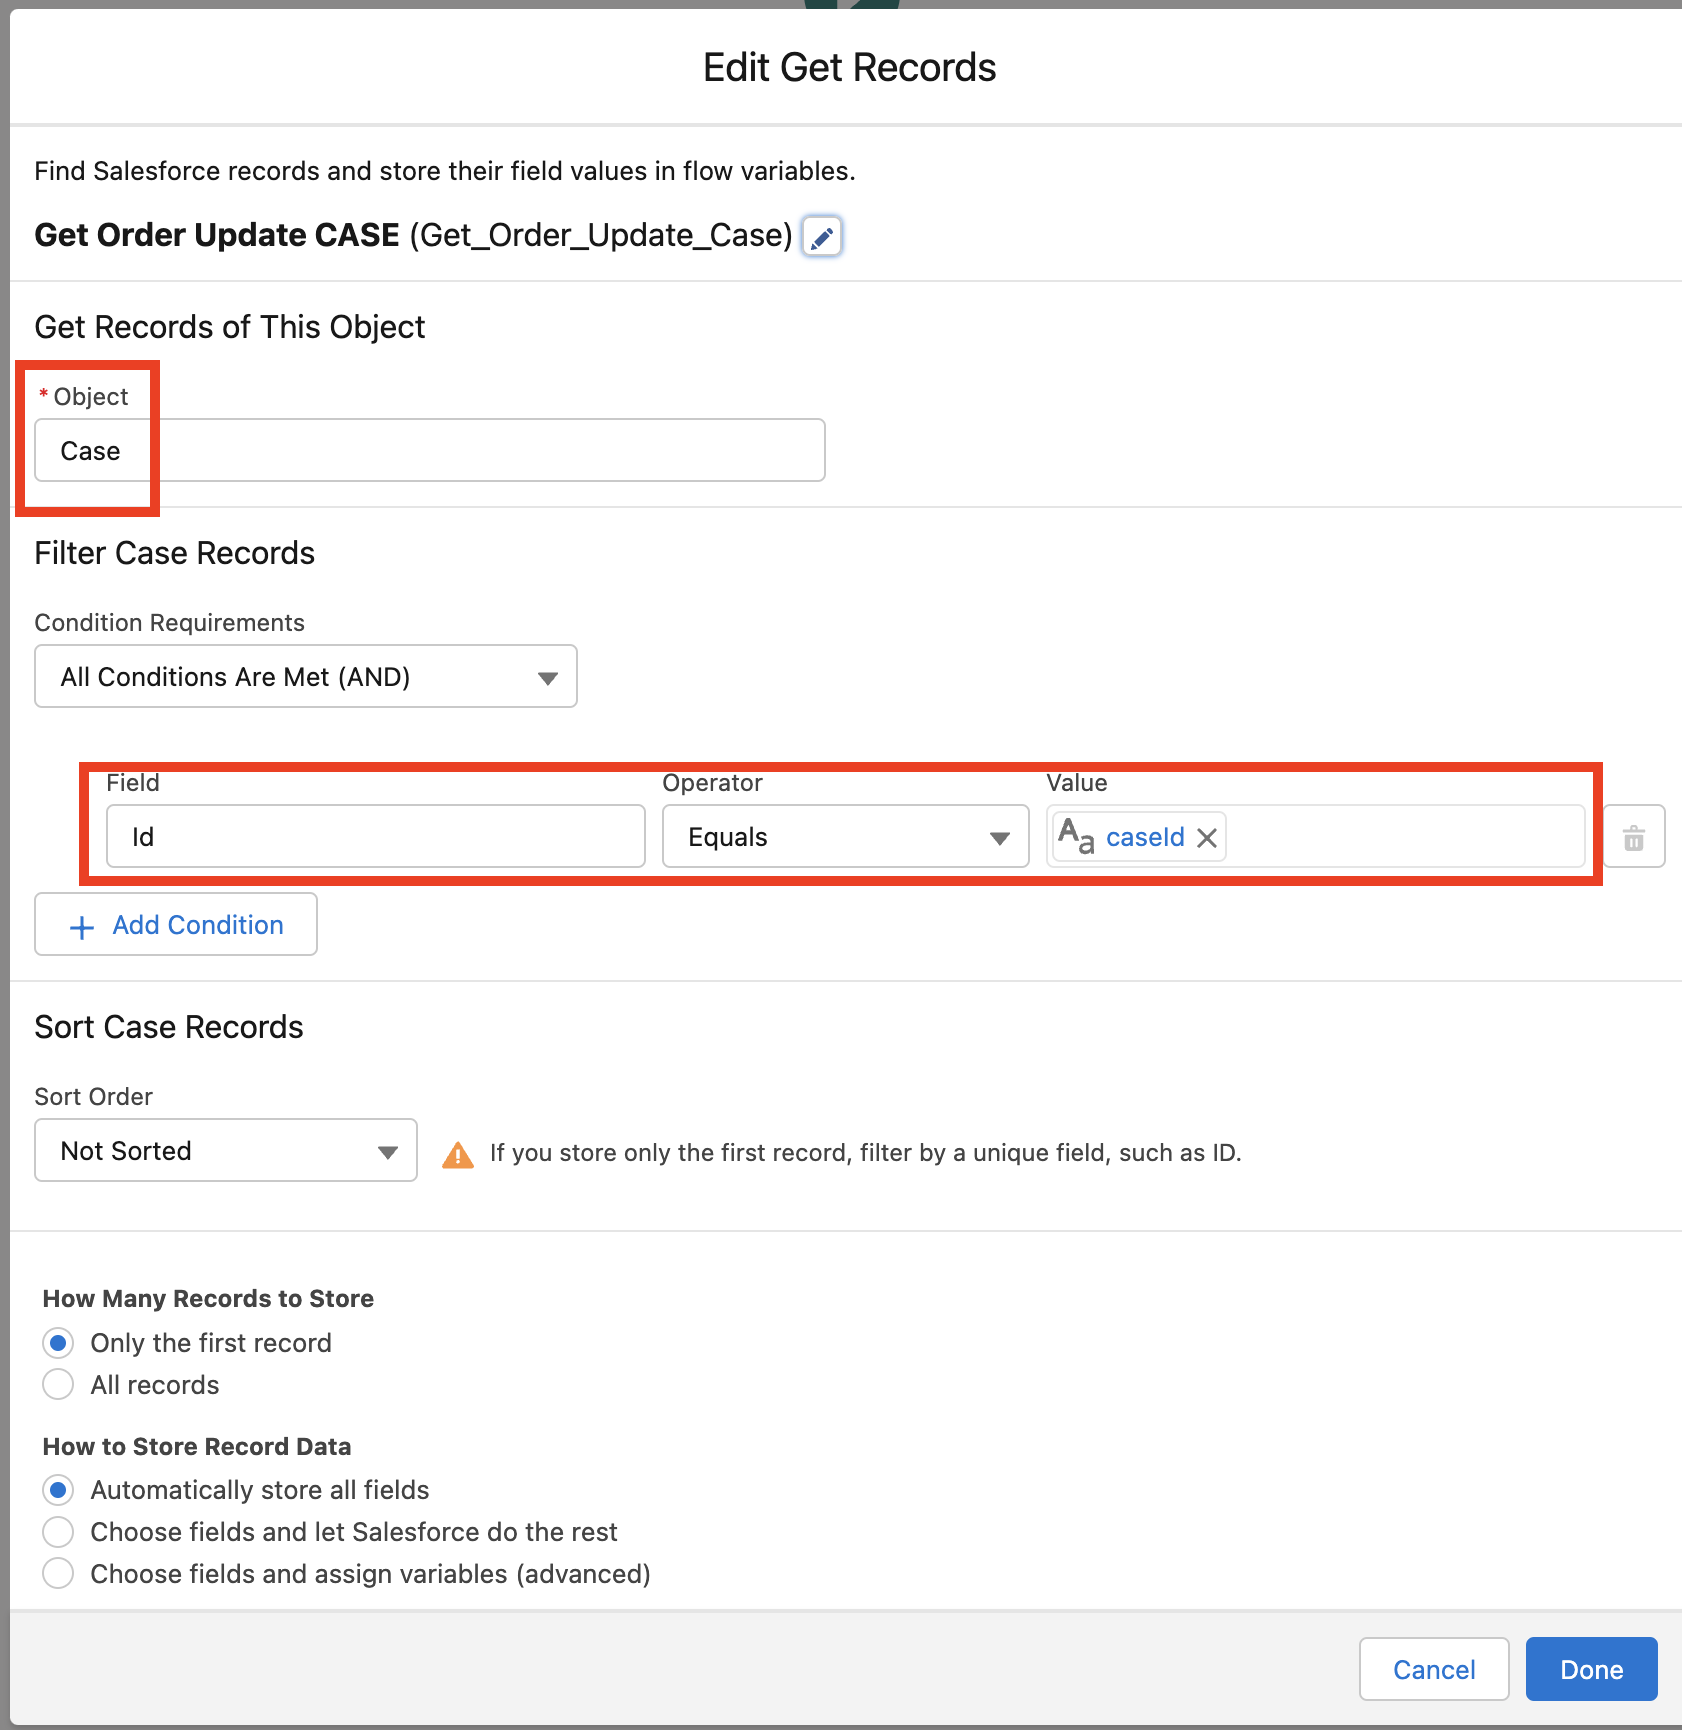
-
Click
Cancelto close the window. -
Click on the
Get Salesforce ORDERelement and clickEdit Element. Looking at the Get Records element configration you can see its goal is to retrieve the order referenced by the case retrieved at the previous step.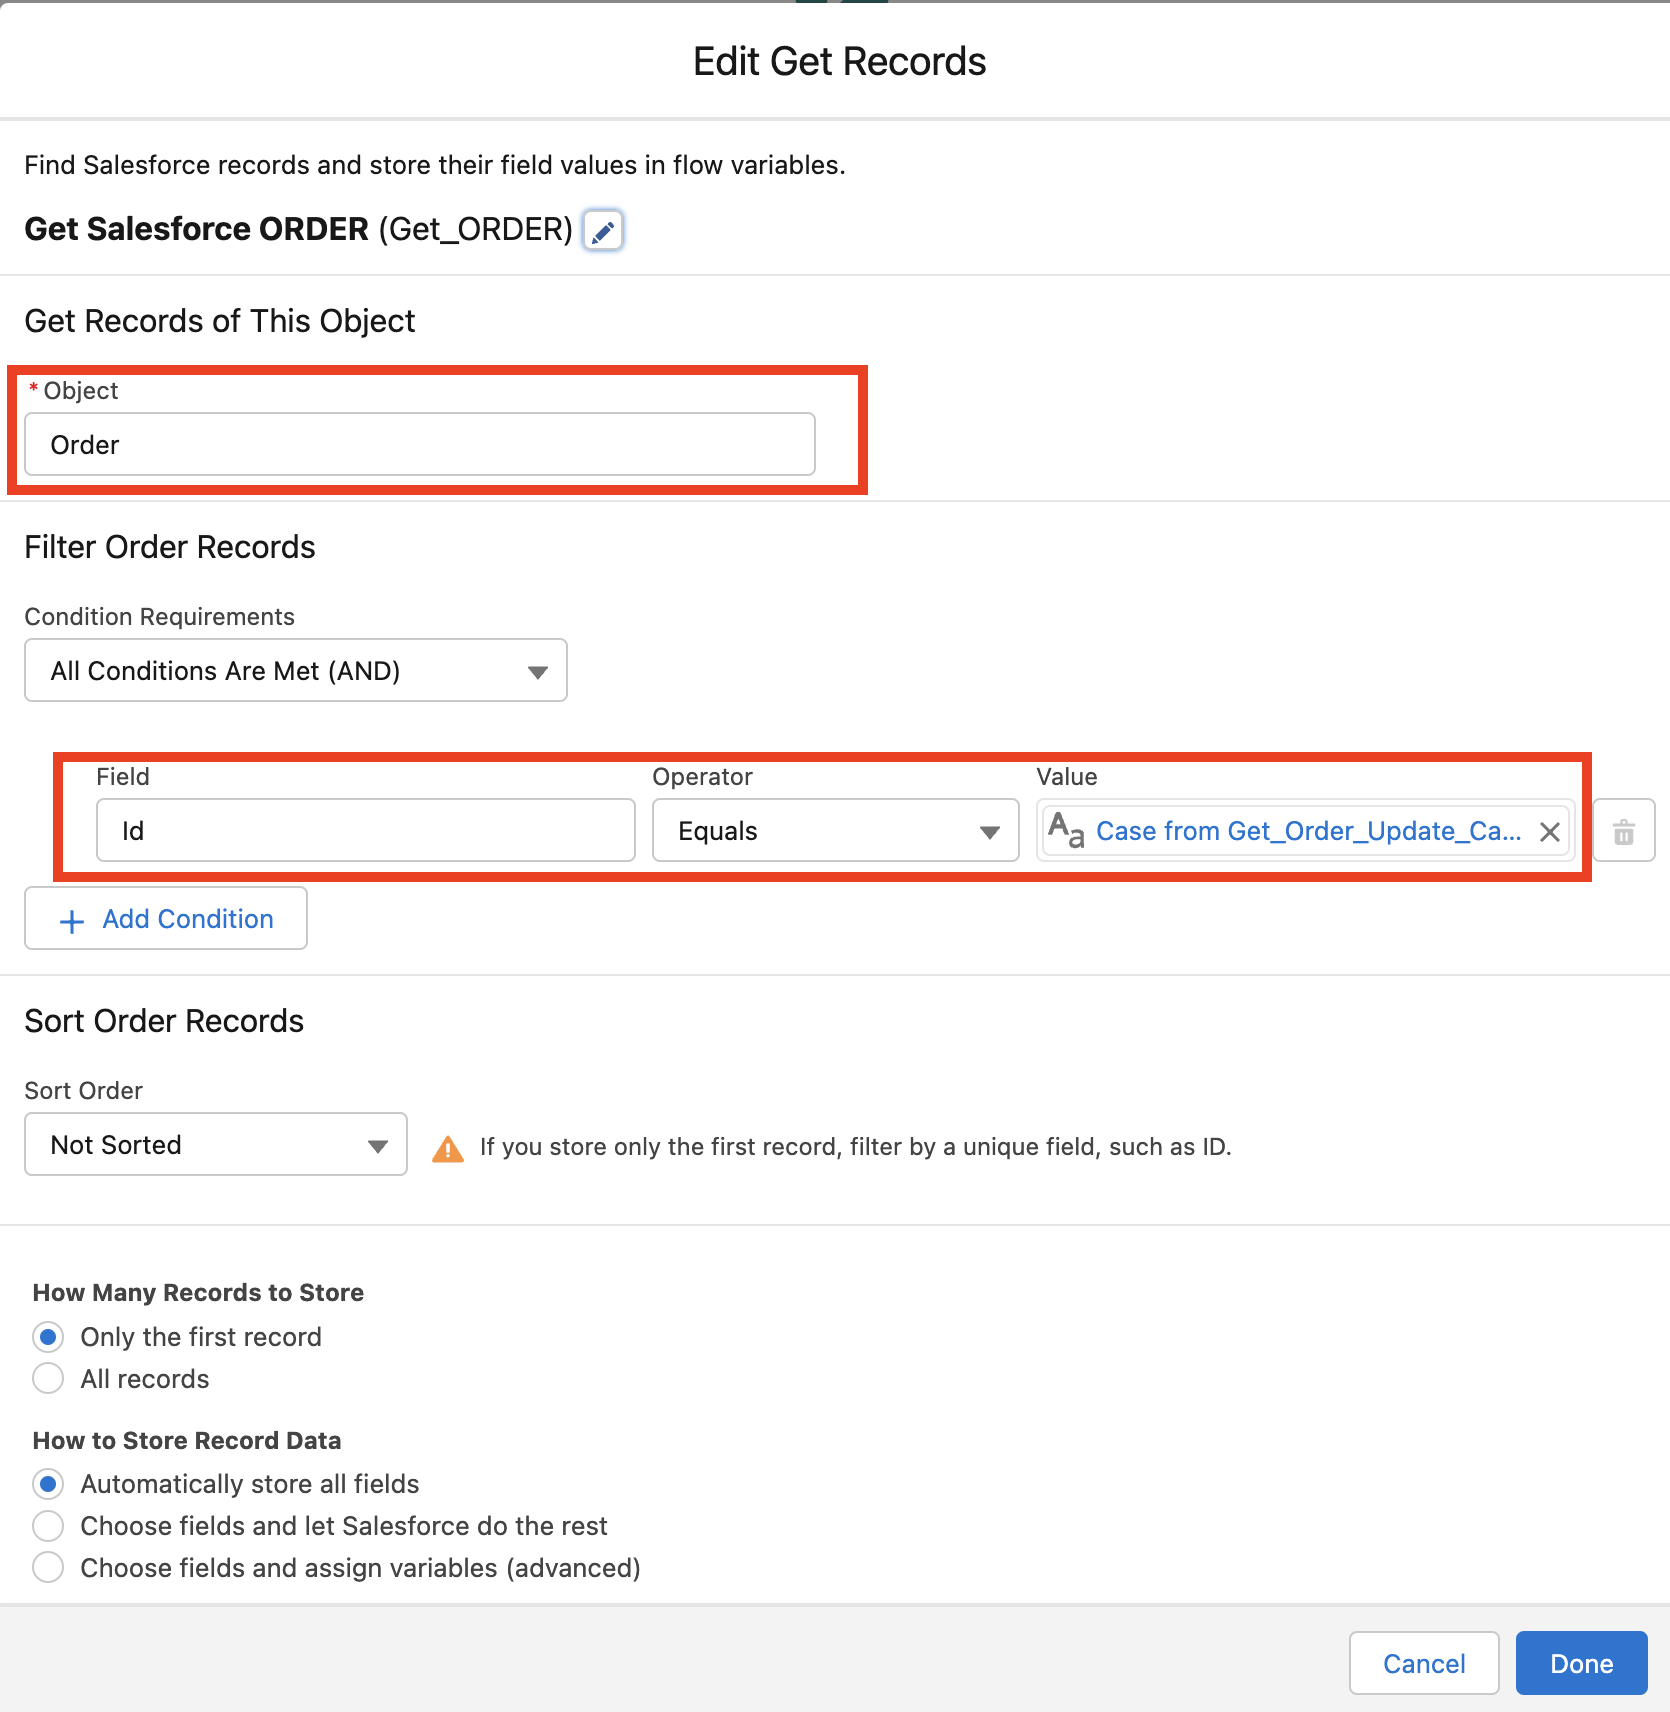
-
Click
Cancelto close the window.
Step 3: Add "Set Request Payload" Assignment Flow Element
-
Open the Toolbox with the
Toogle Toolboxbutton on the top-left.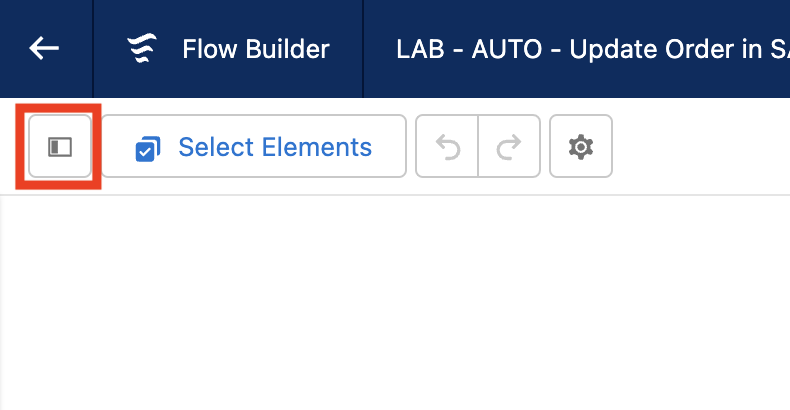
-
Click
New Resourceto add a new variable.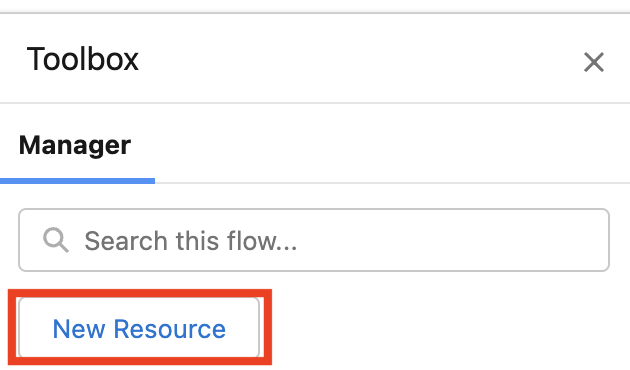
-
Select
Variableform the drop down list as Resource Type. Compile the remaining fileds as follow.Field Value API Name
requestPayloadData Type
Apex-DefinedApex Class
ExternalService__SAPSystemAPI100_putOrders_IN_generated -
Click
Done.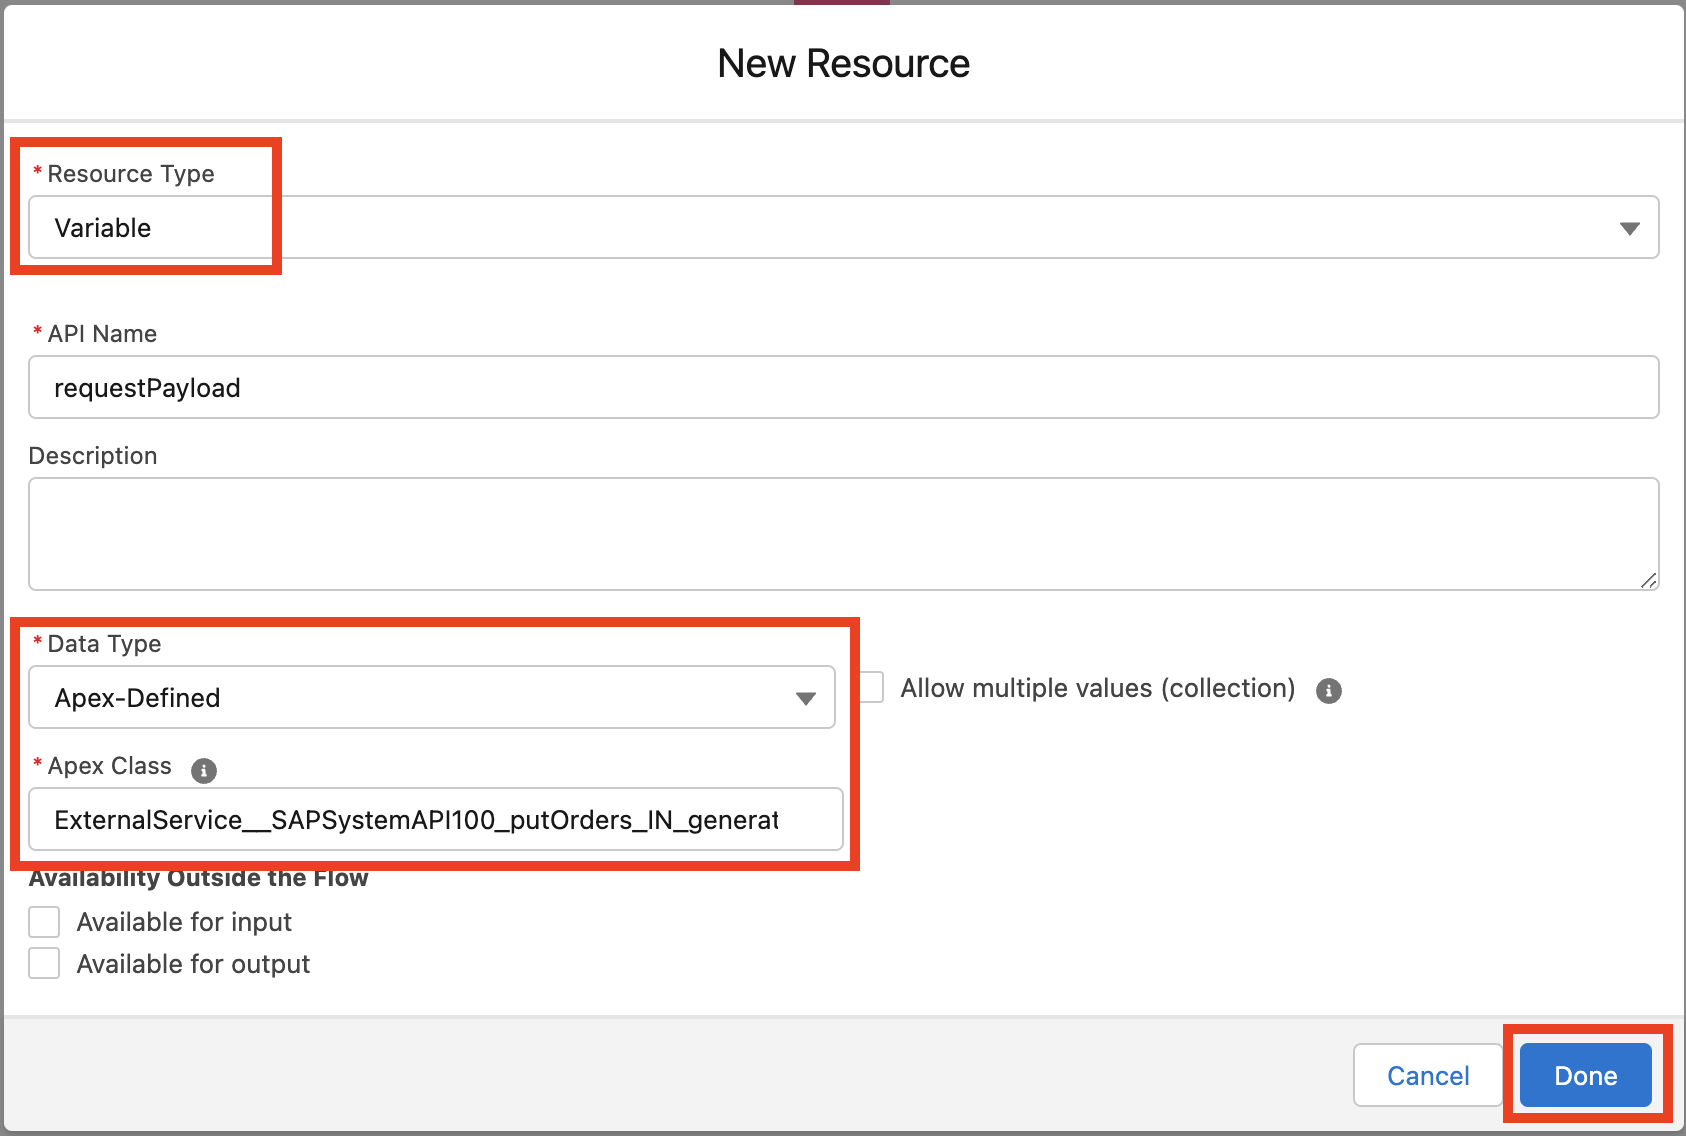
-
Click the
Add elementbutton after theGet Salesforce ORDERelement.
-
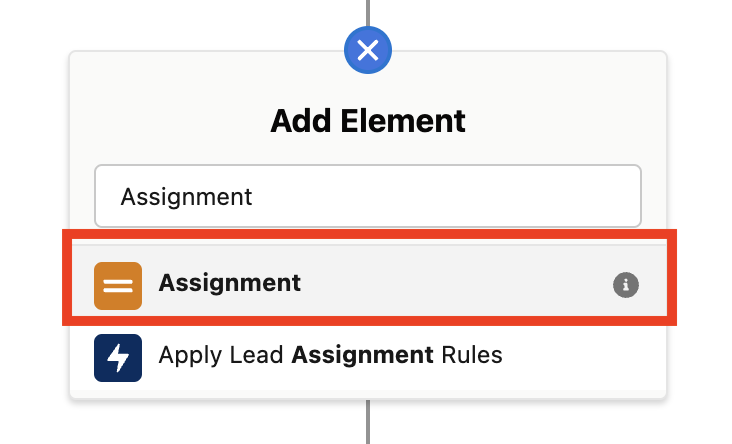
Search for `Assignment' and select it.
-
In the New Assignment modal enter
Set request payloadas Label andSetRequestPayloadas API Name. -
Compile the Variable Values as follow.
Variable Operator Value {!requestPayload.REQx5fDATEx5fH}Equals{!sapShippingDate}{!requestPayload.SALESDOCUMENT}Equals{!Get_ORDER.SAP_Id__c}{!requestPayload.SALESx5fORG}Equals3000{!requestPayload.DISTRx5fCHAN}Equals10{!requestPayload.DIVISION}Equals00{!requestPayload.PURCHx5fNOx5fC}Equals9191919{!requestPayload.SALESx5fDIST}Equals2222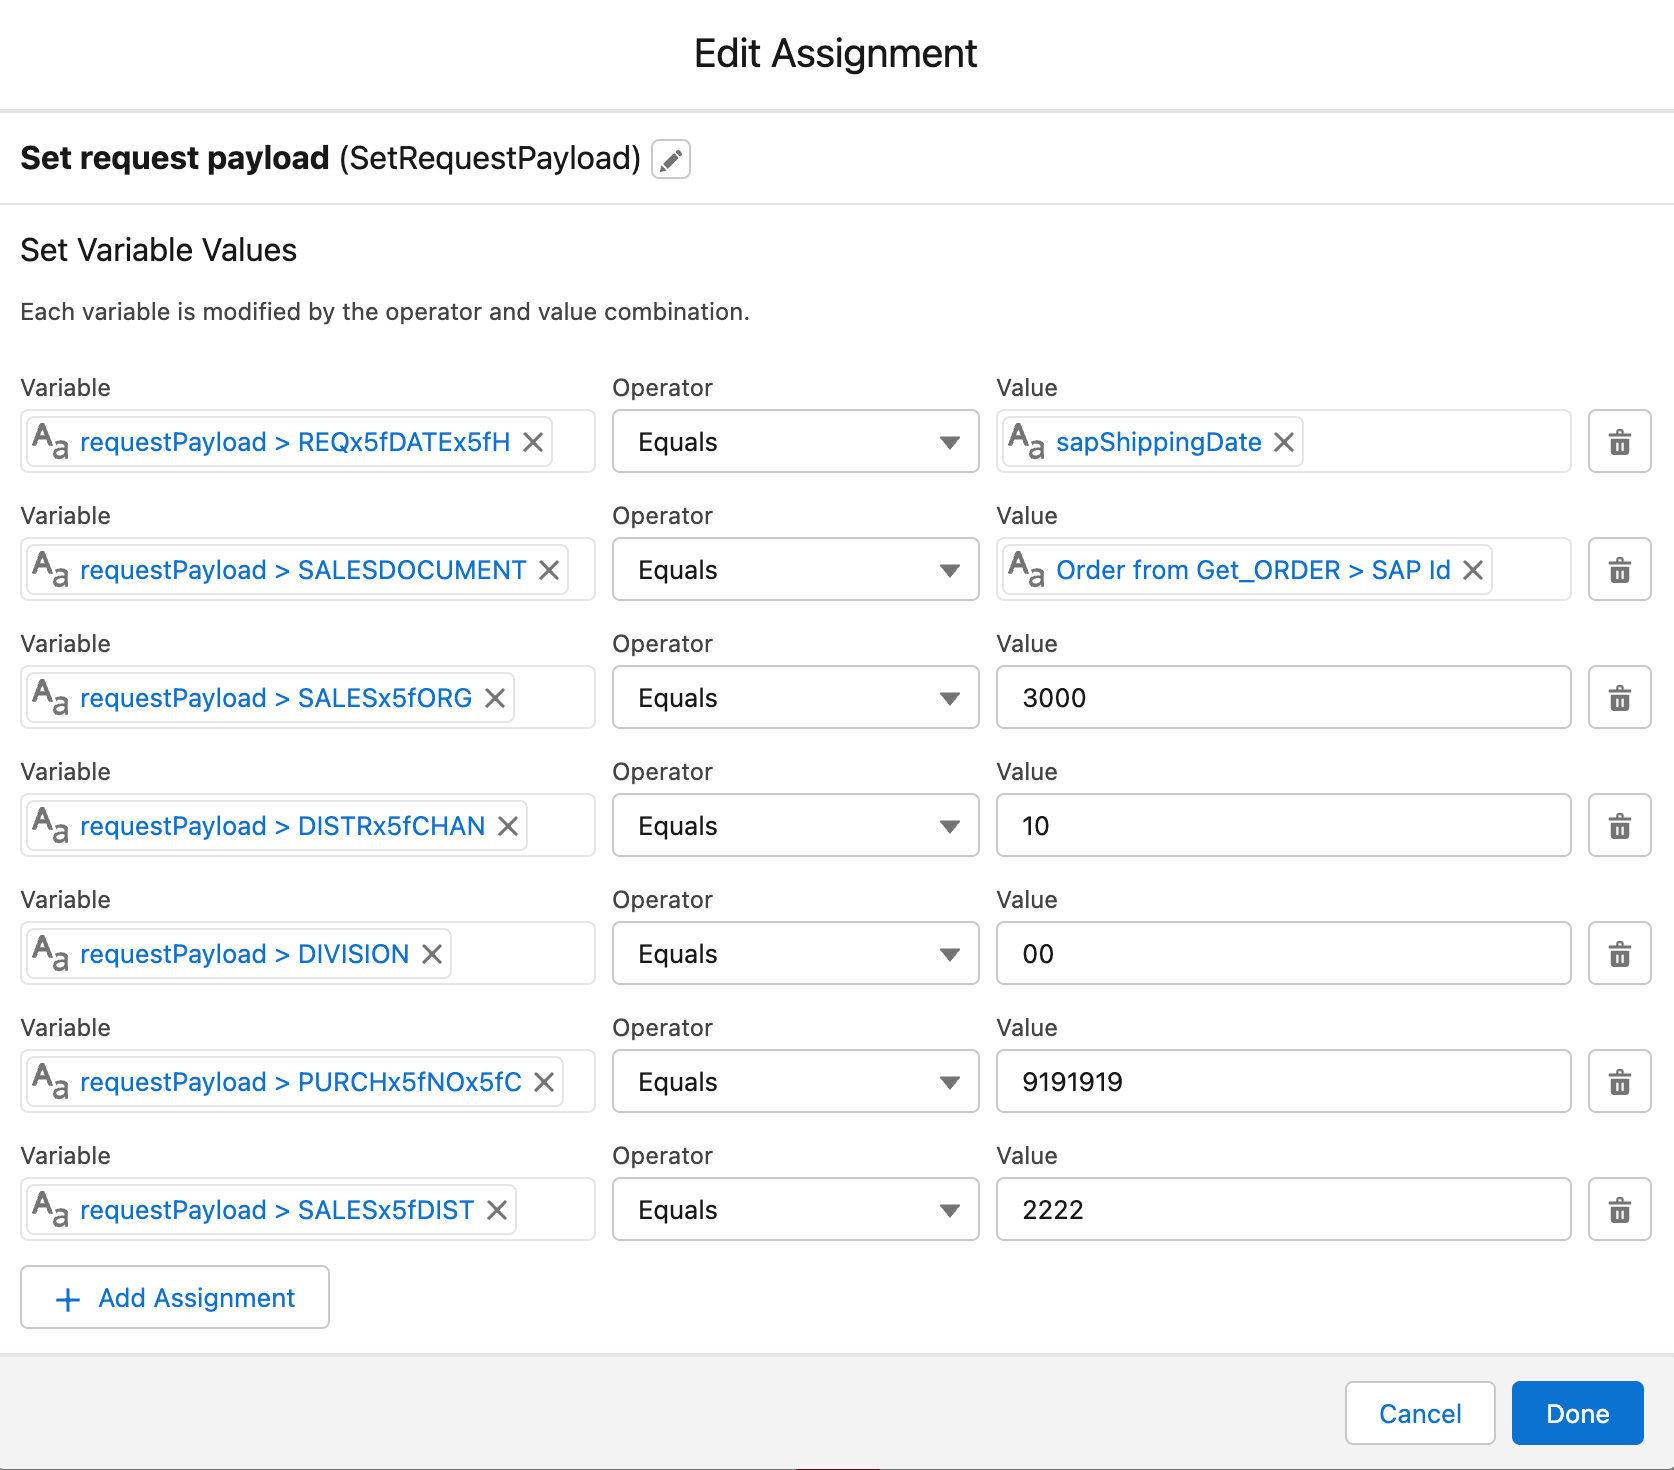
-
Click
Done
Step 4: Add "Update SAP Order" Action Flow Element
-
Click the
Add elementbutton after theSet request payloadelement.
-
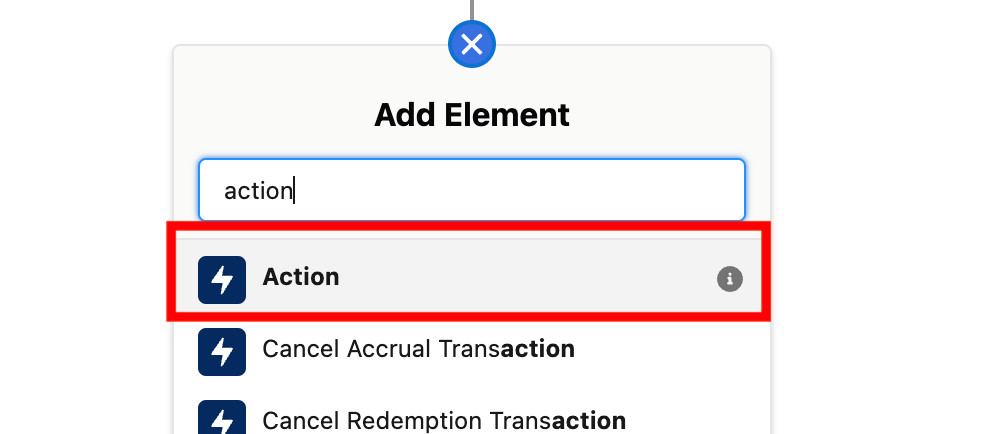
Search for `Action' and select it.
-
In the Action field search for
externalService-SAPand select the result.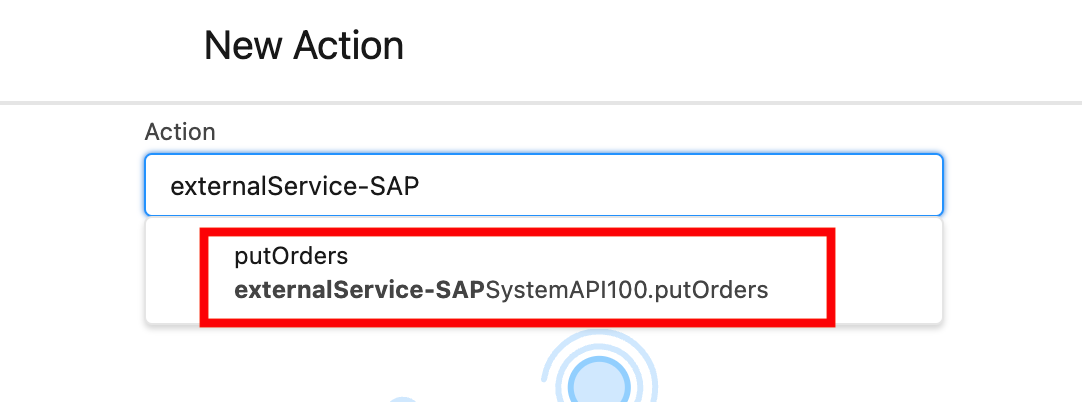
-
In the New Action modal enter
Update SAP Orderas Label andUpdateSAPOrderas API Name. -
In the input value section select the toggle to include the request payload. The generated field should be now editable. In the generated field enter
{!requestPayload} -
Expand rhe Advanced Section and check the
Manually assign variables. Enter{!responseCode}as responseCode.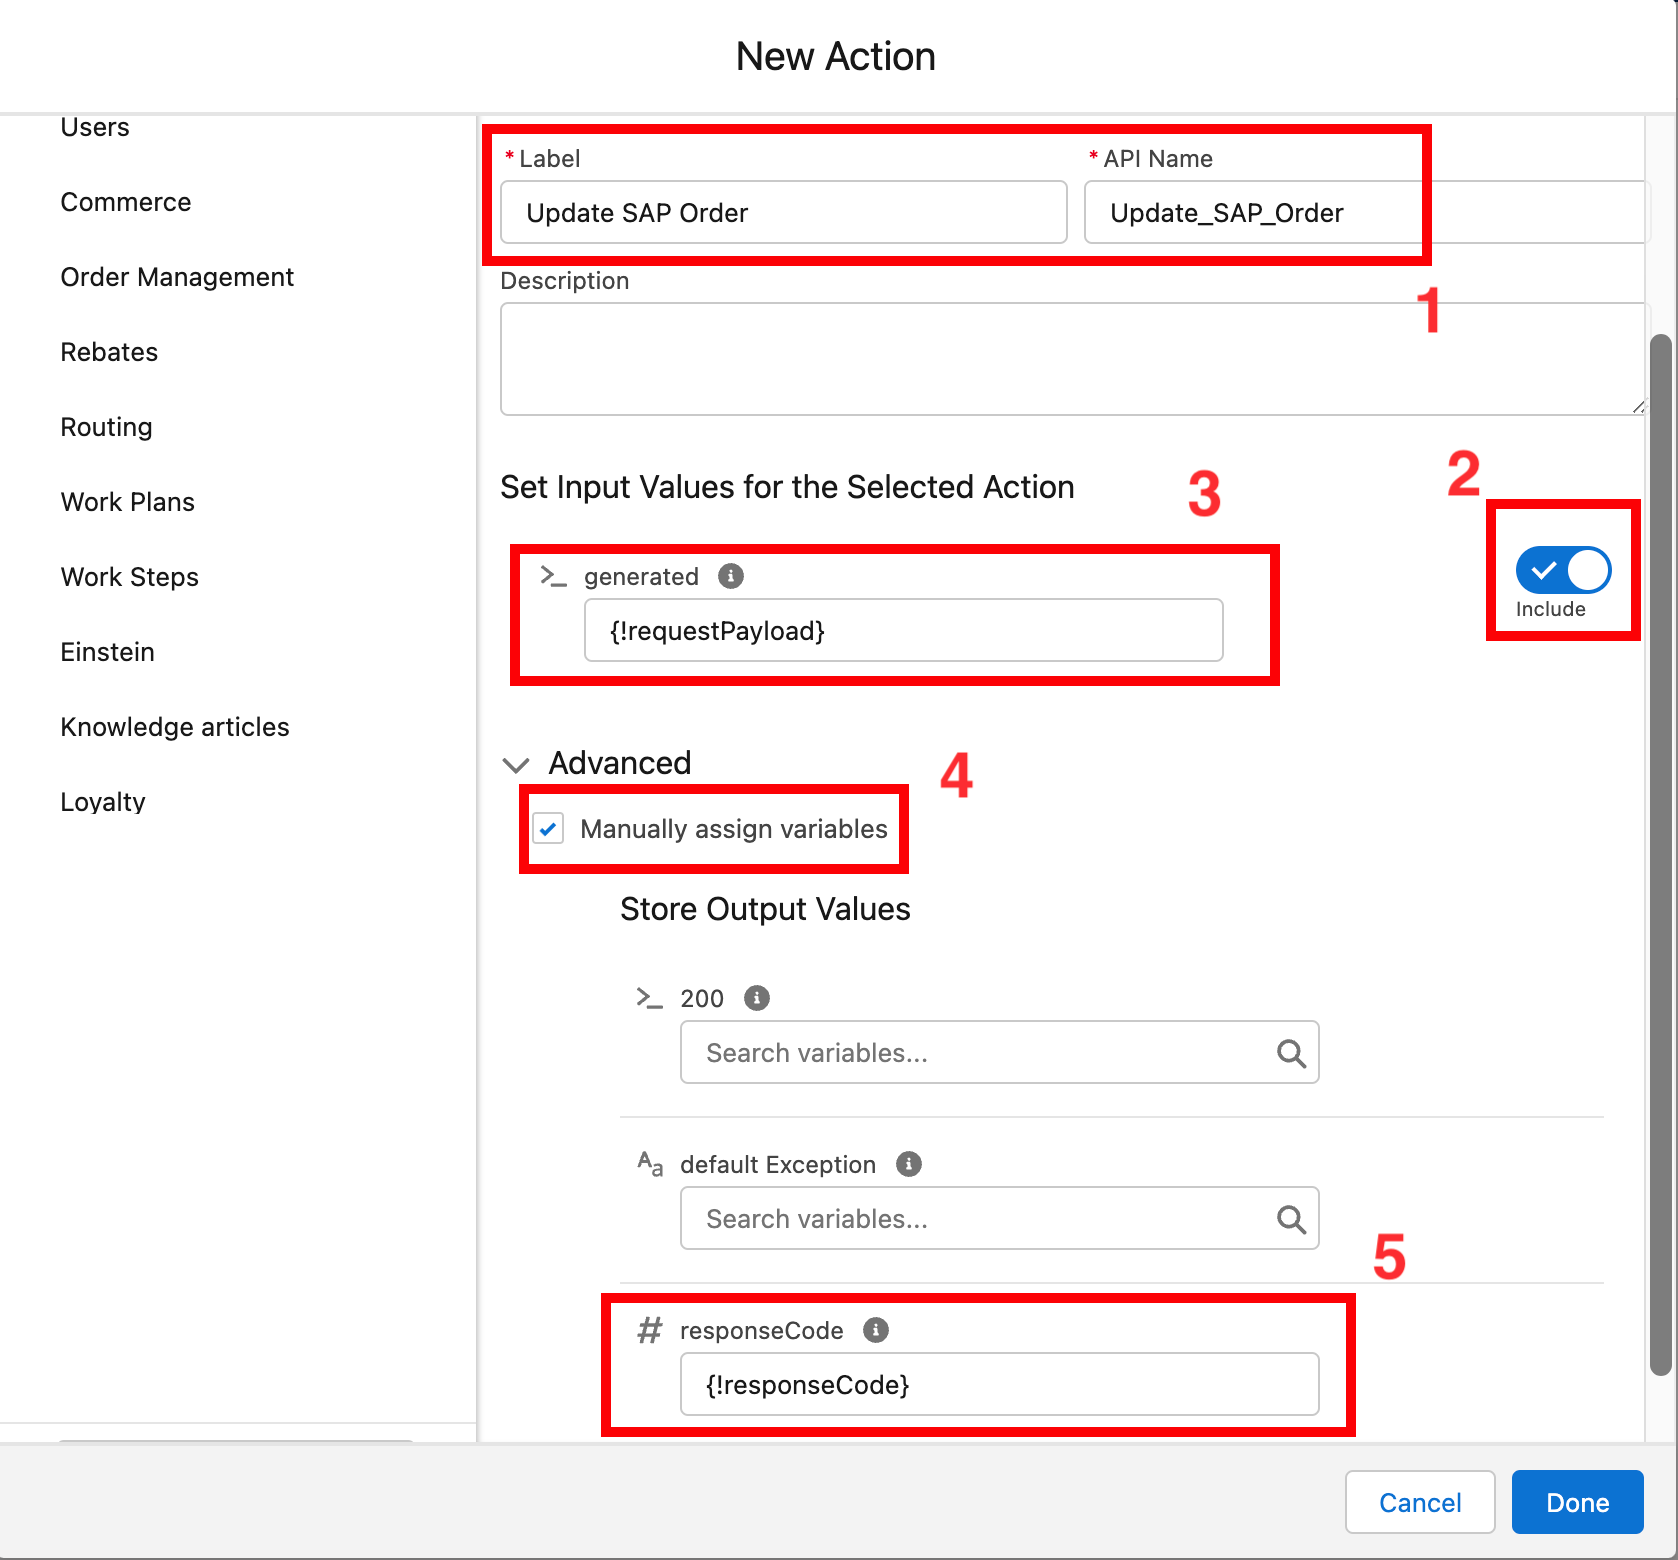
-
Click
Done
Step 5: Add "Update Order Update Case" Update Records Flow Element
-
Click the
Add elementbutton after theUpdate SAP Orderelement.
-
Search for
Update Recordsand select it.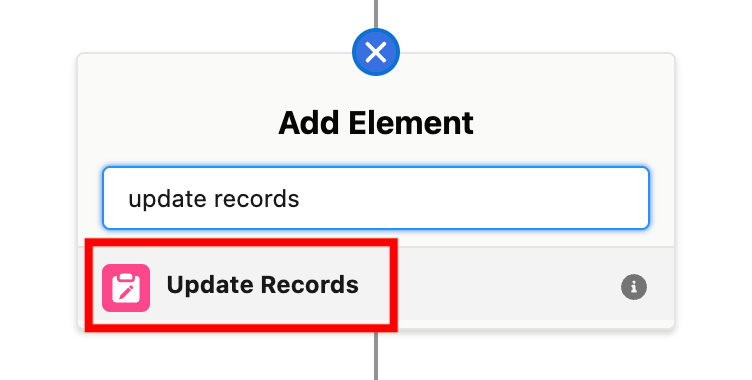
-
In the New Update Records modal enter
Update Order Update CASEas Label andUpdate_Order_Update_Caseas API Name. -
Select
Specify conditions to identify records, and set fields individuallyasHow to Find Records to Update and Set Their Values. -
Select
Caseas Object. -
Compile filter conditions as follow.
Field Operator Value IdEquals{!caseId} -
Compile field values as follow.
Field Value SAPId__c{!Get_ORDER.SAP_Id__c}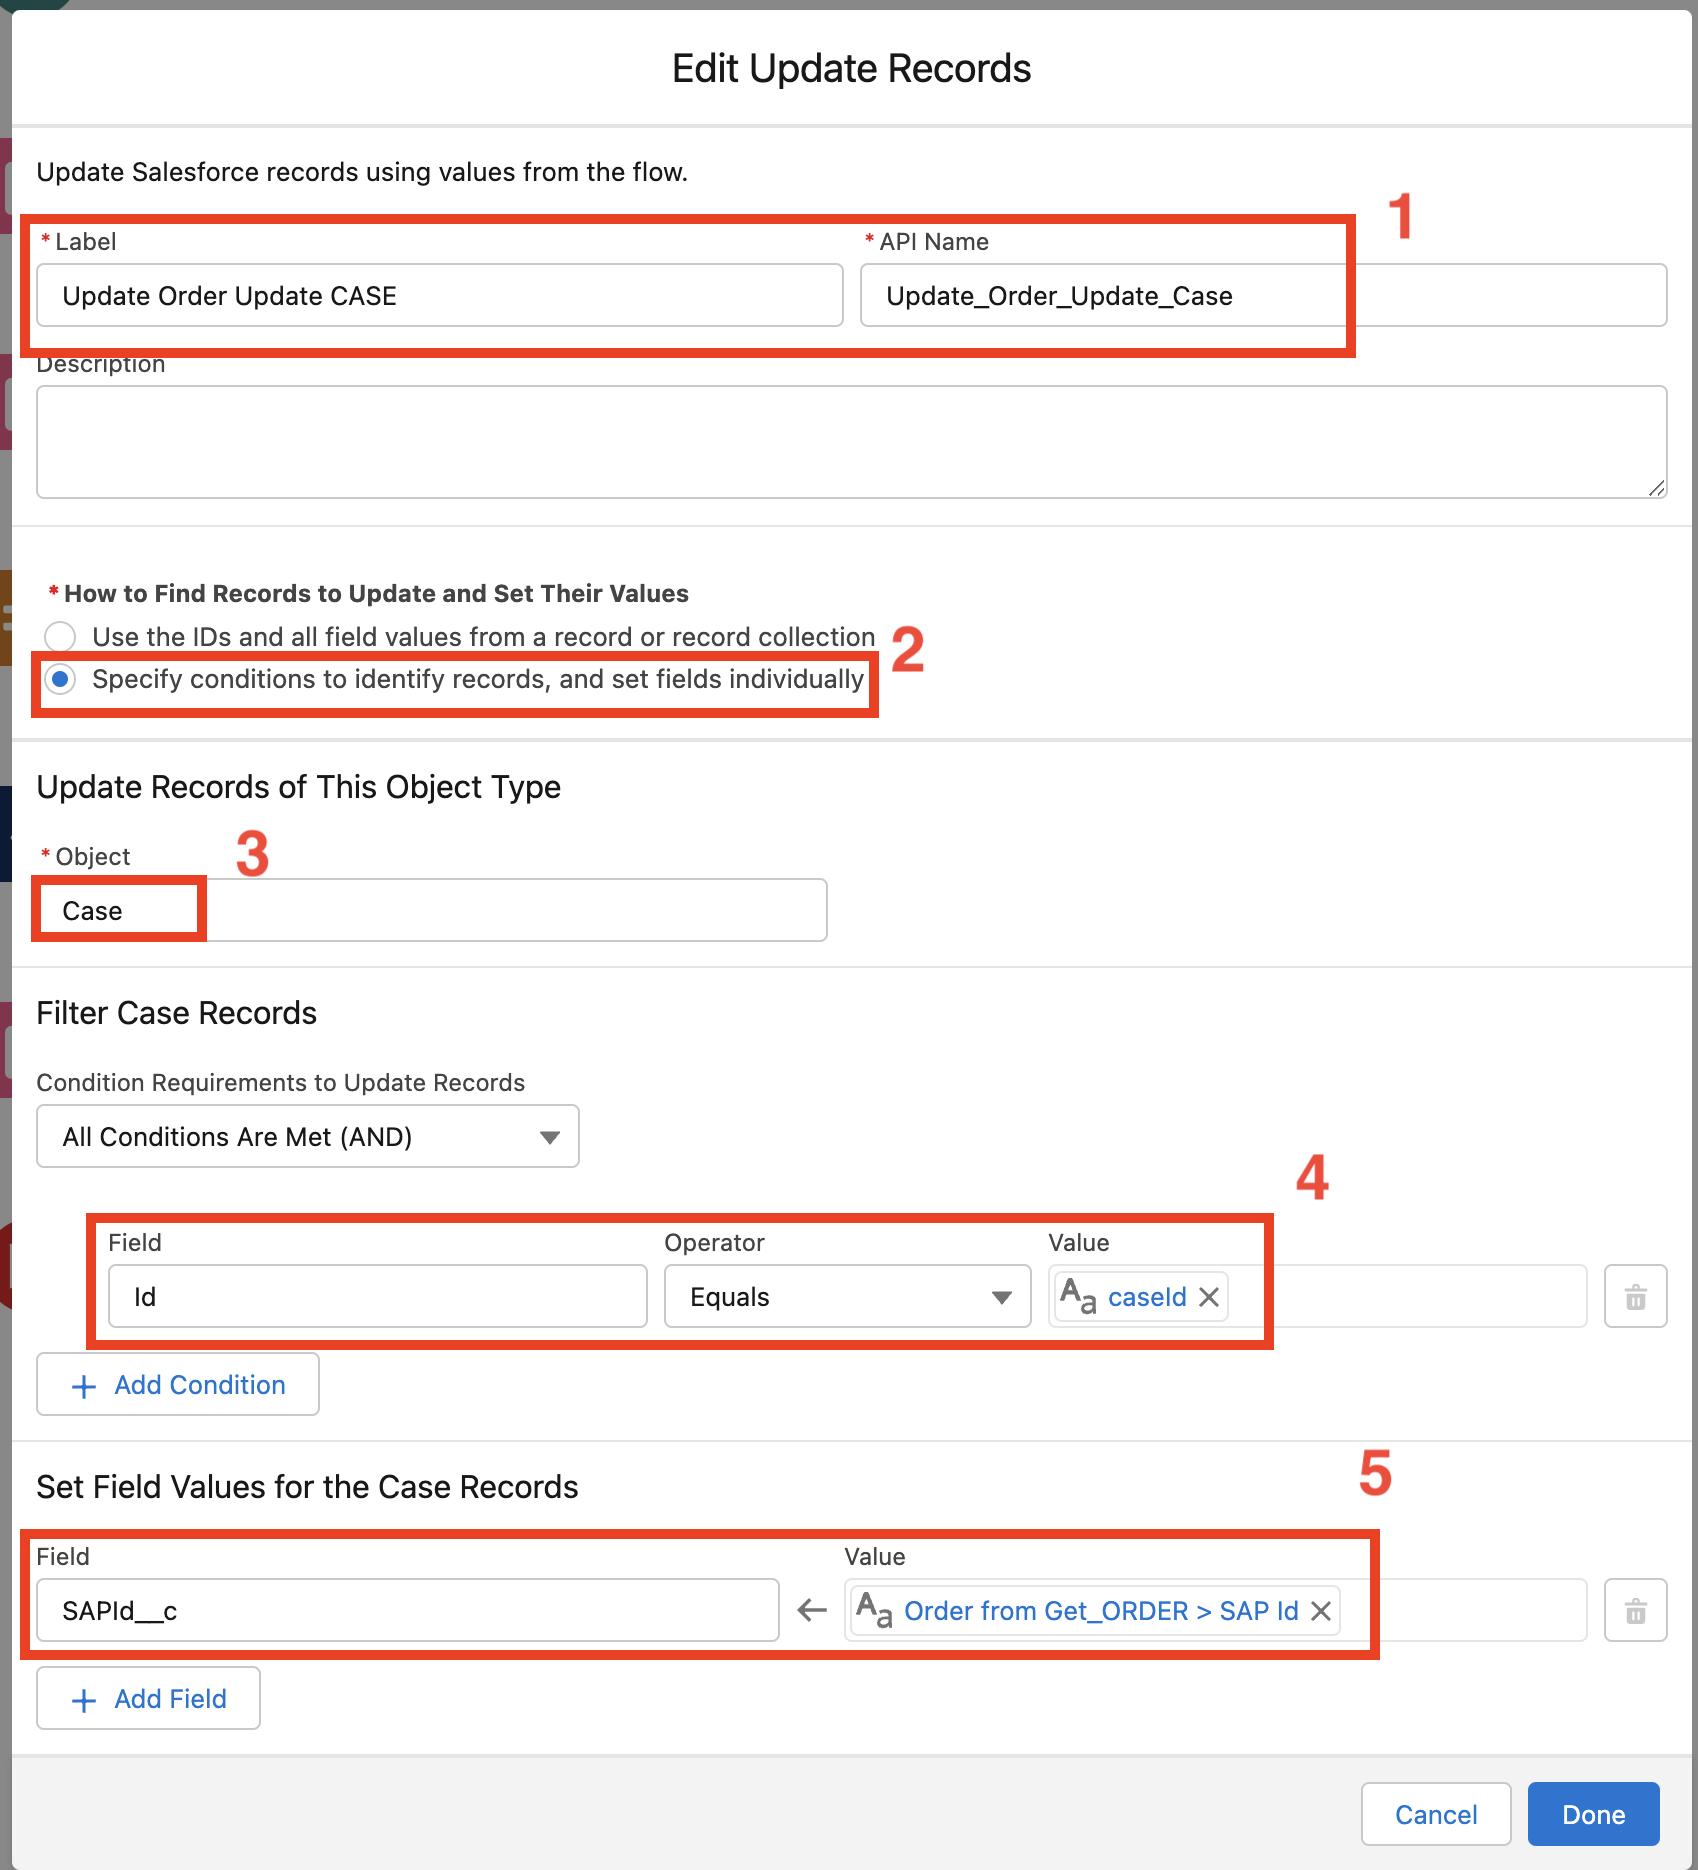
-
Click
Done
Step 6: Save Autolaunched Flow
-
Click the
Savebutton in the top-right corner.
-
Click the
Activatebutton in the top-right corner.
Step 7: Debug Autolaunched Flow
-
Click the
Debugbutton in the top-right corner.
-
Enter a valid case id retrieved form the Salesforce org on which you are building the flow. The case must be related to the
Nina Morrisaccount. Enter one week from today as shipping date.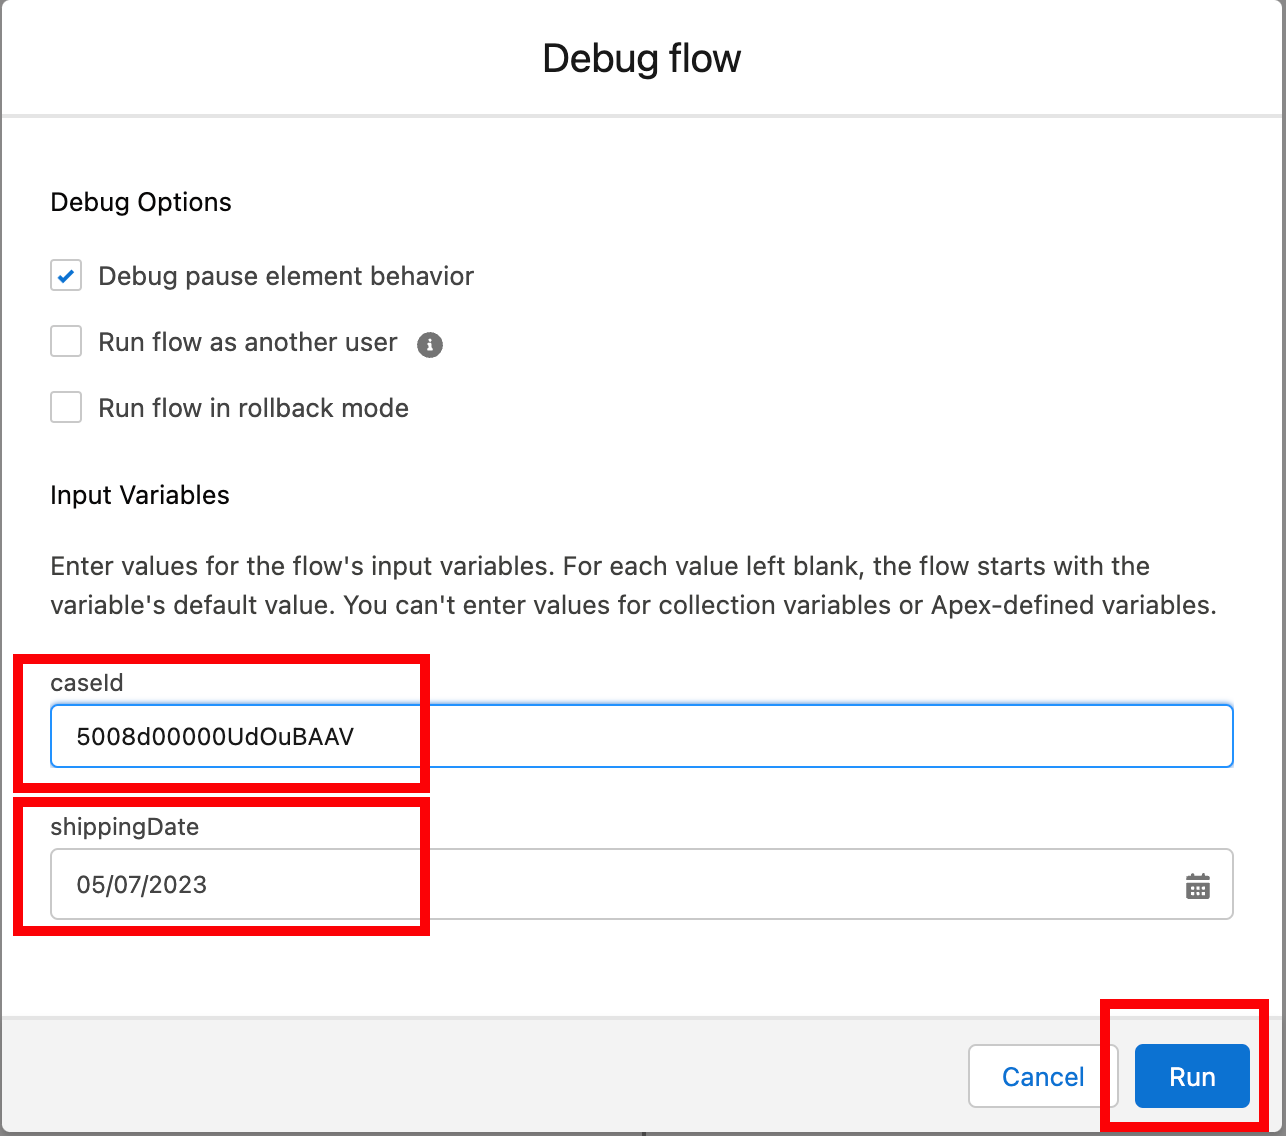
-
Click
Run -
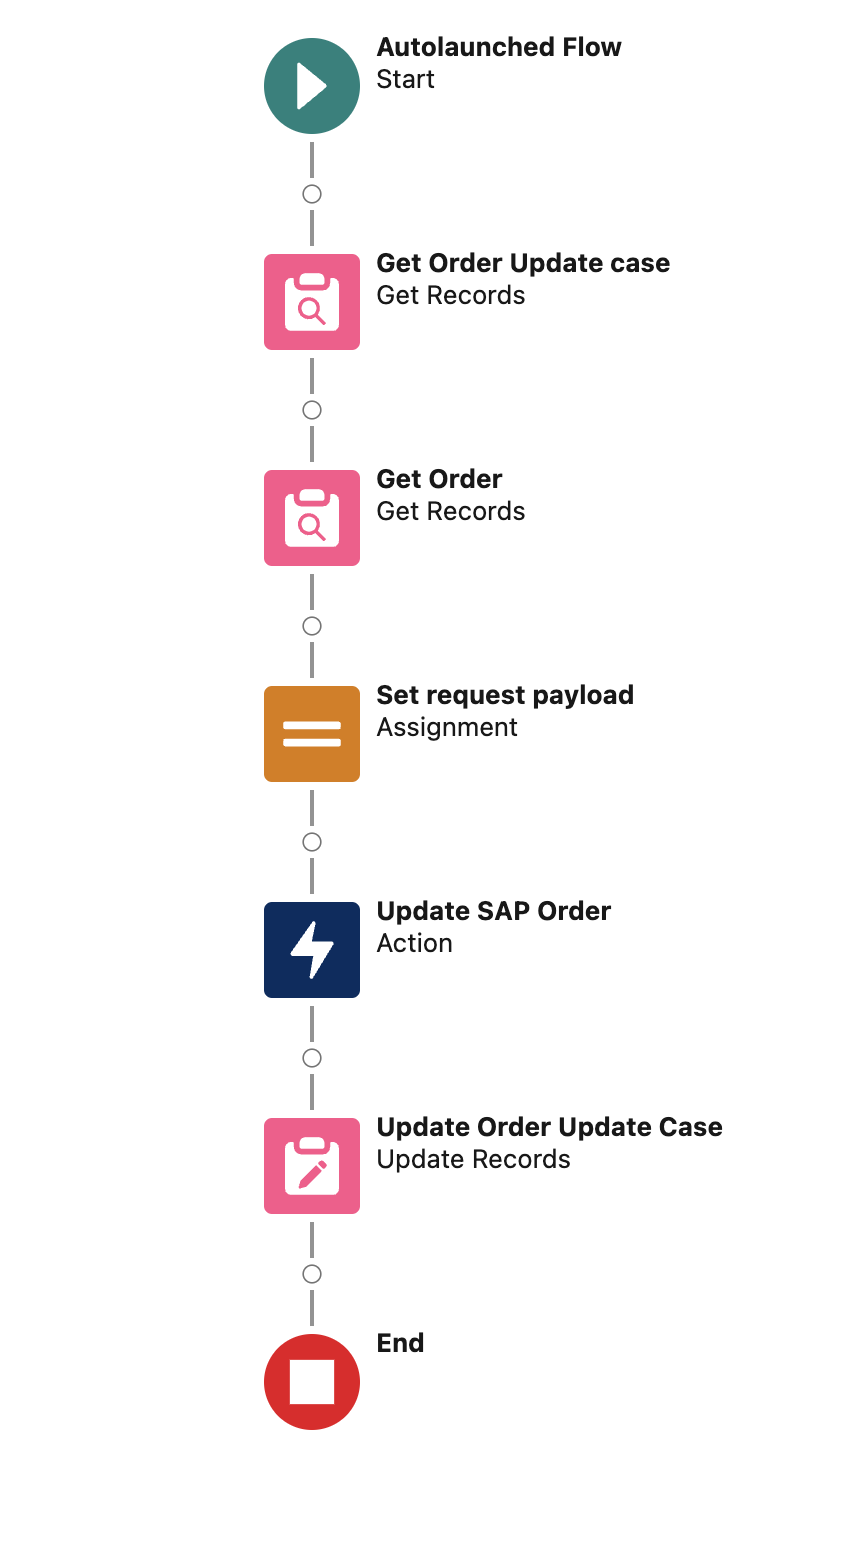
In the Debug Details right panel expand the
SystemAPI100.putOrderssection and look for the response code. If you see a200returned as code the flow is working properly.