Lab 1: Create your new Automation Process
Overview:
In this module we will create the Automation Process that will monitor an email INBOX waiting for a mail containing an Invoice as an attachment, extract the data from any such invoice, and enter it automatically in the legacy Financial System.
Step 1: Locate the workshop’s Process Category
-
Login to the RPA Manager instance and use your credentials.
-
Expand the
Process Automationmenu and click onProcess Management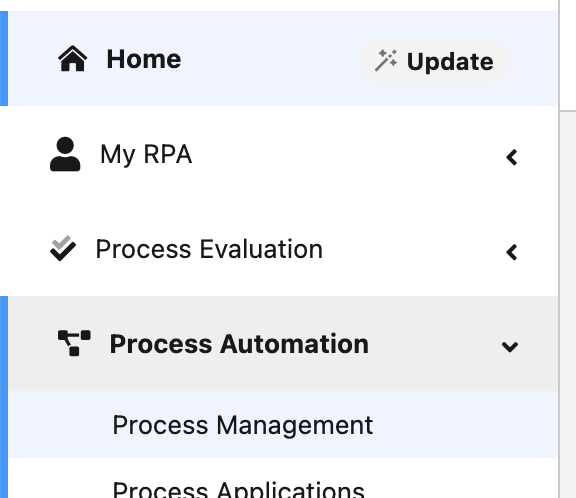
-
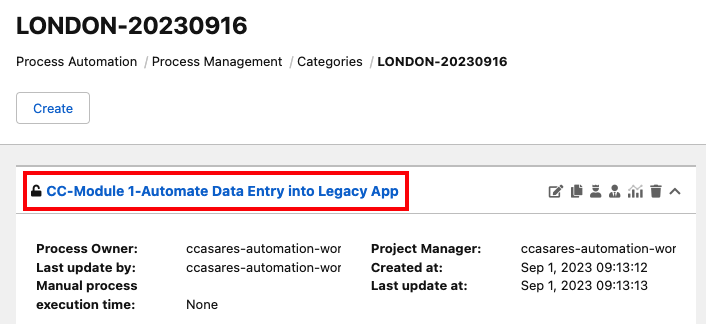
There should be one Category named as per this pattern
YOURWORKSHOPCITY-YYYYMMDD: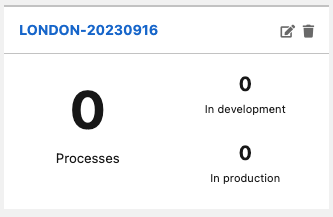
-
Click on this category to start building your Automation processes.
Step 2: Create the Process
-
The automation process lifecycle is based on four stages or phases:
-
Design: the Business Analyst designs the model of the automation process using the BPMN notation tool, also helped by the MuleSoft RPA Recorder
-
Build: the MuleSoft RPA developer implements the automation process using the bot steps available in the product toolbox (more on this on in the next module)
-
Test: define and run multiple Test Plans to ensure the quality of the process
-
Production: deploy the automation process into one or many bot instances that fulfill the application requirements
In this module we will be covering the Build stage.
-
-
Click on the
Createbutton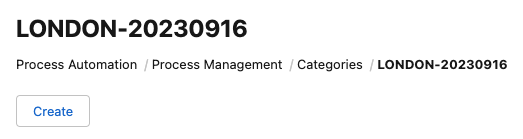
-
Use the following pattern for the process name:
<your name and surname/initials>-Module 1-Automate Data Entry into Legacy App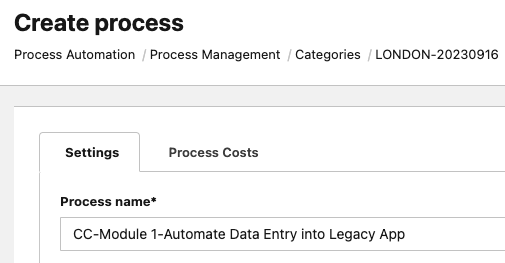
Scroll down and uncheck the
Use Process Boardoption (we will not use the Process Board capabilities on this workshop).
Click
Saveon the bottom right to create your new automation process.
-
Open your new process by clicking on its name.
Step 3: Design the Process
-
Every new process starts in the
Designphase. TheDesignphase allows Business Users to model the basics of the Automation Process, using the BPMN 2.0 notation.MuleSoft RPA makes use of a subset of the BPMN 2.0 standard. The following elements are supported:
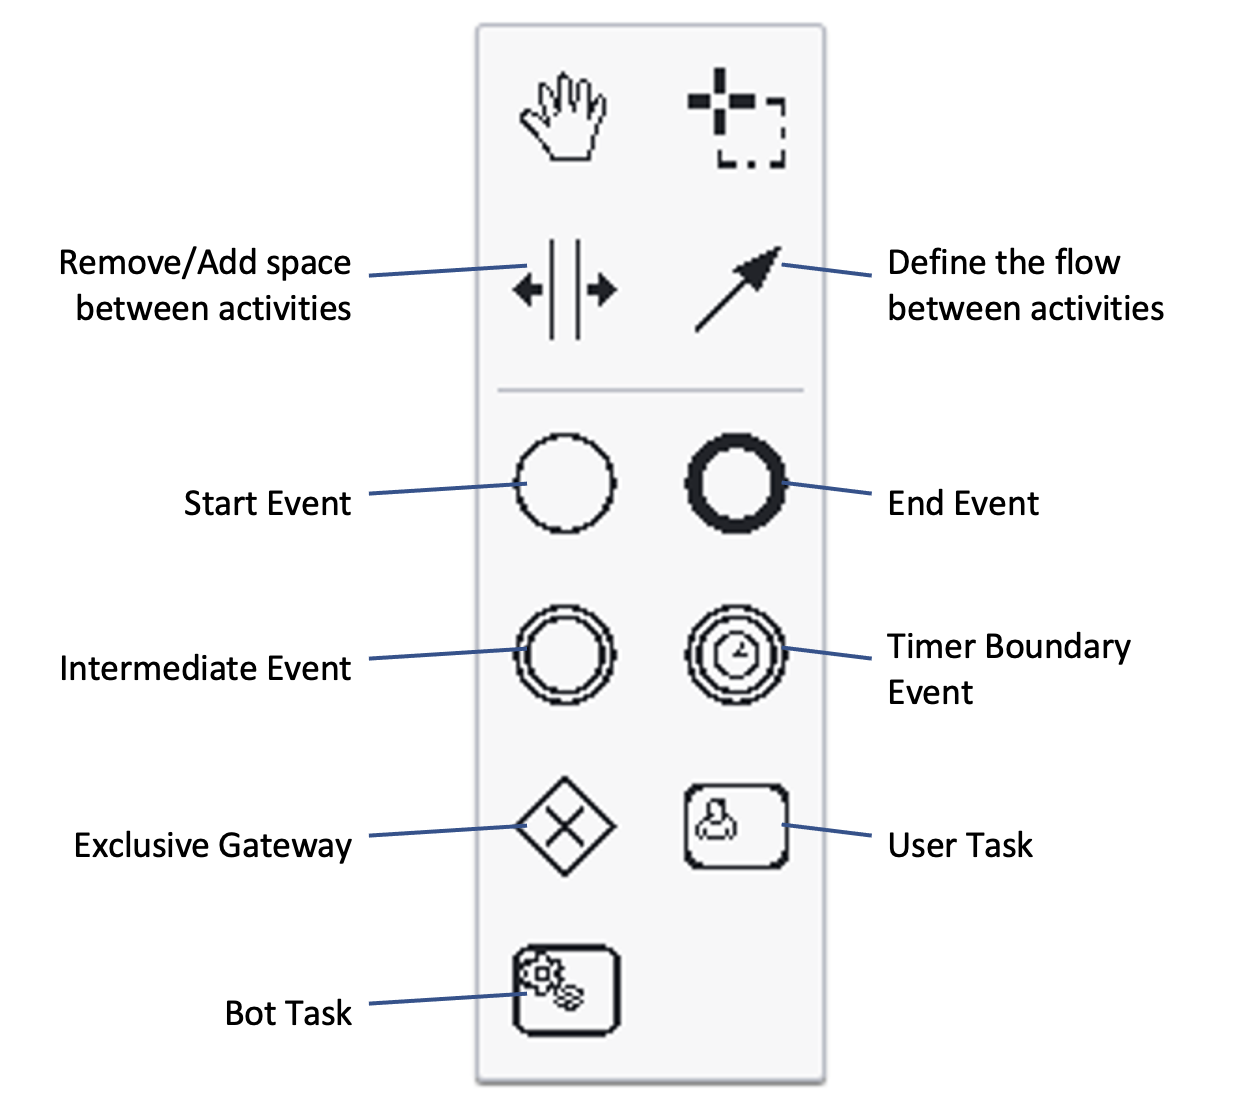
You can also use the floating menu when you click on any of the existing activities to append a new activity to the selected one. Also, to remove an activity use the
Removeicon: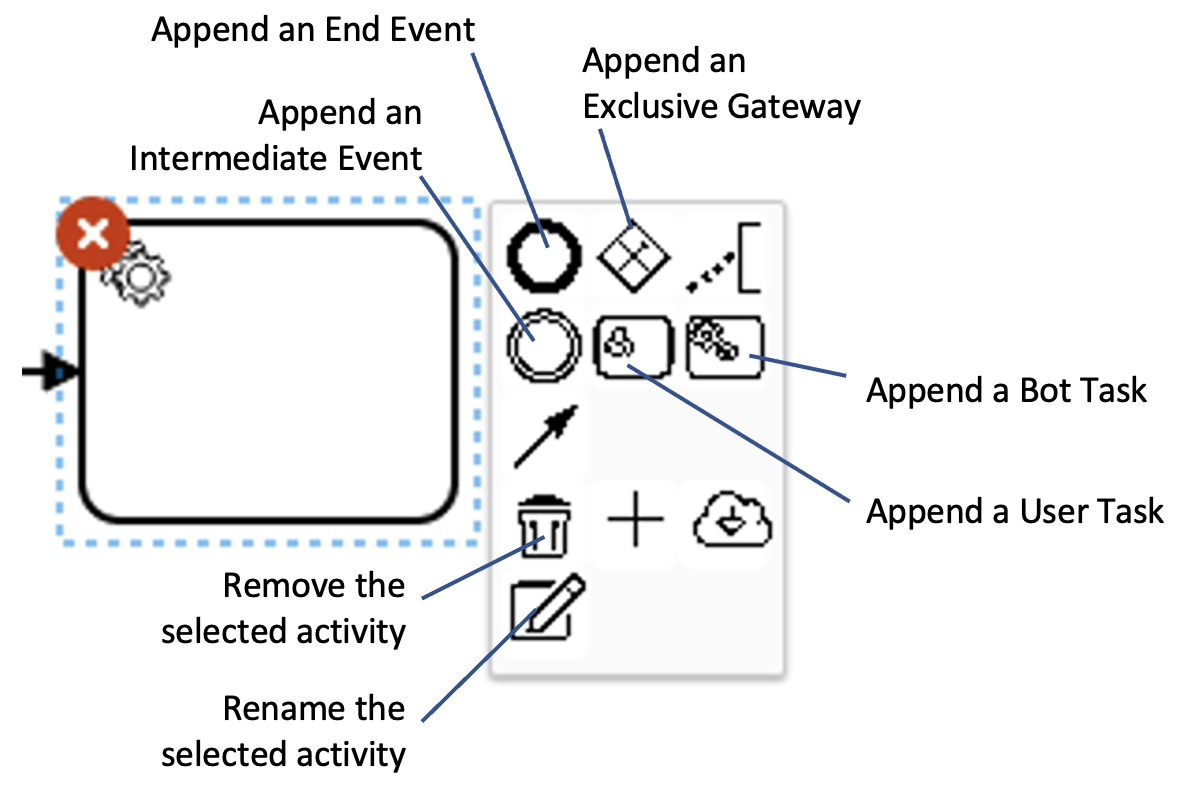
-
In order to accelerate the workshop, we will import a prebuilt model into the process.
Make sure the
Module0-Automate Data Entry into Legacy App.bpmnfile contained in theStudent Files\Module_0_processesfolder in the ZIP shared with you is copied locally in the Windows machine (the easiest way to do so is by copying the file from your laptop with aCTRL-CorCMD-Cand paste it into the Windows machine with aCTRL-V).Once copied, click on the
Import BPMNbutton on the canvas to import the provided.bpmnfile.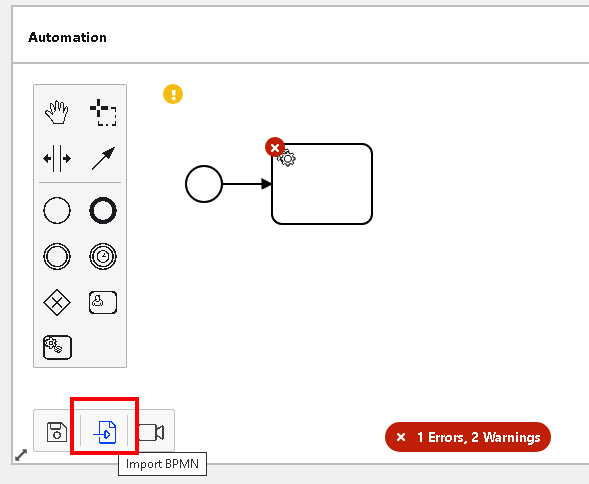
Locate the file and open it. You’ll see a preview of the model. Click on the
Import BPMNbutton andYesto confirm you’ll overwrite the existing (and empty) model: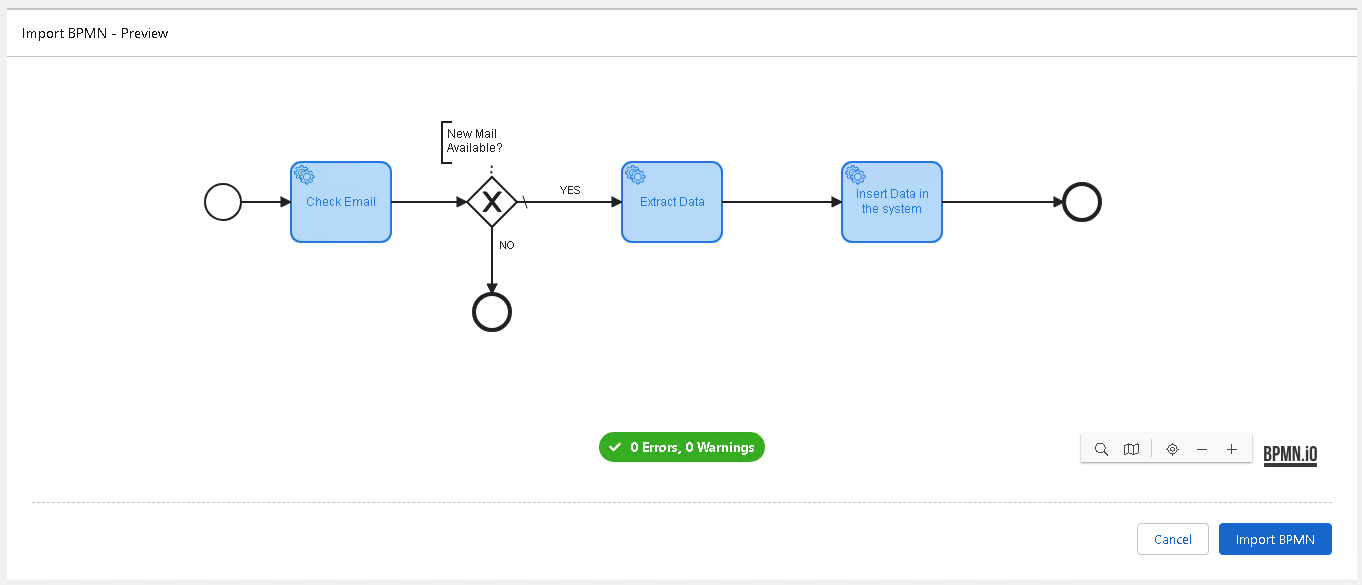
-
Once imported you can review the model:
-
First, the process will check an email INBOX for new emails
-
Should a new email has been retrieved, the flow will continue or, if not, the whole process will end
-
Incoming email should contain an invoice as an attachment and we will proceed to extract the relevant data from it
-
Finally, we will open the Legacy System and enter the just retrieved data into it.
-
Process will end afterwards.
-
-
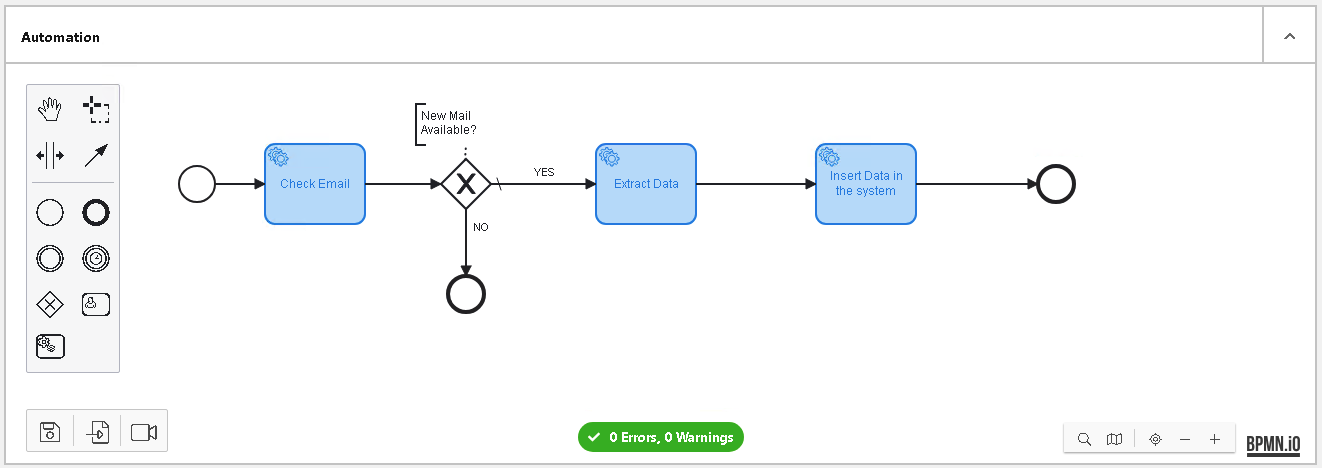
From this Design phase, we are going to complete the BPMN model with some additional steps.
As you have seen, there is an Exclusive Gateway that checks whether an email has been retrieved or not. However, that is not enough. You may have received an email without an attachment and these are not valid.
So, apart from verifying that an email has been retrieved, we need to add an additional Exclusive Gateway to checked whether the retrieved email includes an attachment.
Make some room between the existing gateway and the
Extract Dataactivities: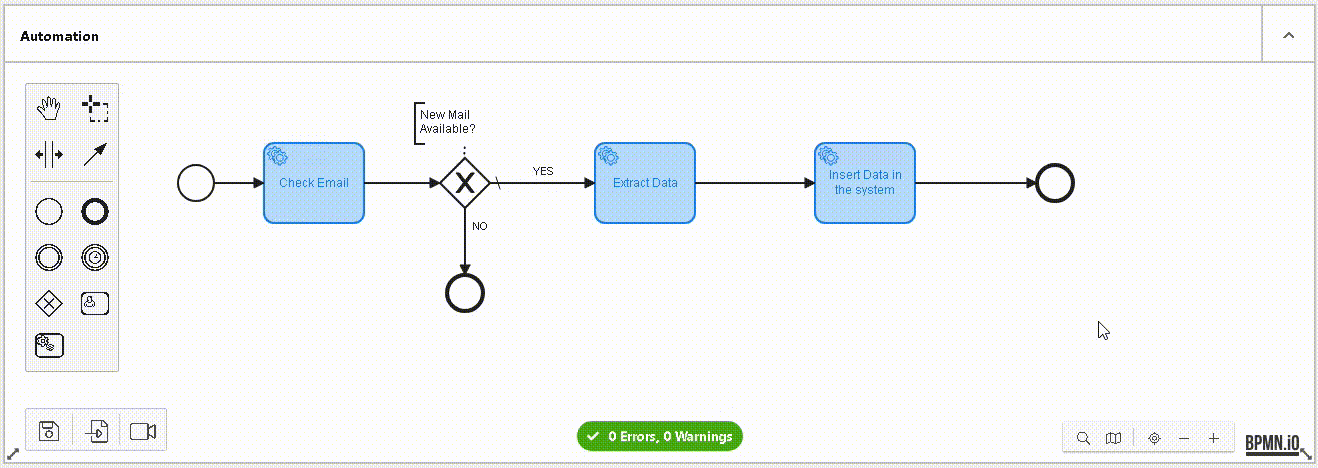
-
Drag and drop a new Exclusive Gateway and place it between the existing one and the
Extract Dataactivity. Make sure you place it on the existingYESflow as follows. Don’t forget to link a Text Annotation with a descriptive label, such asContains Attachment?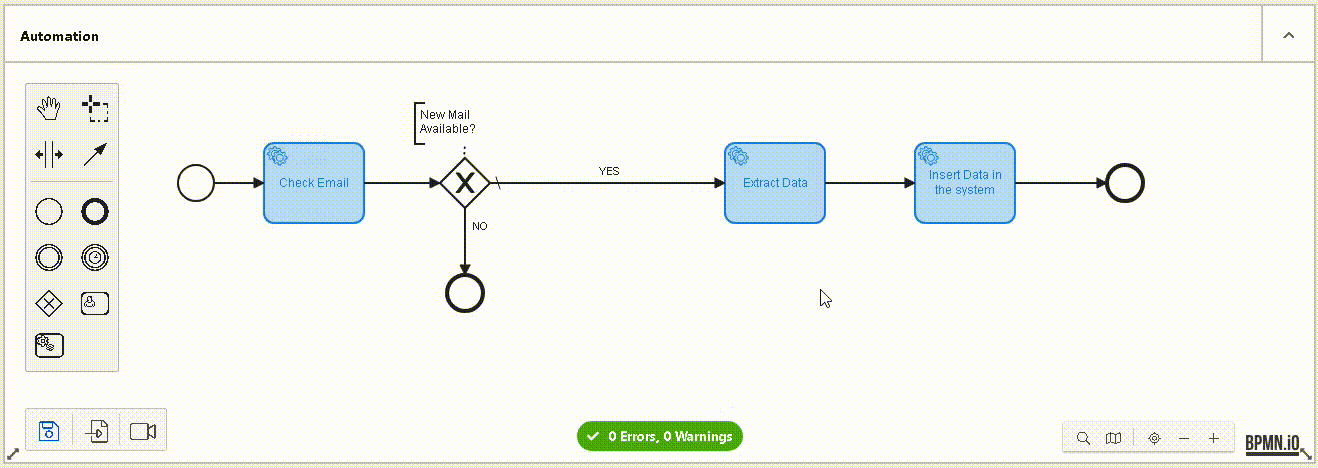
-
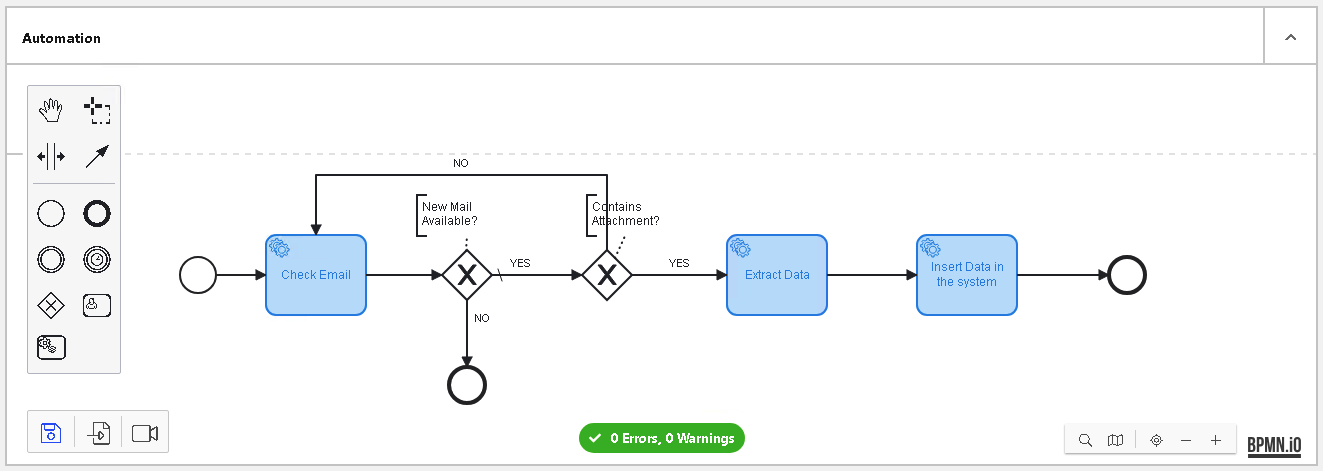
Finally, we need to add the second flow that will be followed when there was no attachment. In that case, we want to retrieve the next available email, so we must go back to the
Check Emailactivity. Double click this new flow to set theNOlabel, and double click the flow from this new Gateway to the Extract Data and set the "YES" label: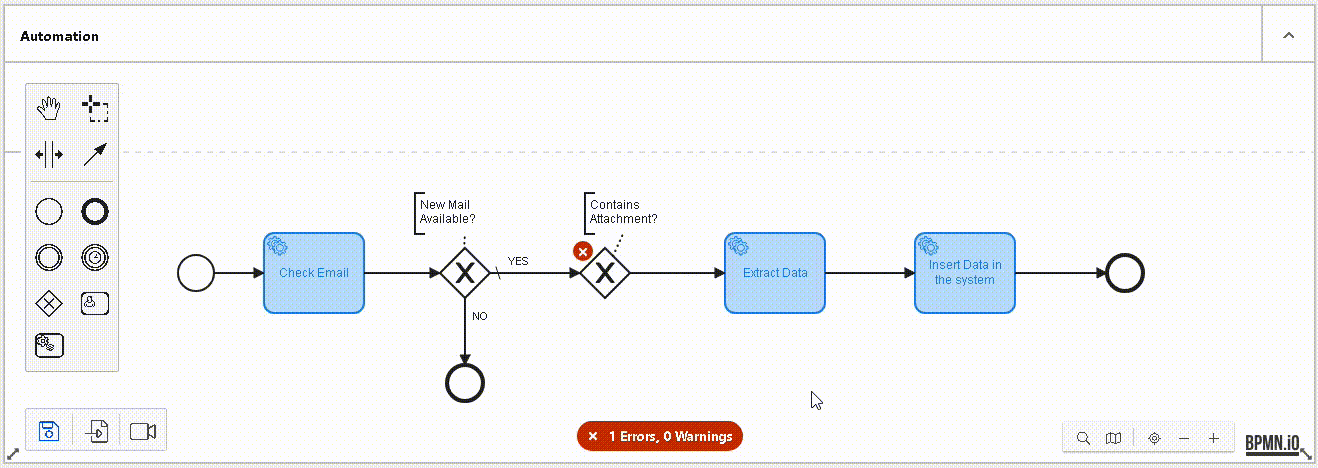
This is how the model should look like now:
-
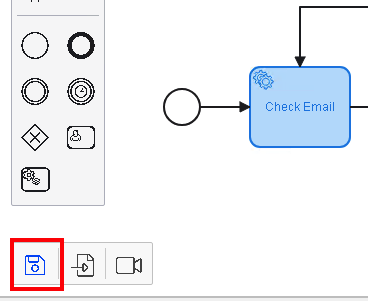
Before moving on, make sure you click on the Save button to save all recent changes:
Step 4: Move Process to the Build Phase
-
Once we have finished with the process modeling, we can move forward to the
Buildphase, by clicking on thePublishbutton: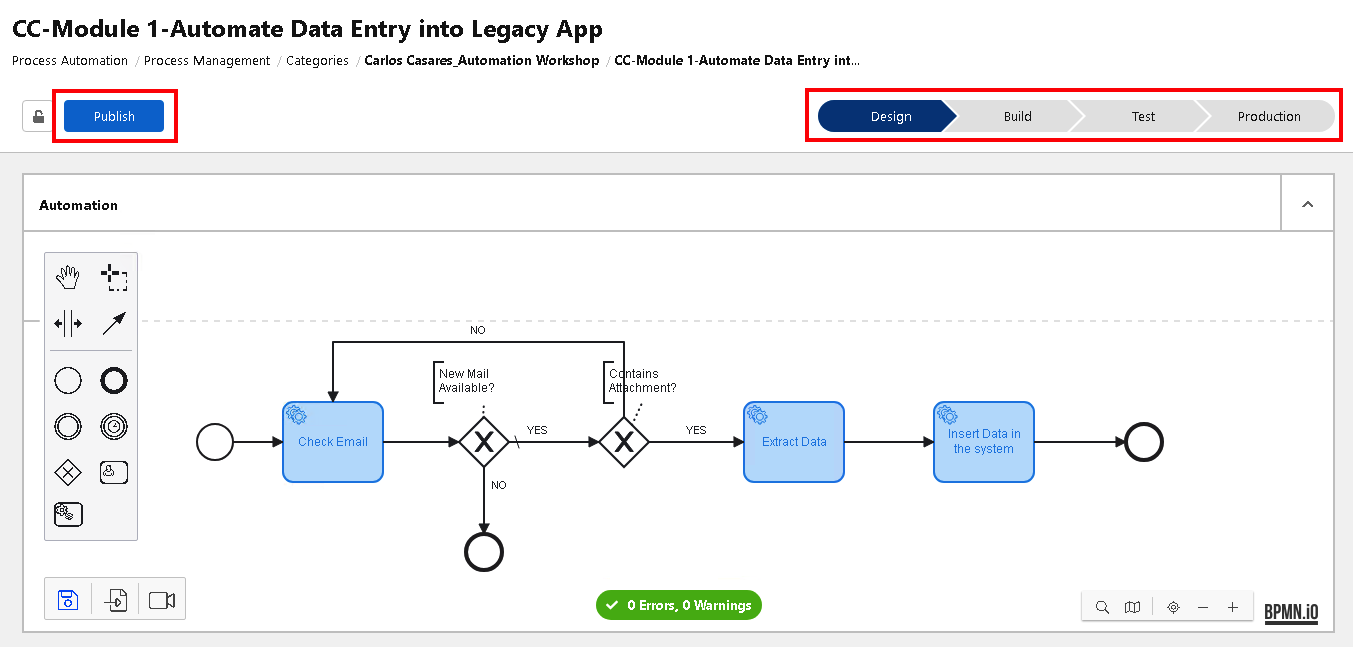
-
Every time a process is moved forward to the next phase, a confirmation popup window is shown. Check the confirmation option and click the
Release to Buildbutton:
-
Now the process is in the
Buildphase and ready to be implemented with the MuleSoft RPA Builder tool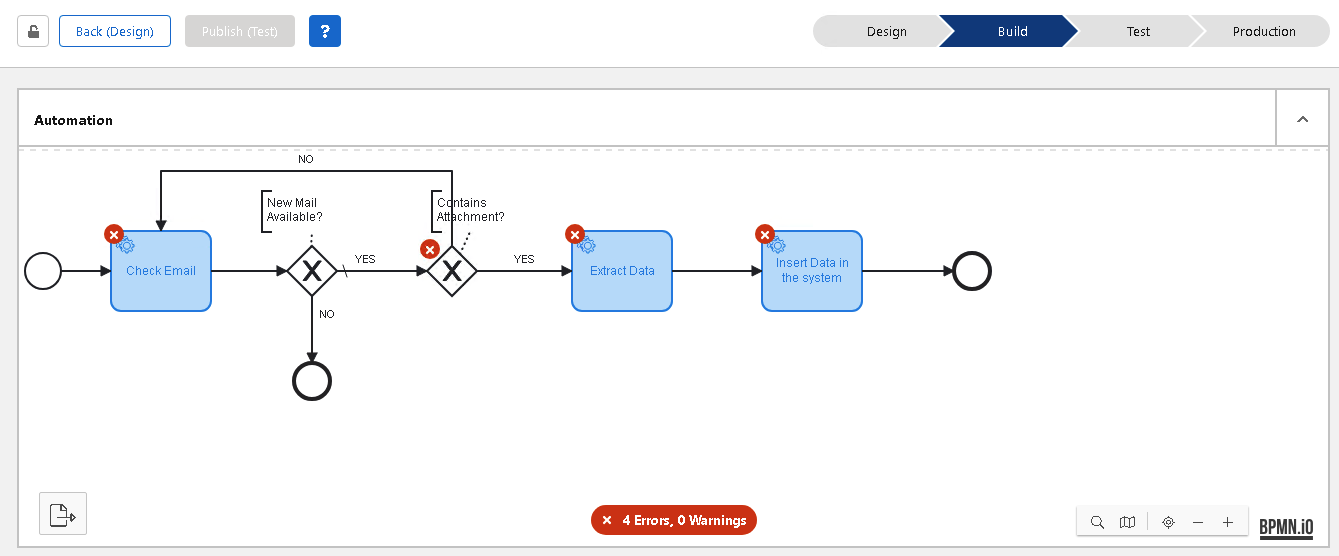
Please proceed to Lab 2 - Implementation - Check Email