Lab 2: Implementation - Check Email
Step 1: Connect to Windows EC2 Instance
-
Using your RDP client software, connect to your Windows Virtual Machine (VM) instance. Make sure you use the address and credentials provided for you by the instructor.
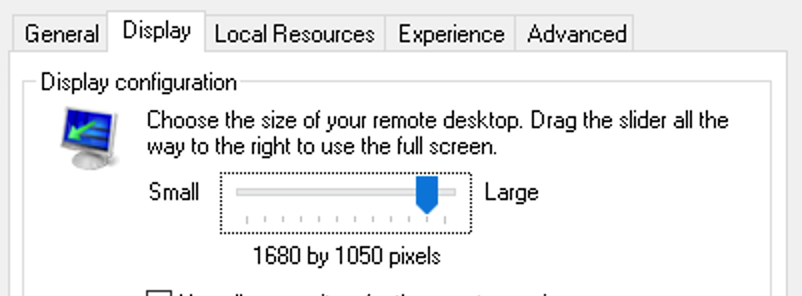
We recommend using
1680x1050for the connection resolution. If you would like to use a higher resolution you can try, but be sure to keep the same resolution at all times.
-
The Windows VM image provided contains all necessary tools to run this workshop. In this lab, we will use MuleSoft RPA Builder to model and implement the Module 1 automation process.
Step 2: Configure RPA Builder and Open the Process
-
Locate the MuleSoft RPA Builder shortcut icon on the desktop and double click on it
-
The first time you open the RPA Builder, you will be prompted to enter your MuleSoft RPA Manager address and credentials. You should be given these by the instructor.
Enter the
RPA Manager Address(no need to type thehttps://prefix) and clickContinue: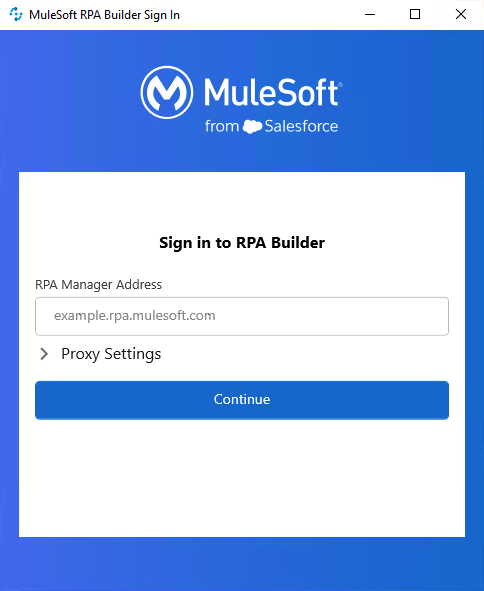
Then your
User Nameand yourPasswordand clickSign In: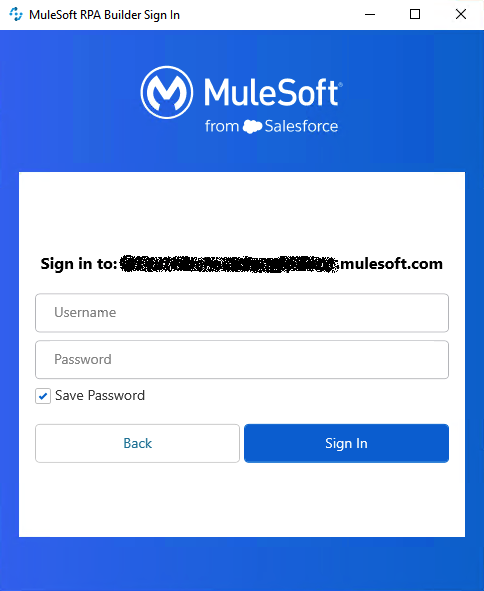
-
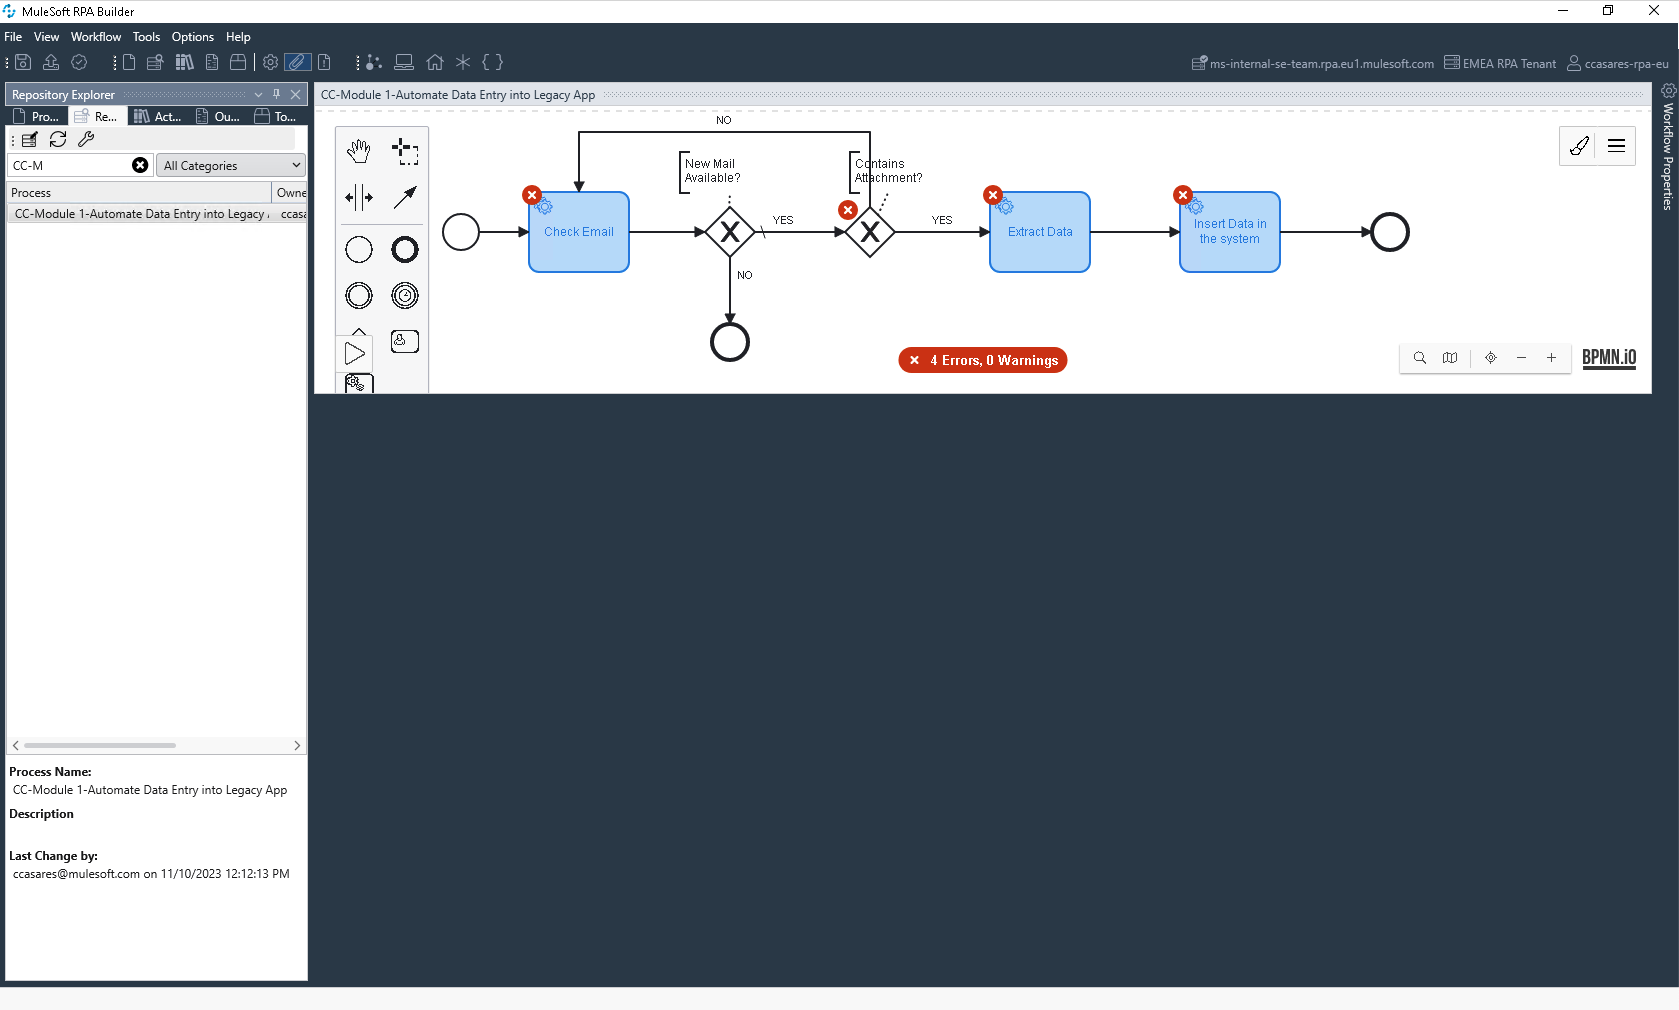
Once RPA Builder is opened, click on the
Repository Explorertab. In the explorer tab you should see a number of processes that are currently inBuildphase. Locate your process and double click to open it.
If the
Repository Explorertab is not displayed, you can enable it by going to theViewmenu and clicking onShow Repository Explorer: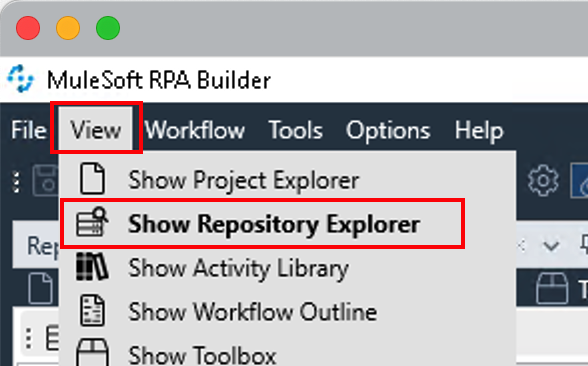
-
After double clicking your process, it will be downloaded from the server and stored locally in your Windows VM. Any changes you make will be local. Later we will see how you can upload your changes to the RPA Manager server.
-
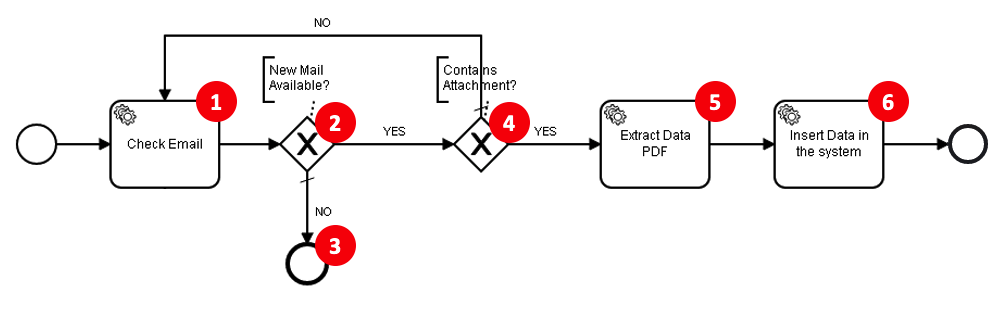
Find below the final BPMN model definition of the Automation Process we are going to build in this module. Thanks to the BPMN model import you did in the previous lab, there are some activities that are in place already.
-
Check the INBOX mailbox to see if there’s any unread mail (read messages one by one).
-
If there’s an unread mail, continue the flow (
YEScondition). -
If there are no pending mails, end the whole process (
NOcondition). -
Read a mail and check if it contains an attachment. If
YEScontinue to activity5; ifNO, go back to activity1to read the next mail, if any. -
Extract the invoice data from the attachment (PNG file) using OCR technology and store it in variables.
-
Open the Financial System and enter the data through bot actions.
-
Step 3: Navigate the Financial System Legacy App
-
Before starting the development, let’s have a look at the Financial System we will be interacting with. Locate the Financial System shortcut on the Desktop and double click on it (if no shortcut is available the app can be found at this path
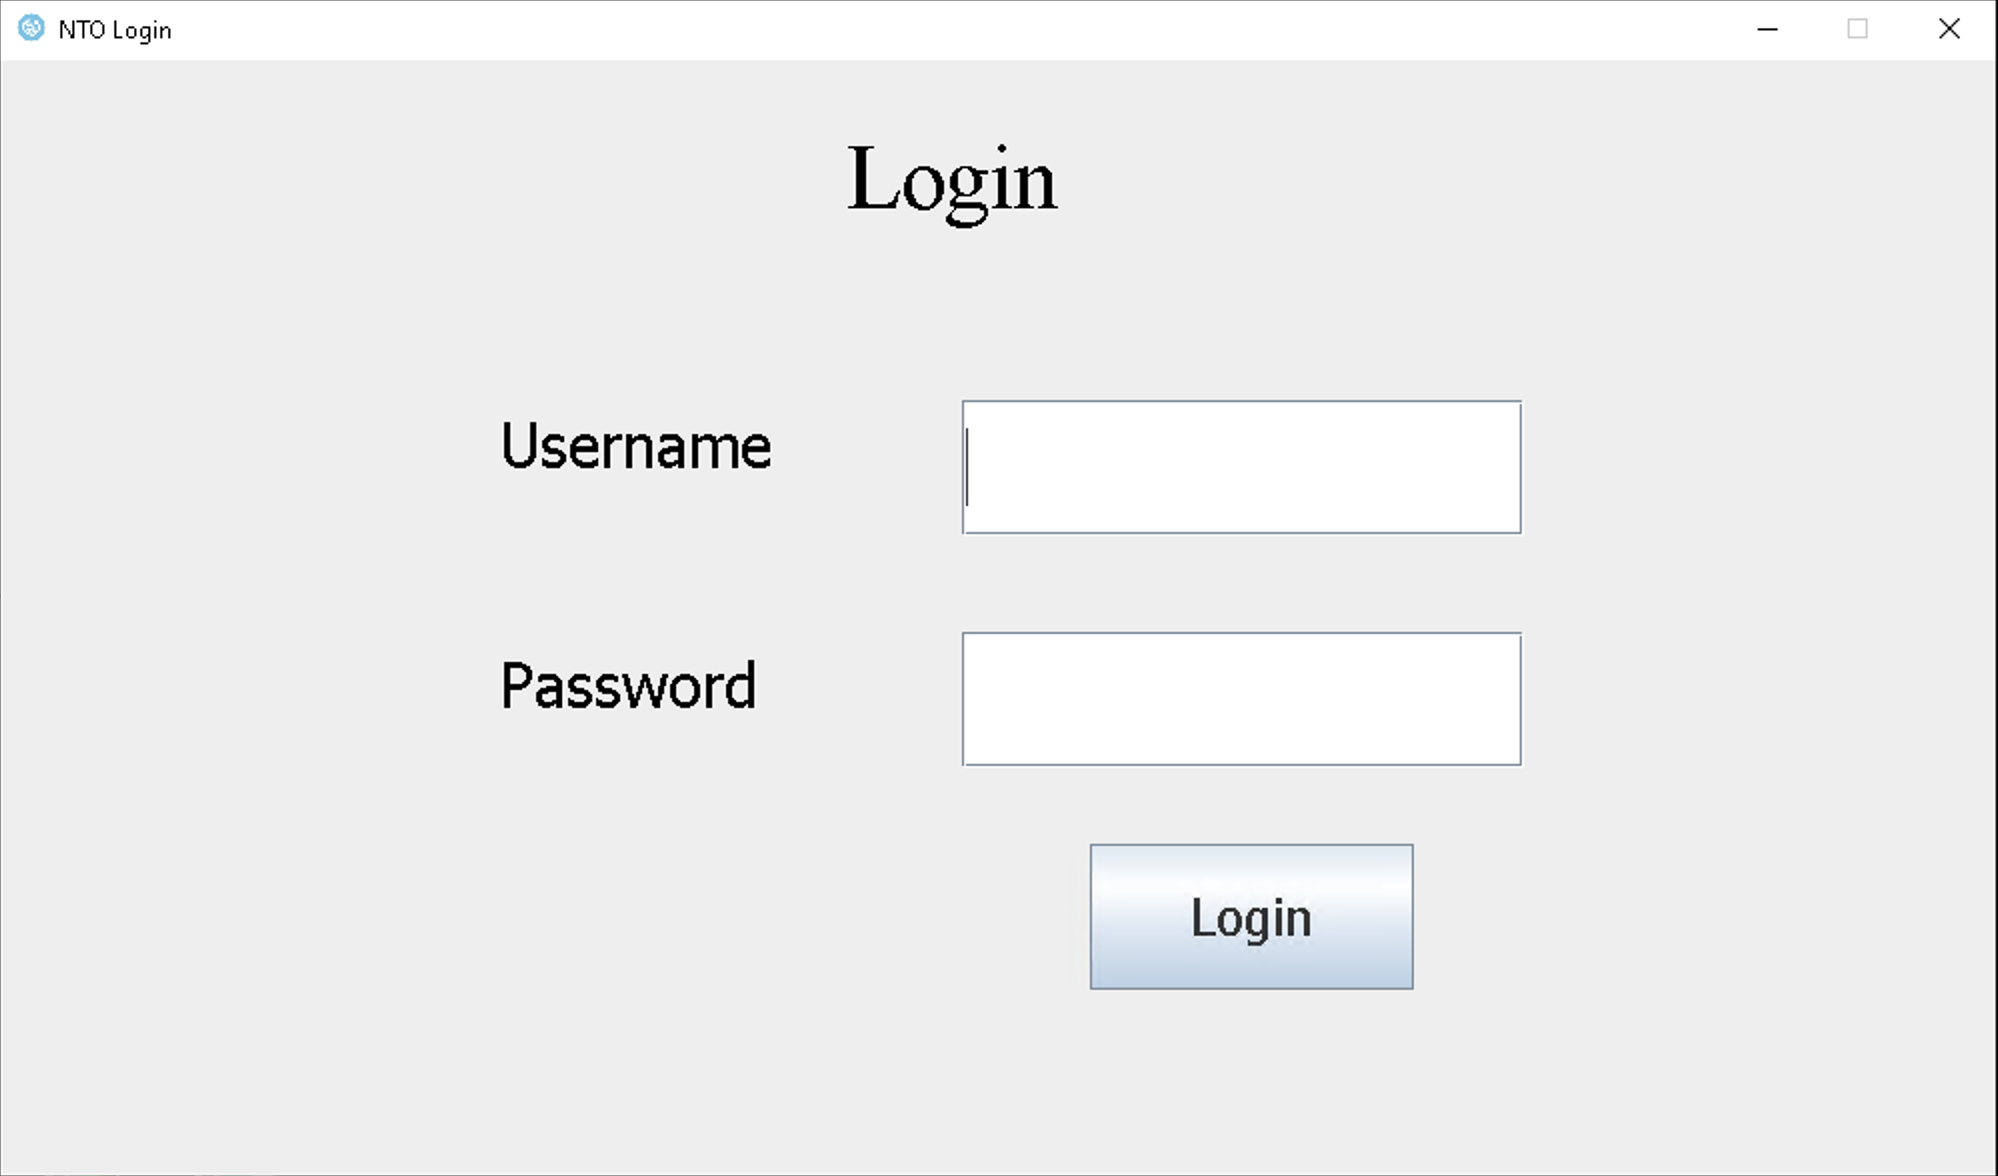
C:\Users\workshop\Desktop\LegacyApps\Javaand started double clickingstart.bat).In the logon window, enter any username and password and click the Login button.
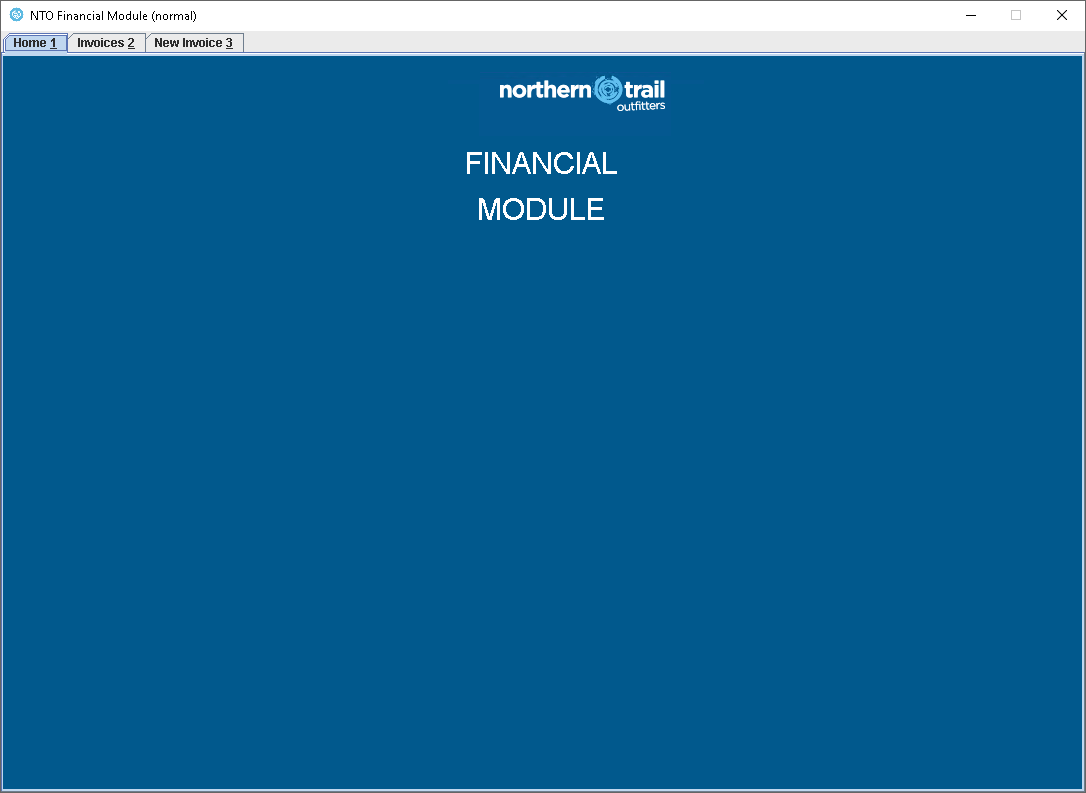
The application has 3 tabs:
-
Home
-
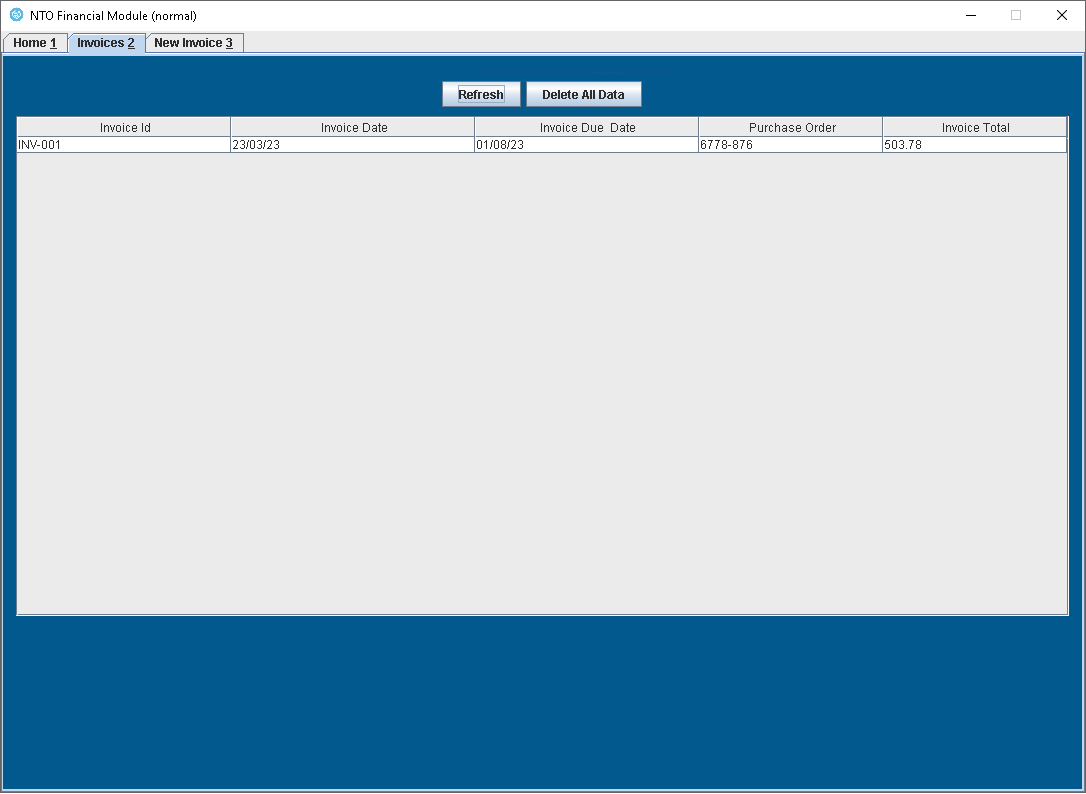
Invoices: where you can check, refresh and delete all existing Invoices
-
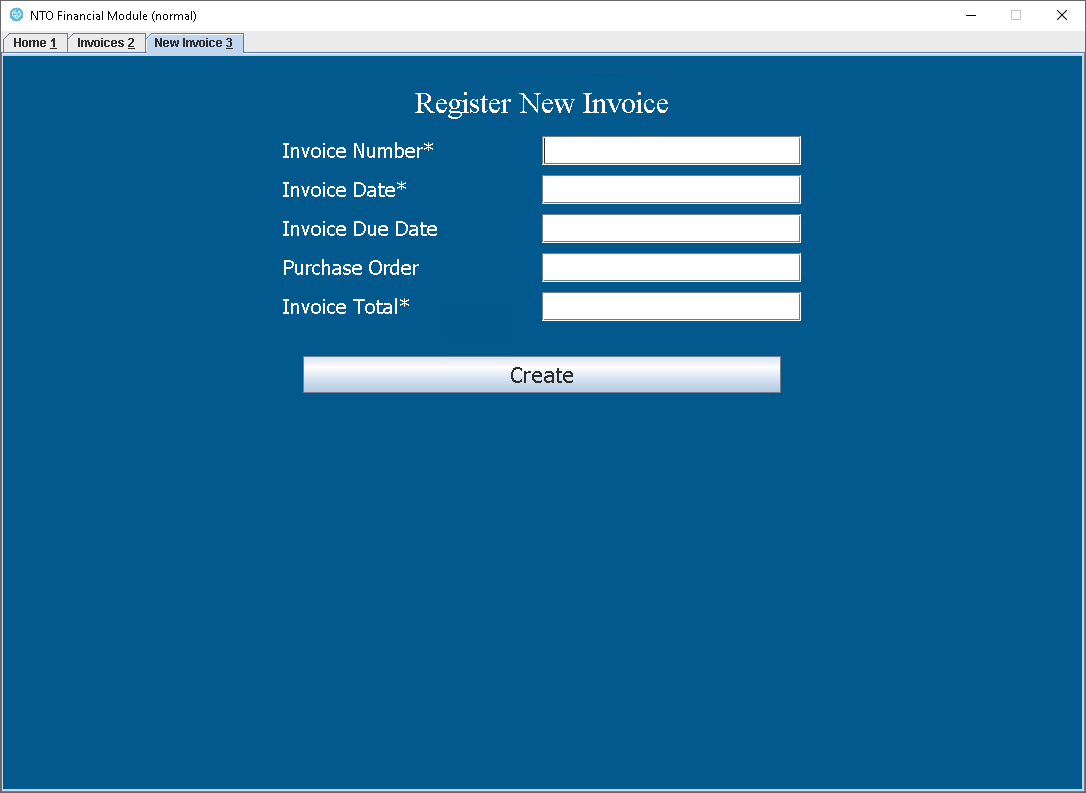
New Invoice: to enter a new invoice
Close the Financial System application for now. The bot will open it when it is needed.
-
Step 4: Import prebuilt model
In order to speed up the workshop, we’re going to import a prebuilt process with some of the needed assets already created for you. We will overwrite the existing process, but that’s fine.
-
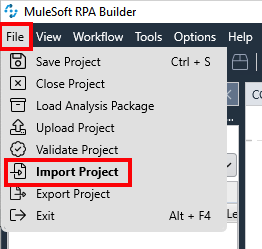
In RPA Builder, go to the File menu and click on the Import Project option:
Click on
Yesto confirm we’re going to overwrite the existing project. -
Locate the
Module_0-Automate_Data_Entry_into_Legacy_App.crpafile in the Windows machine where you previously unzipped the provided ZIP file and select it in the browse dialog.After the import is completed, this is how it should look like:

The imported model also includes a number of Activity Parameters preconfigured for you. Activity Parameters are variables available throughout the Process scope. More on this later.
Step 5: Implement the Check Email Bot Task
-
The first Activity we need to implement is the mail check.
Double click on the existing
Check Emailactivity and its configuration window will be opened below: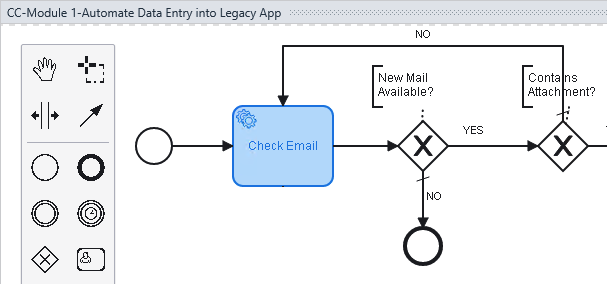
-
Now, let’s configure the necessary bot steps in such
Check Emailactivity.Open the Toolbox tab where you can find all the bot steps available to configure the process activities:

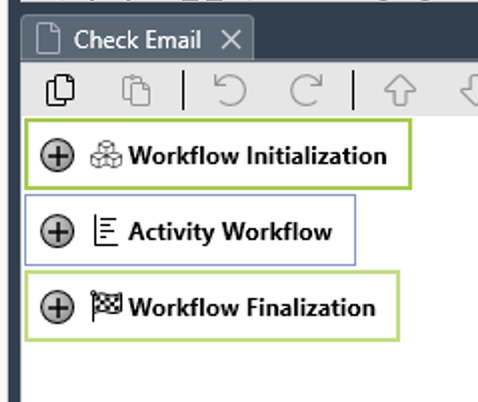
In the Activity properties (steps) window opened below, you can see it’s organized in three main elements:
-
Workflow Initialization: contains additional elements that are not available in the Toolbox such as Activity Parameters that which will be used in a particular Activity.
-
Activity Workflow: where all bot steps will be placed and will be executed in order (from top to bottom).
-
Wokflow Finalization: where you can add specific bot steps depending on whether a Workflow has failed or has run successfully.
-
-
Make sure the Activity Workflow section is expanded. In the left hand side Toolbox, locate the
Mail Operationssection (you can scroll down or typemailin the Filter input box at the top) and drag and drop theMail Sessionstep into theTransactionempty section as follows:
-
Double click on the
Mail Sessionstep you just dropped to set it up: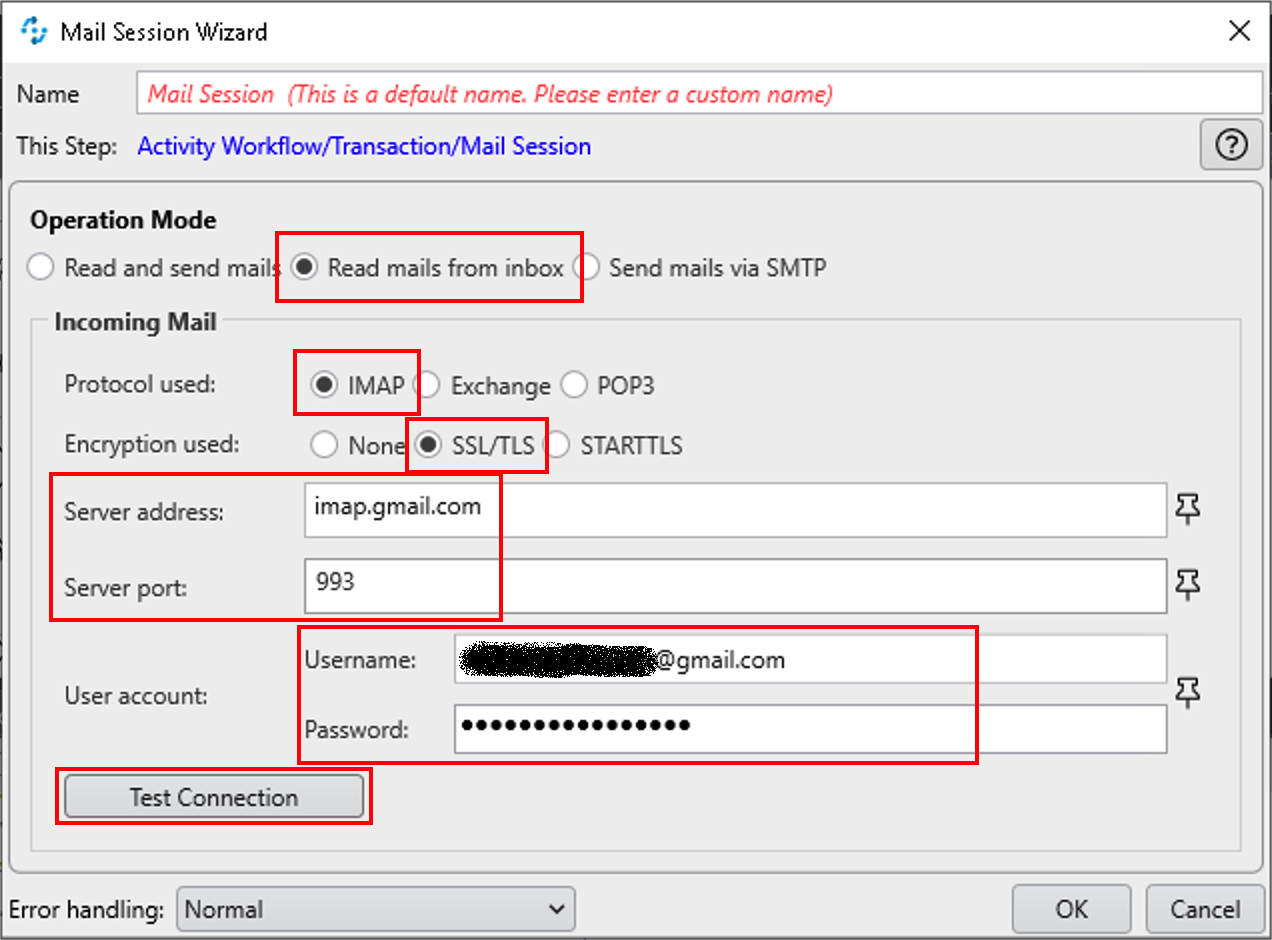
-
Set the
Operation ModetoRead mails from inbox -
Use
IMAPwithSSL/TLSconnection -
Use the
Server address,Server port,UsernameandPasswordprovided by the instructor. -
Click on
Test Connectionto test the settings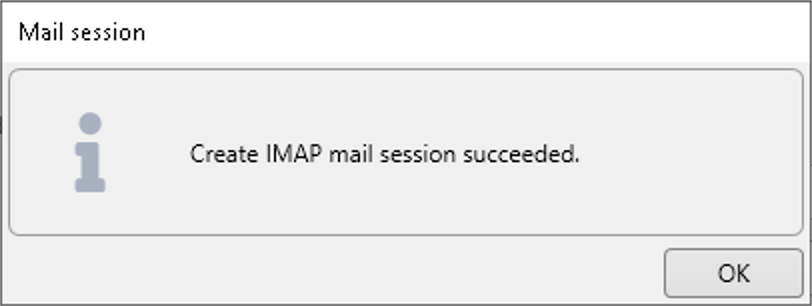
Following
gmailaccount specific settings.Setting name Value Protocol
IMAPEncryption
SSL/TLSServer Address
imap.gmail.comServer Port
993Following
outlookaccount specific settings.Setting name Value Protocol
IMAPEncryption
SSL/TLSServer Address
outlook.office365.comServer Port
993If the test fails, let the instructor know.
Click
OKto save the settings. -
-
In the previous
Mail Sessionsetup, we used hardcoded settings, and that’s not good practice. We are going to leverage theActivity Parametersto correct that.Activity Parametersare variables that can be used across the whole Automation Process. AnActivity Parameteris also an input/output variable to the Process when it has been made 'Invokable' to be called as a REST API.In the previously imported project, we have created some
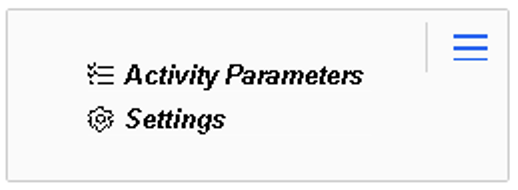
Activity Parametersfor you. Let’s have a look to them. Locate and click theBusiness Process Initializationbutton at the top right of the Canvas and click on theActivity Parameterslink:
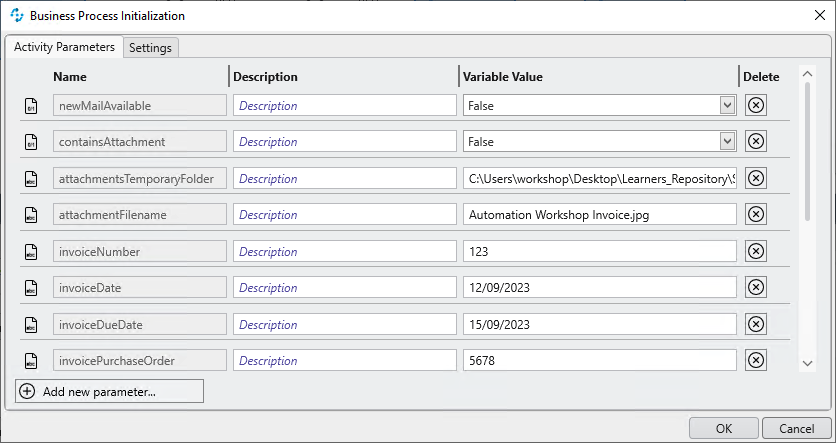
Some variables already have a default variable value which will be very convinient for some later tests.
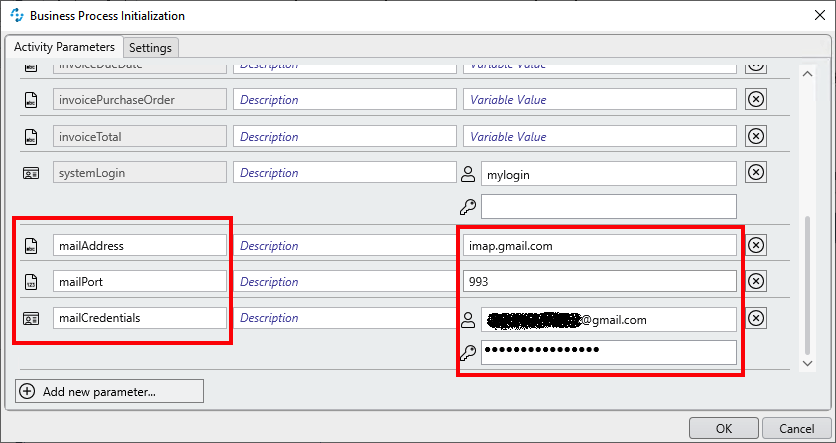
However, we want you to learn how to create them, so we will now define some to hold the
Mail Sessionsettings.Click on the
Add new parameterbutton located on the bottom-left to add a new parameter/variable. You’ll need to add these ones for theMail Sessionactivity:
Parameter name Type mailAddressalphanumeric
mailPortinteger
mailCredentialsuser account
As commented already, when defining an
Activity Parameteryou can specify a default value that will be valid until you modify it during the workflow.For these parameters type in the mail settings provided by the instructor that you already tested as hardcoded values in the previous step.
Click
OKto save the parameters. -
Let’s use/link some of these parameters into the
Mail Sessionsettings.When you want to use any
Activity Parameterin any activity of the flow, you first need to link them in the activity initialization section. Remember always to do so. If you forget it, the parameter will not be available within the activity step.Double click on the
Check Emailactivity to open its configuration. Expand (if not expanded already) theWorkflow Initializationsection at the beginning and double click on theActivity Parametersbutton: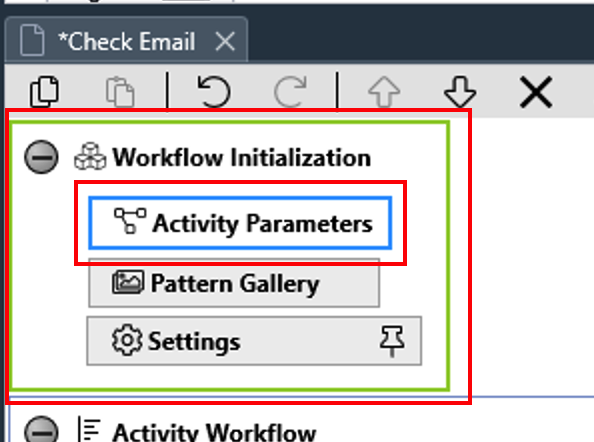
Use the arrow buttons to include/exclude the following parameters into this activity (the just created ones and some others) and click
OKto save:attachmentFilename
attachmentsTemporaryFolder
containsAttachment
mailAddress
mailCredentials
mailPort
newMailAvailable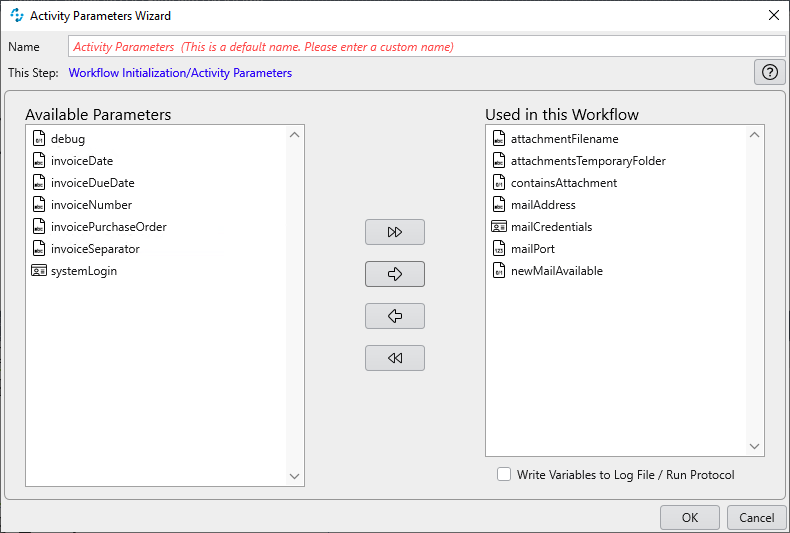
-
Double click on the
Mail Sessionstep to open the settings popup window.When you want to link any of the settings to an external variable (such as an activity parameter), you have to click on the pin button (
 ) generally located on the right of the setting.
For example, for the
Mail Sessionsetting’sServer address:
You can link setting to any available external variable; these can be existing variables that were previously linked to the current activity or the result of a previously executed step. Expand the
Activity Parameterssection and select themailAddressone: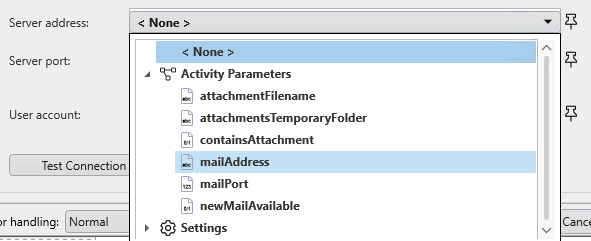
Once linked to an external variable, it will be displayed and the pin button color will change to black:

Repeat the above steps to link the
Server portandUser accountsettings accordingly: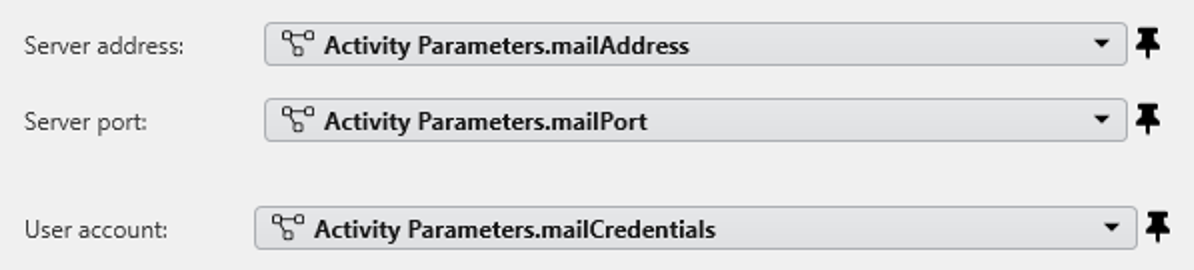
Click
OKto save and close the settings. -
Now that we have the
Mail Sessionconfigured, we need to read the INBOX and retrieve any new mail.Drag the
Read Mailaction step into theMail Session. Double click on it to set the parameters: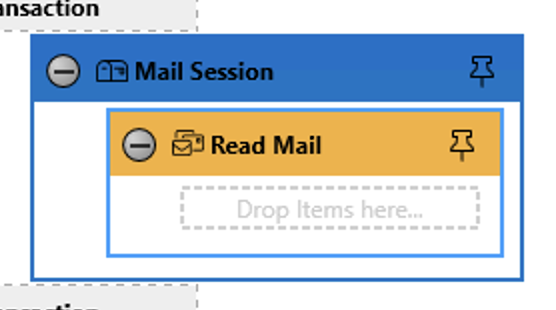
Click on
Add Filterand select theUnreadone.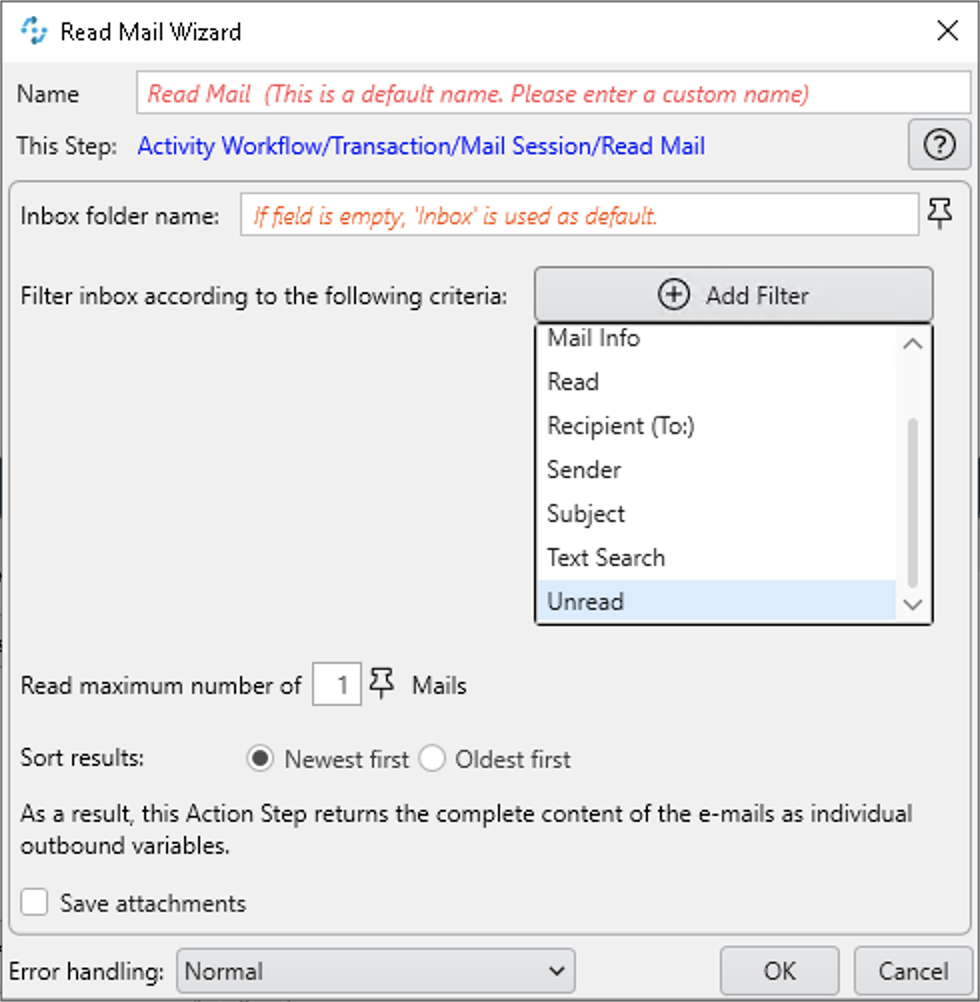
Click again to add a
Subjectbased on typing the following pattern:<your initials>-(
CC-as an example in the screenshot below). This means that only unread mails containing this pattern in the subject will be retrieved by this step.The reason for this is that you will be using a shared mail account. So you want to filter mails sent by you, meaning that you’ll need to include this pattern in the mail subject when composing one.
Set the following settings too:
-
Read maximum number of
1mails. -
Tick the
Save attachmentscheck box. -
Use
%TEMP%\attachmentsas the directory path. -
Tick the
Create directory if it does not existcheck box.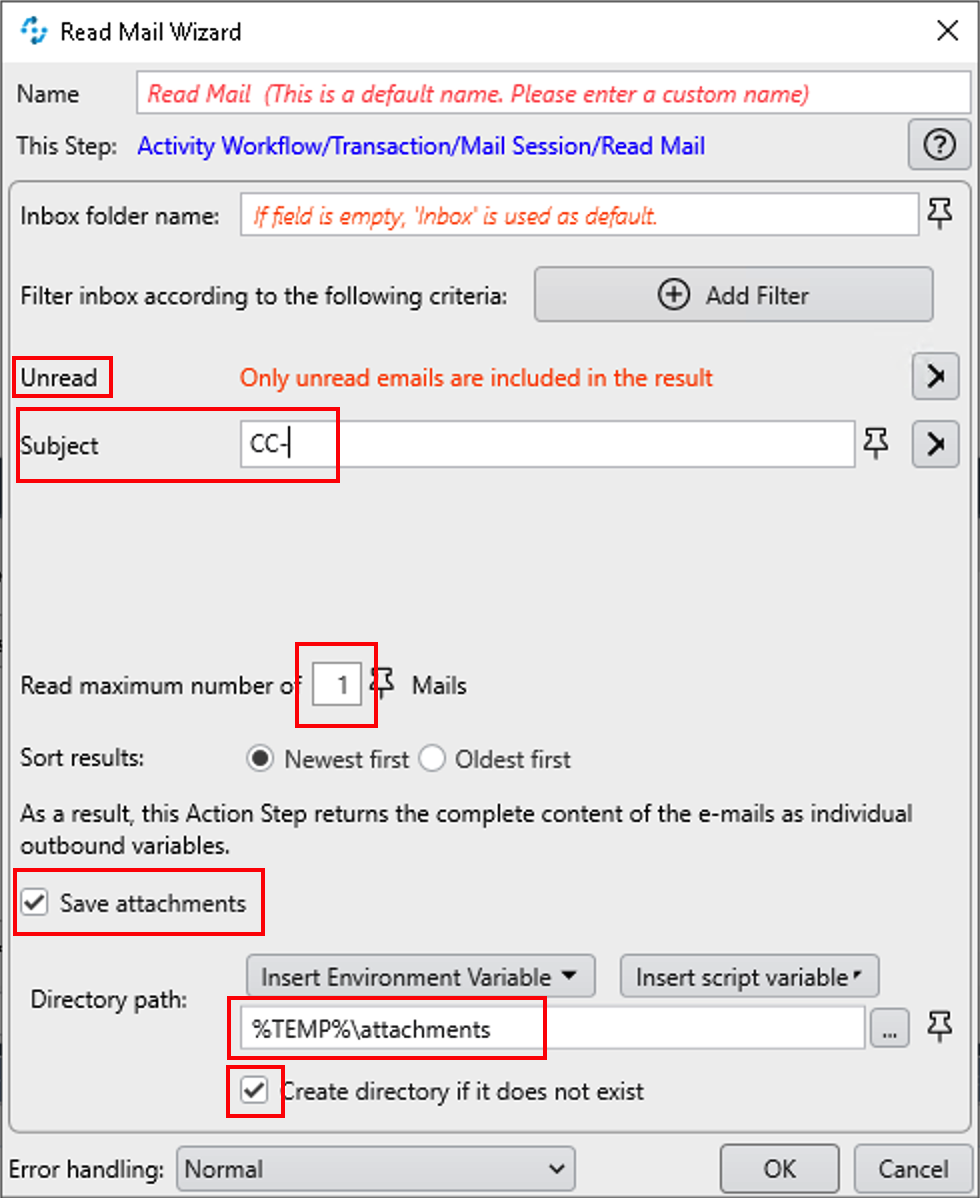
Click
OKto save. -
-
Now, three things may happen: either no new mails have been retrieved (remember, unread mails containing your pattern in the subject) or one new mail is retrieved but may or may not contain an attachment. We want to handle these three situations.
For this purpose, we have also included four
Activity Parametersin the imported process:newMailAvailable,containsAttachment,attachmentsTemporaryFolderandattachmentFilename.We need first to reset the boolean parameters before reading any email.
Drag & drop two
Set Variablesteps inside theMail Sessionbut before theRead Mailstep as follows: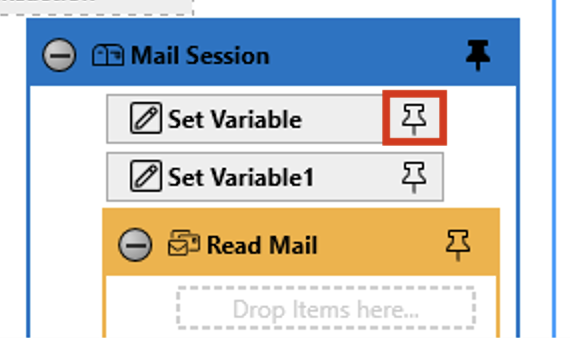
On the first one, click on the pin button (
) to set the target variable to the newMailAvailableactivity parameter as follows: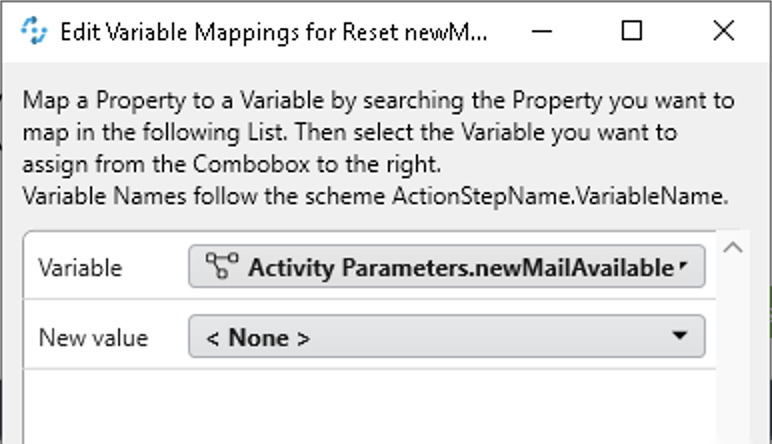
Click
OKto save and then double-click the step itself to set its name (Reset newMailAvailable) and value (false):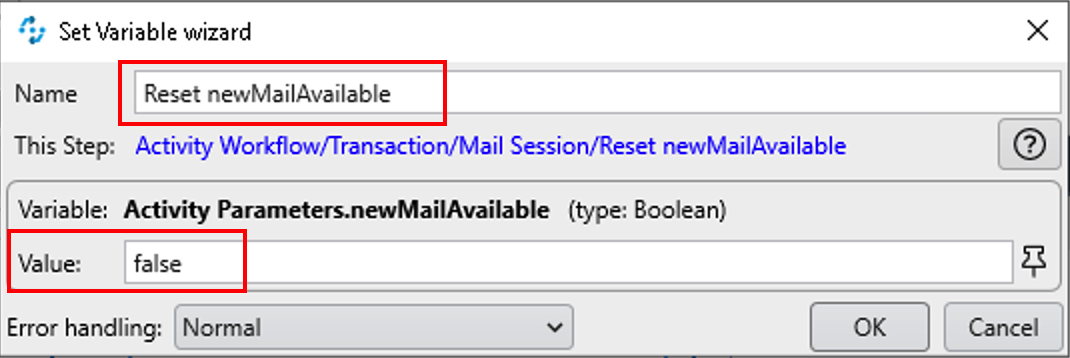
Click
OKto save.Repeat the same for the second
Set Variablestep as follows:-
Name:
Reset containsAttachment -
Variable (pinned):
Activity Parameters.containsAttachment -
Value:
false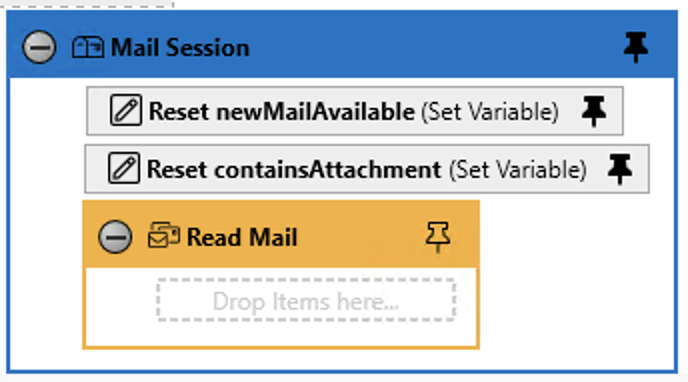
-
-
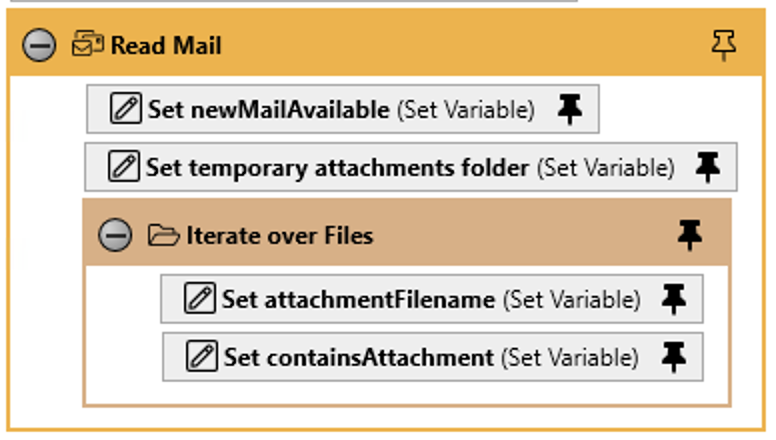
If and only if a new mail is read, the step(s) inside the
Read Mailstep/block will be executed. So we need to add a number of steps to handle the new email.Drag and drop two
Set Variablesteps inside theRead Mailstep/block and set them as follows:
-
Name:
Set newMailAvailable -
Variable (pinned):
Activity Parameters.newMailAvailable -
Value (pinned):
Read Mail.isSucceeded(we’re setting the variable with one of the result variables returned by the execution of theRead Mailstep)
-
Name:
Set temporary attachments folder -
Variable (pinned):
Activity Parameters.attachmentsTemporaryFolder -
Value (pinned):
Read Mail.AttachmentsLocalFolder(a temporary subfolder gets created on every successfulRead Mailexecution. The mail attachment files, if any, will be stored there)
-
-
The
Read Mailstep doesn’t provide a result variable letting us know if the mail included an attachment or not. So we then need to search for any file inside theRead Mail.AttachmentsLocalFolder. If the temporary folder is empty, the mail contained no attachment. If at least one file is stored there, we need to keep its filename and also we need to set the correspondant Activity Parameter.Drag and drop an
Iterate over Filesstep and two additionalSet Variablesteps inside its block as follows: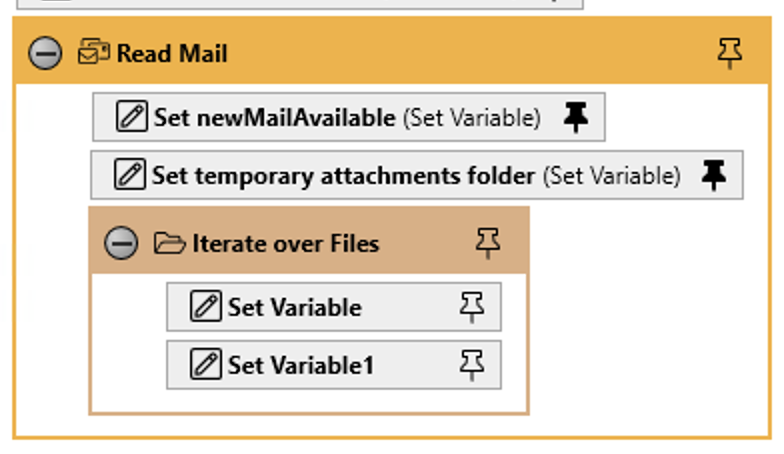
Double click the
Iterate over Filesstep and set it up as follows:-
Directory Path (pinned):
Activity Parameters.attachmentsTemporaryFolder. -
File name:
*.* -
Use a regular expression for File name:
unchecked -
Iteration Limit:
checkedto1. -
Force error if iteration limit is exceeded:
unchecked. -
Force error if no file found:
unchecked. -
Recursive loop:
unchecked.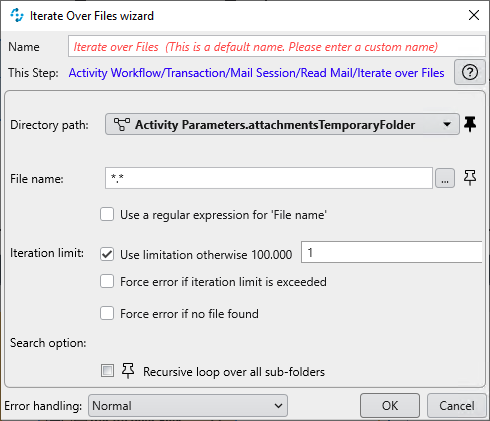
-
-
Set the two
Set Variablesteps inside theIterate over Filesblock as follows:
-
Name:
Set attachmentFilename -
Variable:
Activity Parameters.attachmentFilename -
Value:
Iterate over Files.IterateFileName
-
Name:
Set containsAttachment -
Variable:
Activity Parameters.containsAttachment -
Value:
True
-
-
Finally, just after the
Iterate over Filesstep/block, drag & drop aForce OK Statestep. This is needed to avoid an (expected) error in case theIterate over Filesstep doesn’t find any file (mail retrieved with no attachment):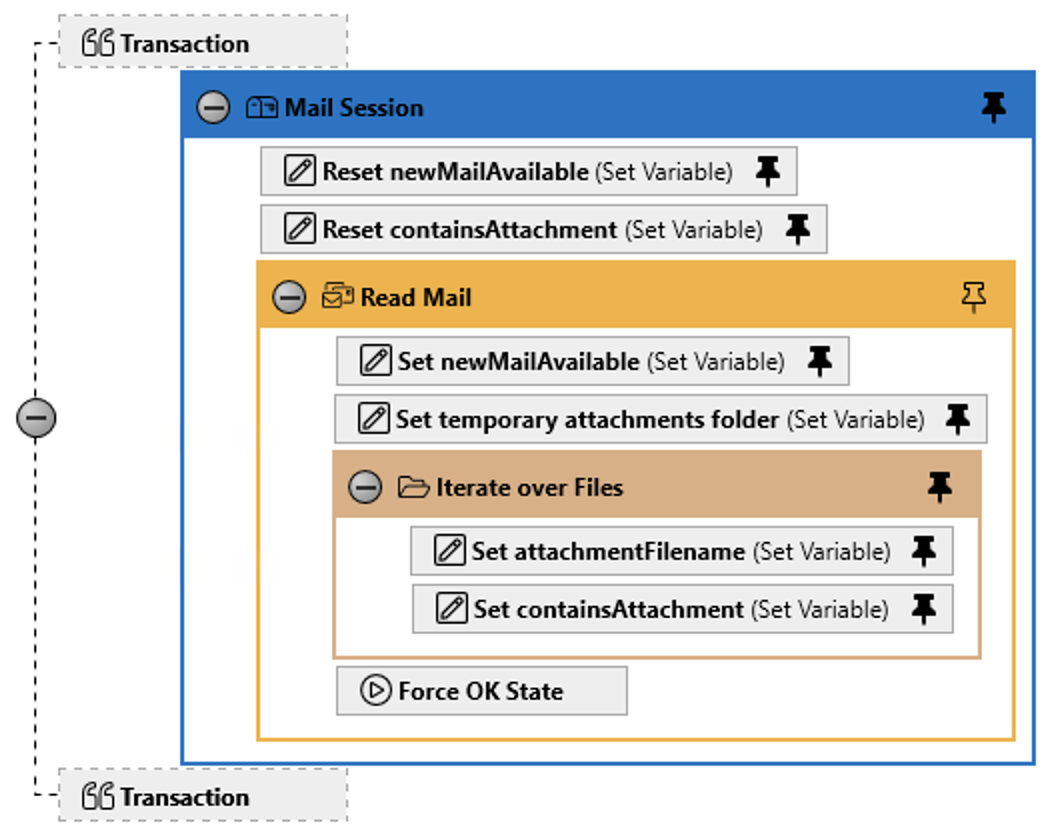
We are done with the configuration of the Check Email activity.
We’re now done with the lab 2.
Please proceed to Lab 3 - Implementation - Extract Data