Lab 2: Implementation - Currency Change
Overview:
In this lab we will add some additional steps to change currency to USD.
The currency change (from EUR to USD) will be performed using the Google search engine and Web Automation Action Steps to handle and control objects programmatically within a web-based application.
Prerequisites
Importing previous module solution
You should have the Google Drive link sent to you along with the credentials and other workshop material. This drive contains the solution for all Labs. If you do not have access, ask the instructor.
-
From your Windows VM, download the
Module_2_Lab_1_completed.crpafile referred to the solution of the previous lab. -
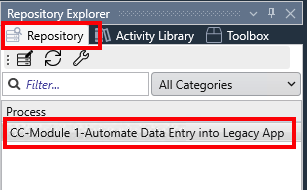
Open RPA Builder and open the project you want to overwrite with the lab solution. Make sure you open YOUR project to avoid overwriting other users' work.
-
Once opened, click the
Import Projectoption under theFilemenu: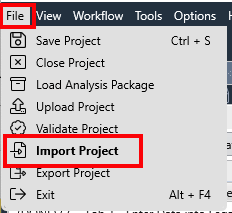
-
Click
Yesin the confirmation dialog; locate your downloaded.crpafile and clickOpento import it.
You can now continue with the lab.
Step 1: Perform Currency Change
-
As noted in the overview, the invoice total to be registed in the legacy app must be in USD whilst the incoming invoice total value comes in EUR. So we need to do a currency change before inserting the data in the legacy app.
We will use Google’s search engine to get the currency exchange from EUR to USD. And to do so we will leverage the Web Automation capabilities of MuleSoft RPA.
Drag and drop a new Group and name it as
Perform Currency Exchange: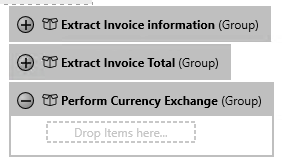
-
We will invoke a web page with all needed parameters as follows:
https://www.google.com/search?q=<value to convert>+eur+to+usdso we first need to build such search string. Drag and drop a Combine Strings step and name it as
Build URL.Use the following pattern as the Pattern:
and pin the first parameter to
Activity Parameters.invoiceTotals -
As said, we will use a Web Automation action step for this and, behind the scenes, the action step will use a browser to navigate to our URL. In this lab we are using Chrome.
-
Drag and drop the action step
Web Session (Chrome):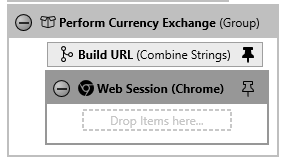
-
Open the
Web Session (Chrome)wizard and pin the Initial URL toBuild URL.Combined String. Leave the rest of the settings as-is: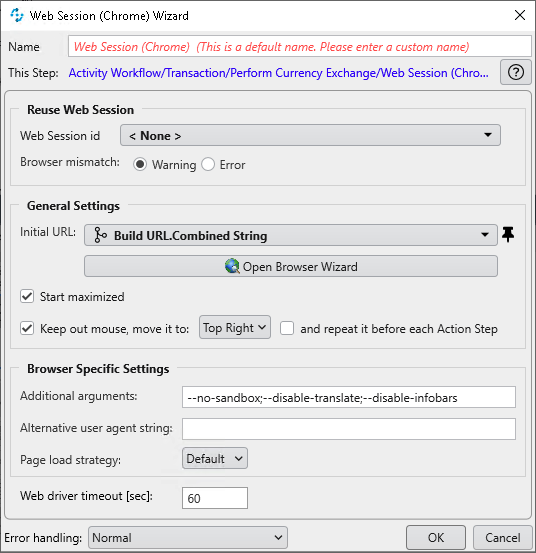
Click
OKto save and close the wizard. -
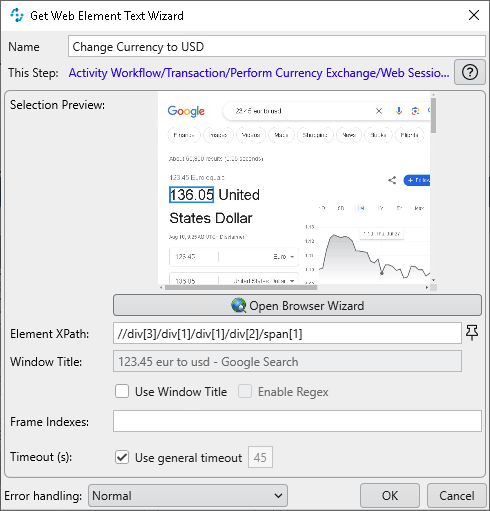
Drag and drop a Get Web Element Text step inside the
Web Session (Chrome)step and name it asChange Currency to USD.This step allows us to navigate through the HTML DOM object and get the data from one of the elements, without needing to do, for example, an OCR of the data displayed in the browser.
-
Open the
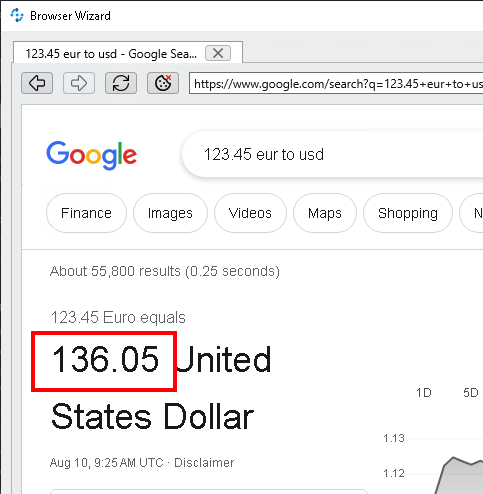
Change Currency to USDwizard and click on the Open Browser Wizard button.This will open a browser session where we can navigate to the desired page. Enter the following address into the URL input text box:
and click the
Gobutton on the right:
-
The Google search engine page will get loaded and display the value we need:
Navigate with the mouse and move over the value. You will notice a blue square surrounding it. Press
F2in that moment:
-
After pressing
F2you should get the Path to the DOM object and some other attributes. Click the Check button on the top right to save the settings: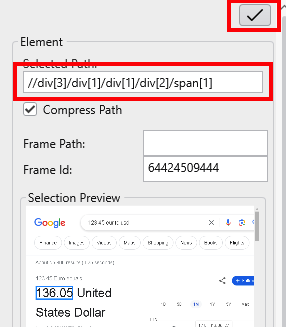
This is how the wizard should look like now:
Click
OKto save and continue. -
The Legacy app accepts the value using
.as the decimal separator. It might occur that the data extracted from the web page comes with a,as the separator. Just to make sure the text uses the right separator, we’re going to search and replace any existing,with a.Drag and drop a String Operations step and name it as
Set right separatorand configure it as follows:Setting Value String operationFind and replace textInput text (string)Change Currency to USD.Element TextFind what,Replace with.
-
Finally, save the converted text into the Activity Parameter
invoiceTotalsDrag and drop a new Set Variable step and save the value
Set right separator.ResultintoActivity Parameters.invoiceTotals. -
This is how the
Extract Dataacivity should finally look like: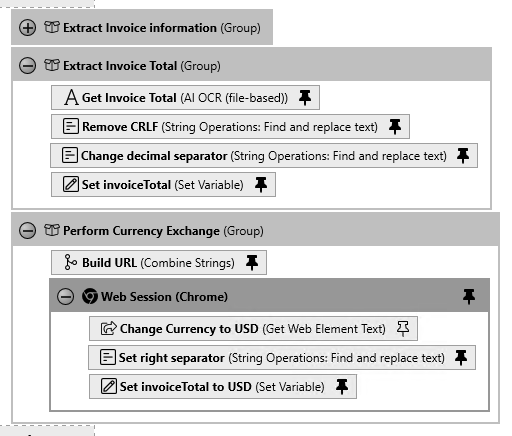
Step 2: Test the Extract Data activity (Optional)
As part of this step we will locally execute the Extract Data activity to ensure that everything is working.
-
Drag and drop a Group step inside the Workflow run succeeded block at the end of the activity and name it
Debug Print Result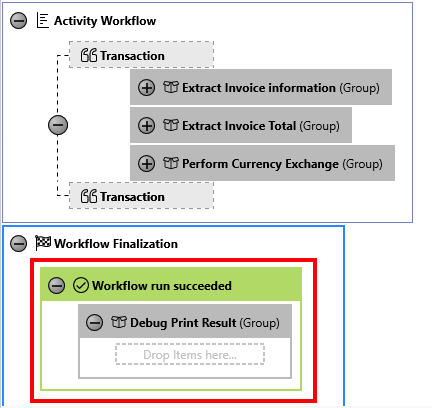
-
Drag and drop a Combine Strings step and name it as
Build debug data. Enter the following string as the Pattern:Invoice Number: {1} Invoice Date: {2} Invoice Due date: {3} Invoice Purchase Order: {4} Invoice Total: {5}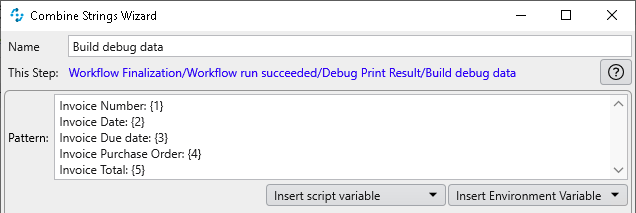
and pin the 5 variables accordingly:
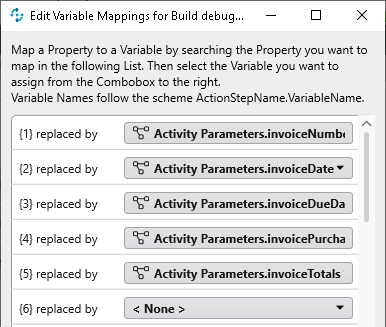
Click
OKto save and close. -
Execute the workflow by pressing the Run Workflow button.
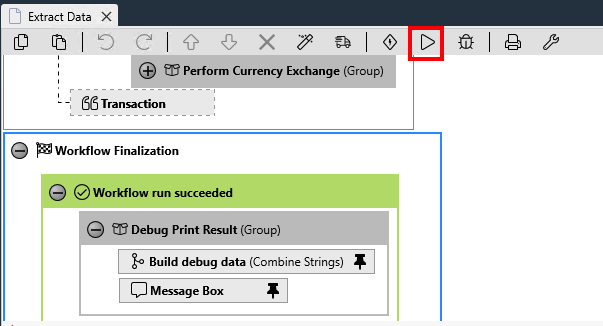
-
Once you have this working, right click on the
Debug Print Resultgroup and disable it by selectingDisable.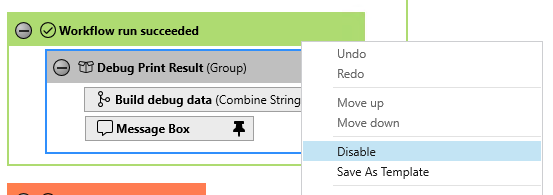
Please proceed to Lab 3: Implementation - Debug your process