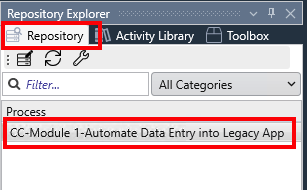
Lab 3: Implementation - Debug your process
Prerequisites
Importing previous Lab solution
You should have the Google Drive link sent to you along with the credentials and other workshop material. This drive contains the solution for all Labs. If you do not have access, ask the instructor.
-
From the Windows box, download the
Module_2_Lab_2_completed.crpafile referred to the solution of the previous Lab. -
Open RPA Builder and open the project you want to overwrite with the Lab solution. Make sure you open YOUR project not to overwrite other’s.
-
Once opened, click the
Import Projectoption under theFilemenu: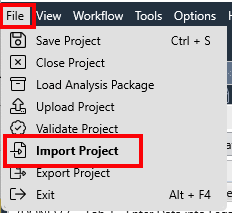
-
Click
Yesin the confirmation dialog, locate your just downloaded.crpafile and clickOpento import it.
You can now continue with the Lab.
Step 1: Testing options for an Automation Process
When you develop an Automation process where you will be executing multiple steps and following multiple flows, it is critical to have a clear view of what’s going on during the development phase.
MuleSoft RPA offers a number of capabilities or best practices for this purpose:
-
Use the
Message Boxstep that can be used to display variable values or other helpful information during the execution of an activity. -
Test an indivual activity by using the
Run Workflowbutton of such activity: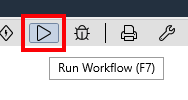
-
Run the whole process with the
Run Processbutton located on the process canvas:
-
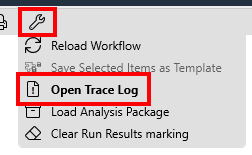
Check the execution log for a run activity
-
Debug (with breakpoints) an activity
On this Lab, we will cover the debug capabilities.
Step 2: Set a breakpoint
When you plan to debug an activity, you have the option to set one or multiple breakpoints in any of the activity’s steps.
To do so, simple right click on any activity and use the Set Breakpoint option.
For this Lab purpose, we will use the Check Email process activity.
-
In
RPA Builderdouble click theCheck Emailactivity to open its properties & steps -
Right click on the, i.e.,
Reset newMailAvailablestep and select theSet Breakpointoption:
-
Once you set a breakpoint on an activity, the breakpoint mark is set to easily identify the breakpoint’ed steps:

-
You can easily remove a breakpoint on a step by clicking on the
Delete Breakpointoption.
Do not remove the breakpoint as we will be using it in the next step!
Step 3: Debug a process
-
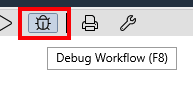
With the activity opened (and with at least one breakpoint set in any of its steps), simply click the
Debug Workflowbutton: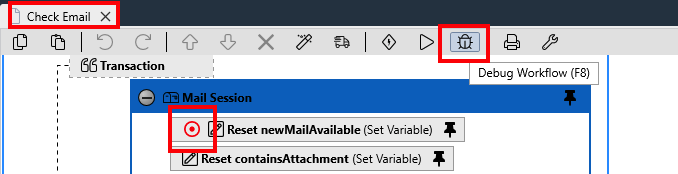
-
RPA Builderwill be minimized as when we run the activity or process. But the Workflow Debugger is displayed on this ocasion.The Workflow Debugger window will show the steps hierarchy on the left, marks such steps with a breakpoint (with the breakpoint mark) and a pointer showing the execution step where the debugger is stopped.
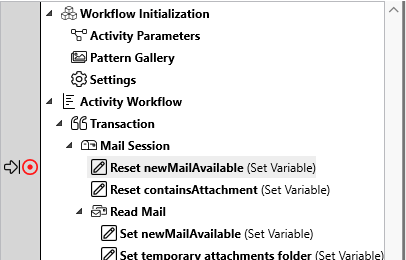
Please, note that the debugger stops AFTER the activity has been executed.
On the right hand side, information about the executed step is displayed such as: status of the execution, variable old and new values (if applies), timestamp, etc:

-
While the execution is stopped, you have different options available:
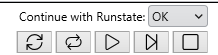
From left to right:
-
Repeat the already executed step
-
Edit the step configuration (such edit will only be applied for the debug session) and repeat the step
-
Continue the process (the execution will continue until the next breakpoint or until the end)
-
Single step: execute the next step and pause the execution
-
Stop the execution of the process
Regardless of the result of the last step executed, you can change such it (
OKorError) using the Runstate dropdown menu: -

-
Keep pressing the
Single stepbutton to debug the rest of the steps. Pay attention to the result of each of the steps.