Lab 3: Implementation - Extract Data
Prerequisites
Importing previous Lab solution
You should have the Google Drive link sent to you along with the credentials and other workshop material. Such drive contains the solution for all Labs. If you don’t have it, ask the instructor.
-
From the Windows box, download the
Module_1_Lab_2_completed.crpafile referred to the solution of the previous Lab. -
Open RPA Builder and open the project you want to overwrite with the Lab solution. Make sure you open YOUR project not to overwrite other’s.

-
Once opened, click the
Import Projectoption under theFilemenu: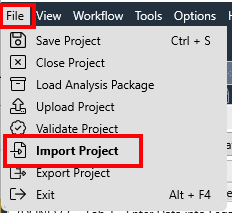
-
Click
Yesin the confirmation dialog, locate your just downloaded.crpafile and clickOpento import it.
You can now continue with the Lab.
Step 1: Extract Data Workflow Intialization
-
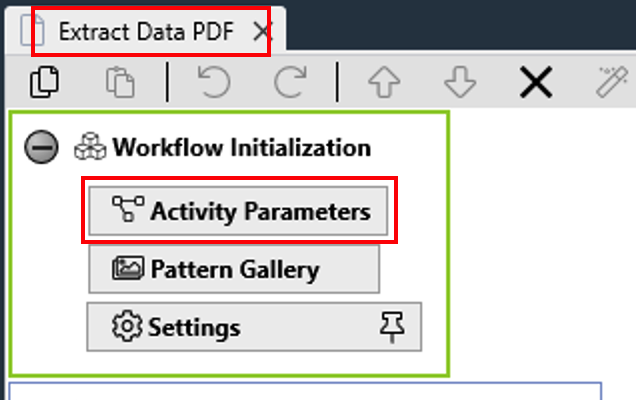
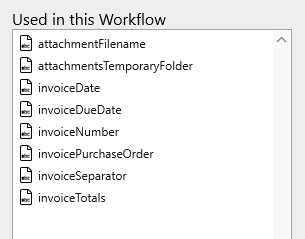
Double click on the
Extract Dataactivity to open its properties window below.First thing, include all the following existing Activity Parameters into the activity:
Step 2: Extract Data from Invoice file
There are many ways to extract data (OCR) from a document with MuleSoft RPA:
-
If the document is a PDF file and contains raw text, you can use the
Read PDFstep -
Leverage the built-in OCR capabilities:
-
AI OCR (file based): apply the OCR to a whole file (must be an image file like JPG or PNG) or to a certain section of it -
AI OCR (screen based): apply the OCR to anything that is displayed on the screen. It could be a opened document, a web page, an application label or menu, etc.
-
-
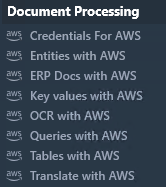
Use existing integration with
AWS Textract: Amazon Textract is a service that automatically extracts text, handwriting, and data from scanned documents. MuleSoft RPA comes with an OOTB integration with AWS Textract services but you must purchase the service to AWS yourself:
For this Module, we will use the AI OCR (file based) capability.
-
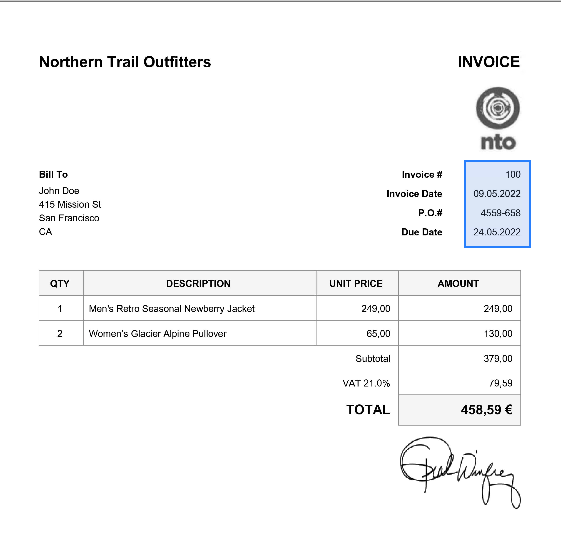
We are going to extract the data from attached file that came with the email. This invoice is in image format (PNG file).
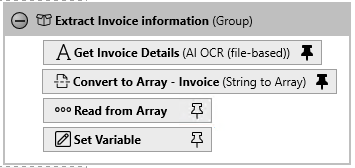
In order to make everything more readable, let’s create a group of steps for the data that we will retrieve (Invoice Info).
Drag and drop one
Groupstep and name it asExtract Invoice information: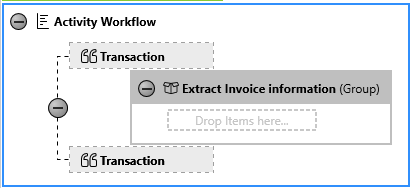
The
Groupstep doesn’t have any result in the bot execution, it gives you a clearer overview when designing your Workflows. -
Drag and drop an
AI OCR (file-based)step into the just created group: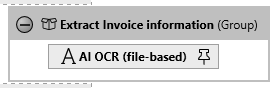
Open it to set its configuration. Name it as
Get Invoice Details.As the OCR is file based we need to provide the path and file name the OCR will be performed to. Remember that such file is the attachment that was extracted in the previous Activity and saved in the attachments temporary folder.
Set the Directory Path pinned to
Activity Parameters.attachmentsTemporaryFolderand File name toActivity Parameters.attachmentFilename.Note: Remember that these two activity parameters have a default value, pointing to the
Learners_Repository\Student Filesfolder, that you should have unzipped previously, and theAutomation Workshop Invoice.pngfile. -
We don’t want to extract all the information contained in the invoice (image file). The AI OCR (file-based) step allows you to set a scan area where the data will be extracted from.
Click on the Load design-time file button and select the
Automation Workshop Invoice.pngfile located in theLearners_Repository\Student Filesfolder.
-
Click the Define scan area button to set the are data will be extracted from and select the are as shown below:
For better results, make sure to set the Scaling factor to
x2.5: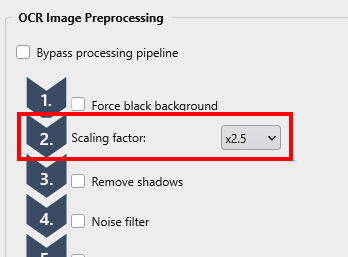
Click
Saveto continue andTestto test the settings. You should get the following results: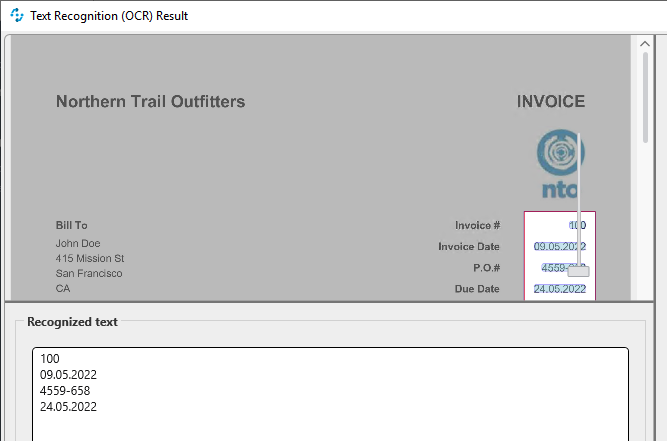
The exact data extracted should be:
100↲

09.05.2022↲

4559-658↲

24.05.2022
Take note of the exact text and format that will be extracted by the step, noticing that it will be a single string that also includes some
CRLF(↲new lines)!Click
OKto close the AI OCR (file-based) wizard window. -
Now, we need to handle the result of the OCR extraction. As seen in the Test above, the OCR activity returns a single string containing the four fields that we need. These fields are separated by a
CRLF(carriage return + line feed pair usual in Windows Platforms). In order to get each field separately, we need to split the single string obtained into 4 ones, using theCRLFas the separator.Drag and drop a String to Array step just after the AI OCR (file-based) one and name it as
Convert to Array - Invoice.For the Input String pin it to
Get Invoice Details.Recognized Textand for the Separator pin it toActivity Parameters.invoiceSeparator: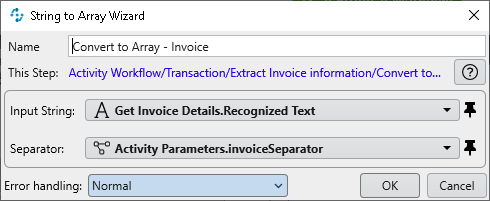
This step converts a single string into an array of elements based on the separator used. On this case, we’re using the
CRLFone. -
Now, we can access to each field (string line) as it is now an element in an array.
Drag and drop a Read from Array and a Set Variable steps:
-
Open the Read from Array step, name it as
Get Invoice Number, ìn the Array to read from toConvert to Array - Invoice.ResultAsArrayand set the Index to read at to1: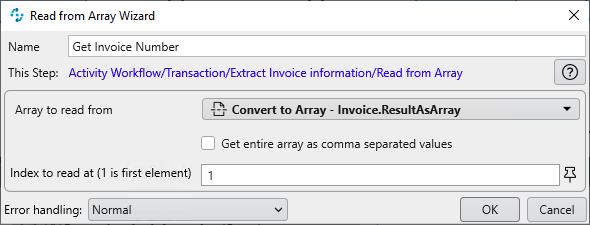
Click
OKto save. -
Open the Set Variable step, name it as
Set Invoice Number, pin the Value toGet Invoice Number.AsStringand pin the variable toActivity Parameters.invoiceNumber: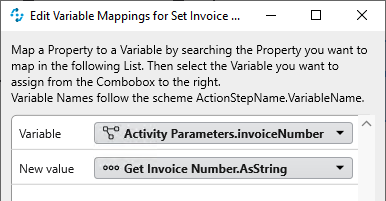
-
We must repeat the last two steps per invoice field left. But as this is a tedious task, we’re going to use the Template feature in RPA Builder to ease your work. Templates allow developers to reuse excerpts of RPA activities (one or multiple steps) built previously in other processes. This helps us to follow MuleSoft’s philosophy about reusability.
If you would like to learn more about how to create them please, review this link.
Two templates have been prepared for you to import. Follow the steps below to import them into MuleSoft RPA Builder.
-
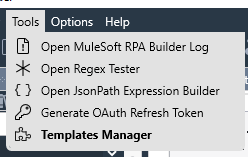
In MuleSoft RPA Builder go to Tools/Templates Manager
Click on the Import button
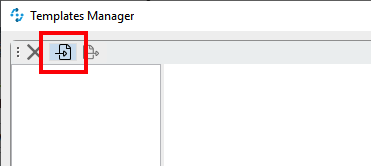
From the
Student Files\Module_1_Saved_Templatesfolder from the Google Drive shared with you, select theInsert Data.tptxfile and clickOKto import it.Repeat the same operation for the
Invoice Details.tptxfile.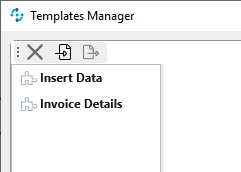
You can click on any of the templates to see what they contain:
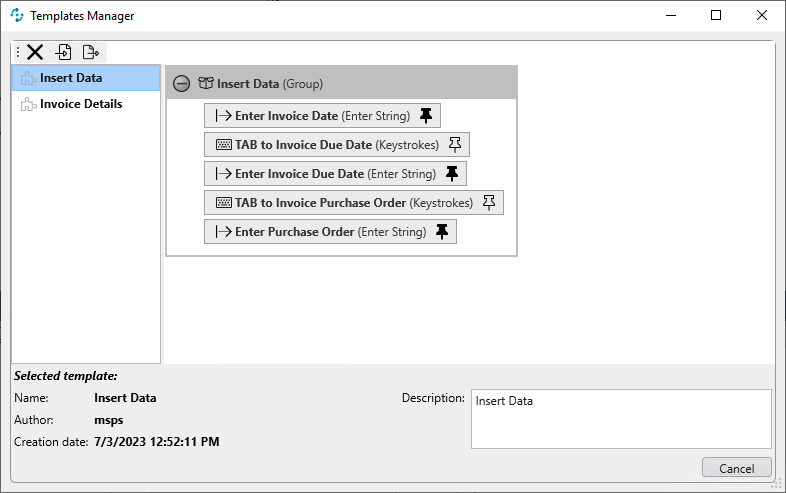
Click
Cancelto close the Templates Manager window. -
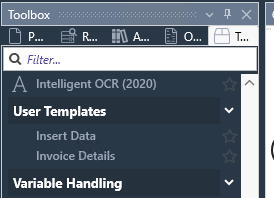
Once imported, you can make use of these templates in your activities from the Toolbox (User Templates section):
-
Drad and drop the
Invoide Detailstemplate step just after the existingExtract Invoice informationgroup.You’ll notice that a new
Extract Invoice informationgroup has been added with the extra steps inside: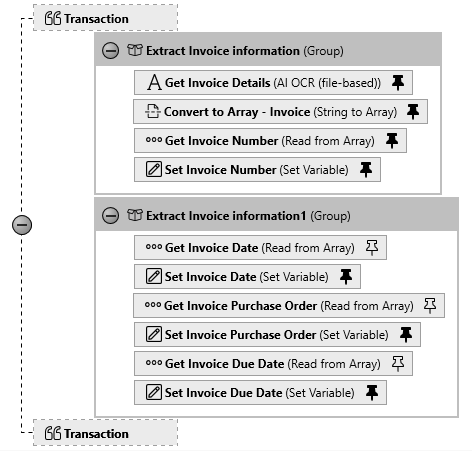
-
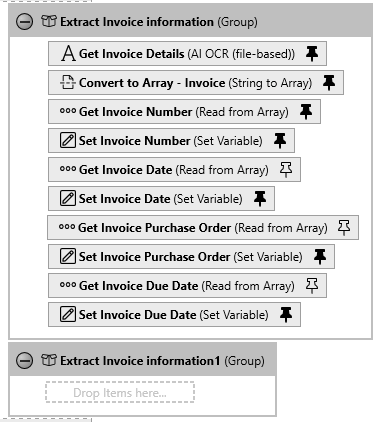
We might leave this as-is, but let’s move the new added steps inside the first group. Just select all of them and move them at the end of the first group:
-
Remove the empty group
-
We still need to re-attach the variables to the steps. On each
Get…andSet…steps relink them as follows:Activity Setting Value Get Invoice DateArray to read fromConvert to Array - Invoice.ResultAsArraySet Invoice DateVariableActivity Parameters.invoiceDateGet Invoice Purchase OrderArray to read fromConvert to Array - Invoice.ResultAsArraySet Invoice Purchase OrderVariableActivity Parameters.invoicePurchaseOrderGet Invoice Due DateArray to read fromConvert to Array - Invoice.ResultAsArraySet Invoice Due DateVariableActivity Parameters.invoiceDueDate
Step 3: (Optional) Add Debug Logic
We have completed this Lab, however even if you run it for testing, you only see the bot doing things but no result whatsoever.
Full debugging capabilities, including breakpoints, are covered in Module 2. But we have some tools to check what’s going on during the development, similar to the usual System.out.println statements we usually include in our code.
MuleSoft RPA provides the Message Box step that can be added wherever the developer wants. It basically displays a modal popup window with any text. Very convenient to show the result of one or multiple steps at a certain point of the execution of an activity.
For this lab, let’s add a Message Box step at the very end of the activity, that displays the values of all the variables we have been setting before.
The Message Box step only supports the link to a single variable as the displayed text. We may add as many Message Box steps as existing variables, or even better, we could build a single string that contains the value of all of the existing variables we want to display.
-
To do so, we will first drag and drop a
Combine Stringsstep into theWorkflow run succeededsection and the bottom: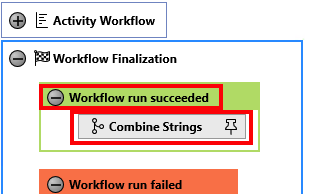
You can easily guess that the steps included in the section
Workflow run succeededare executed when the main activity steps finish with no errors, steps in theWorkflow run failedsection when any unhandled error occurr and steps in theCommon finalization handlingare always executed. -
Combine Stringsstep allows you to concatenate up to 20 external variables into a single string. Set the pattern as follows:Invoice Number:{1}{@CRLF}Date:{2}{@CRLF}Purchase Order:{3}{@CRLF}Due Date:{4}Click
OKand then click its pin button to bind the parameters ({n}) to the actual variables as follows:Parameter Variable {1}Activity Parameters.invoiceNumber{2}Activity Parameters.invoiceDate{3}Activity Parameters.invoicePurchaseOrder{4}Activity Parameters.invoiceDueDate -
Finally, drag and drop a
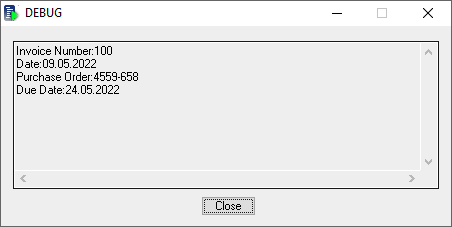
Message Boxstep and set it up as follows:-
Title:
DEBUG -
Text:
Combine Strings.Combined String
-
-
Now, you can run the whole activity and see the actual results.
Click the play button on the
Extract Dataopened activity:
You will see how the bot does its things and at the end, a Message Box is showed with the result of the execution:
Please proceed to Lab 4 - Implementation - Insert Data